
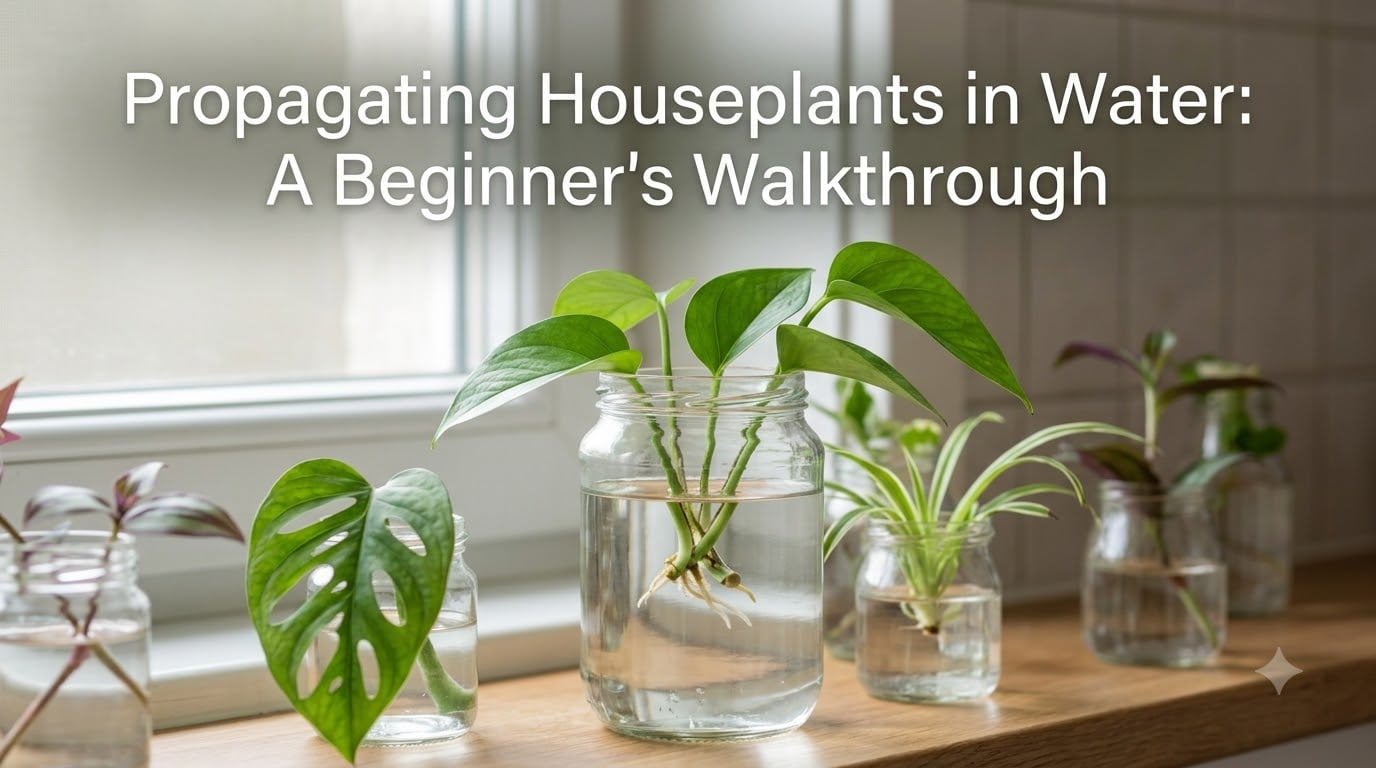
If you’ve ever wondered how to make one houseplant become three, propagating houseplants in water is the friendliest place to start. It’s free, it needs almost no equipment, and you can actually see roots growing day by day. There’s no soil mess, no humidity dome, and no guessing what’s happening under the surface.
I’ve been propagating cuttings in water on my kitchen windowsill for years, and the process has saved more neglected plants than I want to admit. This guide walks you through every step a beginner needs, from spotting a node to potting up roots that are an inch or two long. I’ll also share the mistakes I made early on so you don’t have to repeat them.
Table of Contents
Quick Steps: Propagating Houseplants in Water
- Identify a healthy stem with a visible node (a small bump where leaves and roots emerge).
- Cut cleanly just below the node with sharp, sterilized scissors or pruning shears.
- Remove any leaves that would sit below the waterline to prevent rot.
- Place the cutting in a clear glass vessel filled with room-temperature water.
- Set the vessel in bright, indirect light and change the water every 3 to 5 days.
- Pot up the cutting in soil once roots are 1 to 2 inches long, or keep it in water long-term.
Tools and Supplies You’ll Need
You don’t need much to start propagating houseplants in water, but a few small upgrades make a big difference in success rate. Here’s the short list I keep on my propagation shelf.
- Sharp, clean scissors or pruning shears. A clean cut heals faster than a crushed one. I wipe the blades with rubbing alcohol between cuts.
- A clear glass vessel. A jam jar, drinking glass, test tube, or propagation station all work. Clear glass lets you monitor root growth and water clarity at a glance.
- Room-temperature water. Tepid water absorbs faster than ice-cold water. I let tap water sit out for an hour before using it so chlorine can dissipate.
- Optional rooting hormone. Gel or powder (like Clonex) speeds rooting on stubborn cuttings but isn’t required for Pothos or Philodendron.
- Optional hydrogen peroxide (3 percent). A single drop per vessel helps prevent bacterial slime, especially in warm weather.
That’s the whole kit. If you already own scissors and a jam jar, you’re set.
Propagating Houseplants in Water: A Step-by-Step Walkthrough
Now we’ll go deep on each part of the process so you understand the why behind every step. Beginners who skip the details tend to be the ones with mushy stems and zero roots after a month.
Step 1: Find the Node
The node is the single most important part of any cutting. It’s the small bump or joint on the stem where leaves, aerial roots, and new growth emerge. Without a node, the cutting will sit in water forever and never root. I’ve watched beginners try this and the disappointment is real.
Nodes often look like a slight thickening, a brown ring, or a tiny aerial root nub along the stem. On Pothos, they’re the knuckle-like bumps every few inches. On Philodendron, they’re slightly less obvious but follow the same pattern: where a leaf’s petiole meets the stem.
Tip: If you can see a small aerial root already forming, you’ve found the node. Cuttings with an existing aerial root root faster than bare-stem cuttings.
Step 2: Make the Cut Just Below the Node
Once you’ve located a node, cut roughly half an inch below it. Use sharp scissors or pruning shears sterilized with rubbing alcohol. A clean cut reduces stem damage and the chance of rot setting in.
Some growers cut at a 45-degree angle to increase the surface area for water uptake. Angled cuts aren’t strictly necessary, but they do help on woody or thicker stems. Whatever angle you pick, the rule is the same: cut below the node, never above it.
Step 3: Remove Leaves That Would Sit Below Water
Any leaf submerged in water will rot within days. Rotten leaves cloud the water, breed bacteria, and can quickly kill an otherwise healthy cutting. Pinch or snip off the lowest one or two leaves, leaving at least one or two leaves at the top of the cutting to photosynthesize.
For longer cuttings, I usually leave two to three leaves on top. Too many leaves below the waterline is the most common beginner mistake and the fastest way to lose a cutting.
Step 4: Place in a Vessel With Room-Temperature Water
Fill your glass vessel with room-temperature water so the node is fully submerged but no leaves are underwater. Place the vessel in bright, indirect light, like near an east-facing window or a few feet back from a south-facing one.
Direct sun through the glass can cook the cutting or encourage algae growth. Bright, indirect light gives the cutting enough energy to push out roots without overheating.
Step 5: Maintain the Cutting
This is the part beginners most often get wrong. Here’s the rule I’ve landed on after several rounds of trial and error: change the water every 3 to 5 days, or sooner if it looks cloudy.
Fresh water brings dissolved oxygen to the developing roots and prevents bacterial buildup. Stagnant water is the single biggest reason cuttings rot before they root. I top up between changes if the level drops due to evaporation.
Optional maintenance trick: adding a single drop of 3 percent hydrogen peroxide per cup of water once a week keeps the vessel clean and oxygenated. This is especially helpful in summer when bacterial growth accelerates.
Step 6: Pot Up Once Roots Are 1 to 2 Inches Long
Once you see roots that are 1 to 2 inches long, the cutting is ready to move into soil, or to keep growing in water long-term. I usually wait until I have at least 2 inches of root and a few branching secondary roots.
When potting up, use a well-draining potting mix. A blend of regular potting soil with perlite or orchid bark works well for Aroids like Pothos and Philodendron. Keep the soil slightly more moist than usual for the first two weeks so the water roots can adjust to soil without drying out.
Some cuttings, especially Pothos and Philodendron, can live happily in water for months or even years. The tradeoff is slower growth and the need to occasionally add a diluted liquid fertilizer to the water.
The Easiest Houseplants to Propagate in Water
Some plants root so reliably in water that they should be the first ones you try. Here’s the list I recommend to every beginner, ordered roughly by how quickly they root.
- Pothos (Epipremnum aureum): Roots in 1 to 2 weeks. The gold standard. Almost impossible to fail.
- Tradescantia: Roots in 5 to 10 days. Fast and forgiving.
- Philodendron (heartleaf varieties): Roots in 2 to 3 weeks. Easy and prolific.
- Spider Plant (Chlorophytum comosum): Roots in 1 to 2 weeks from plantlets.
- Monstera adansonii: Roots in 3 to 4 weeks. Thinner-stemmed Monsteras adapt better than thick-stemmed ones.
- Begonia: Roots in 2 to 3 weeks. Even a single leaf with a petiole can root in water.
- Coleus: Roots in 5 to 10 days. A great option for outdoor-to-indoor propagation.
If you’re starting from scratch, I’d begin with Pothos. It’s the most forgiving plant I grow and rewards beginners with roots in days.
Water Propagation vs Soil Propagation
Beginners often ask which method is better. The honest answer is that both work, but they shine in different situations. Here’s how I think about the tradeoffs.
- Water propagation wins for visibility and beginner success. You can see roots form, monitor for rot, and intervene early. The tradeoff is water roots are more fragile when moved to soil.
- Soil propagation wins for plants that dislike transplant shock. Roots form already adapted to soil, so there’s no transition period. The tradeoff is you can’t see what’s happening and rot can take hold before you notice.
- Speed: Water is usually faster for the first 2 weeks; soil often catches up and overtakes after month two.
- Equipment: Water needs only a jar; soil needs a pot, mix, and usually a plastic bag or humidity dome to keep humidity high.
For most beginners, water propagation is the better starting point. The visual feedback builds confidence, and the success rate on forgiving plants like Pothos is close to 100 percent.
Common Beginner Mistakes and How to Fix Them
Most failed propagations come back to a small handful of mistakes. Here are the ones I see most often, and how to avoid them.
- No node on the cutting. A leaf with a petiole alone will not root. Always confirm a node is on the stem before placing it in water.
- Leaves submerged underwater. They rot in days and ruin the vessel. Strip the lowest one or two leaves before placing the cutting.
- Dirty water. Cloudy, slimy water means bacteria are winning. Change the water every 3 to 5 days, or sooner if it clouds.
- Cuttings placed in low light. Without bright, indirect light, the cutting has no energy to push roots. Move closer to a window.
- Cuttings left in direct sun. Direct sun overheats the water and cooks the cutting. Filtered or indirect light is the sweet spot.
- Transplanting water roots to dry soil. Water roots are delicate. Keep the soil slightly more moist than usual for the first two weeks after potting up.
If you fix these six things, your success rate on Pothos and Philodendron cuttings will jump dramatically.
Troubleshooting: Mushy Stems, No Roots, Yellow Leaves
Sometimes a cutting goes sideways even when you think you’ve done everything right. Here’s how I diagnose the three most common symptoms.
Mushy stem at the base. This is bacterial rot, almost always caused by stale water or leaves decomposing in the vessel. Throw the cutting away if the mush has spread up the stem. If only the lowest half-inch is affected, recut above the rot, sterilize the vessel, and start fresh with clean water.
No roots after 4 weeks. A few plants, especially Monstera deliciosa and some thicker-stemmed Philodendrons, can take 4 to 6 weeks. If you’re past that, check the node is still healthy (firm and green, not black), confirm the vessel is in bright indirect light, and consider adding a drop of rooting hormone.
Yellowing leaves. A single yellow leaf at the base is normal as the cutting reabsorbs nutrients. Multiple yellowing leaves usually mean too much direct sun, cold drafts, or bacterial buildup. Move the vessel and refresh the water.
Algae in the vessel. Algae thrive in sunlight + nutrient-rich water. Switch to an opaque vessel or move it slightly farther from the window, then scrub the vessel with hot water between changes.
Frequently Asked Questions
Can you root cuttings in just water?
Yes, many common houseplants root reliably in plain water. Pothos, Philodendron, Tradescantia, Spider Plant, Begonia, and Coleus are the most forgiving species for water propagation. Succulents and cacti are the main exceptions; they prefer calloused, dry conditions.
How long can plant cuttings live in water?
Cuttings can live in water for months or even years, especially Pothos, Philodendron, and Tradescantia. Long-term water culture works because the plant absorbs dissolved nutrients from the water, though growth is slower than in soil. Add a diluted liquid fertilizer every 4 to 6 weeks and refresh the water weekly to keep the cutting healthy.
What helps cuttings root faster in water?
Fresh water every 3 to 5 days, bright indirect light, room-temperature water, and an optional drop of rooting hormone all speed root development. Adding a healthy Pothos cutting to the same vessel releases natural auxins that can stimulate faster rooting on slower species.
How often should I change the water when propagating plants?
Change the water every 3 to 5 days, or sooner if it looks cloudy. Fresh water brings dissolved oxygen to the developing roots and prevents the bacterial growth that causes mushy stems. Top up between changes to keep the node submerged.
What are the easiest plants to propagate in water for beginners?
Pothos is the easiest, often rooting in 1 to 2 weeks. Tradescantia, heartleaf Philodendron, Spider Plant plantlets, and Coleus are also nearly foolproof. Avoid thick-stemmed Monstera deliciosa and ZZ plants as beginner choices since they take much longer to root and are more prone to rot.
Final Thoughts on Propagating Houseplants in Water
Propagating houseplants in water is one of the most rewarding skills a new plant parent can learn. Start with a healthy Pothos cutting, find a clear glass vessel, change the water every few days, and watch what happens. Within a couple of weeks you’ll have roots you can see, gift, or pot up into a brand new plant, all from one small stem.
Once you’ve nailed the basics, try a second species and notice how the rooting timeline changes. That’s the moment water propagation goes from a trick to a habit, and your collection grows almost on its own.