
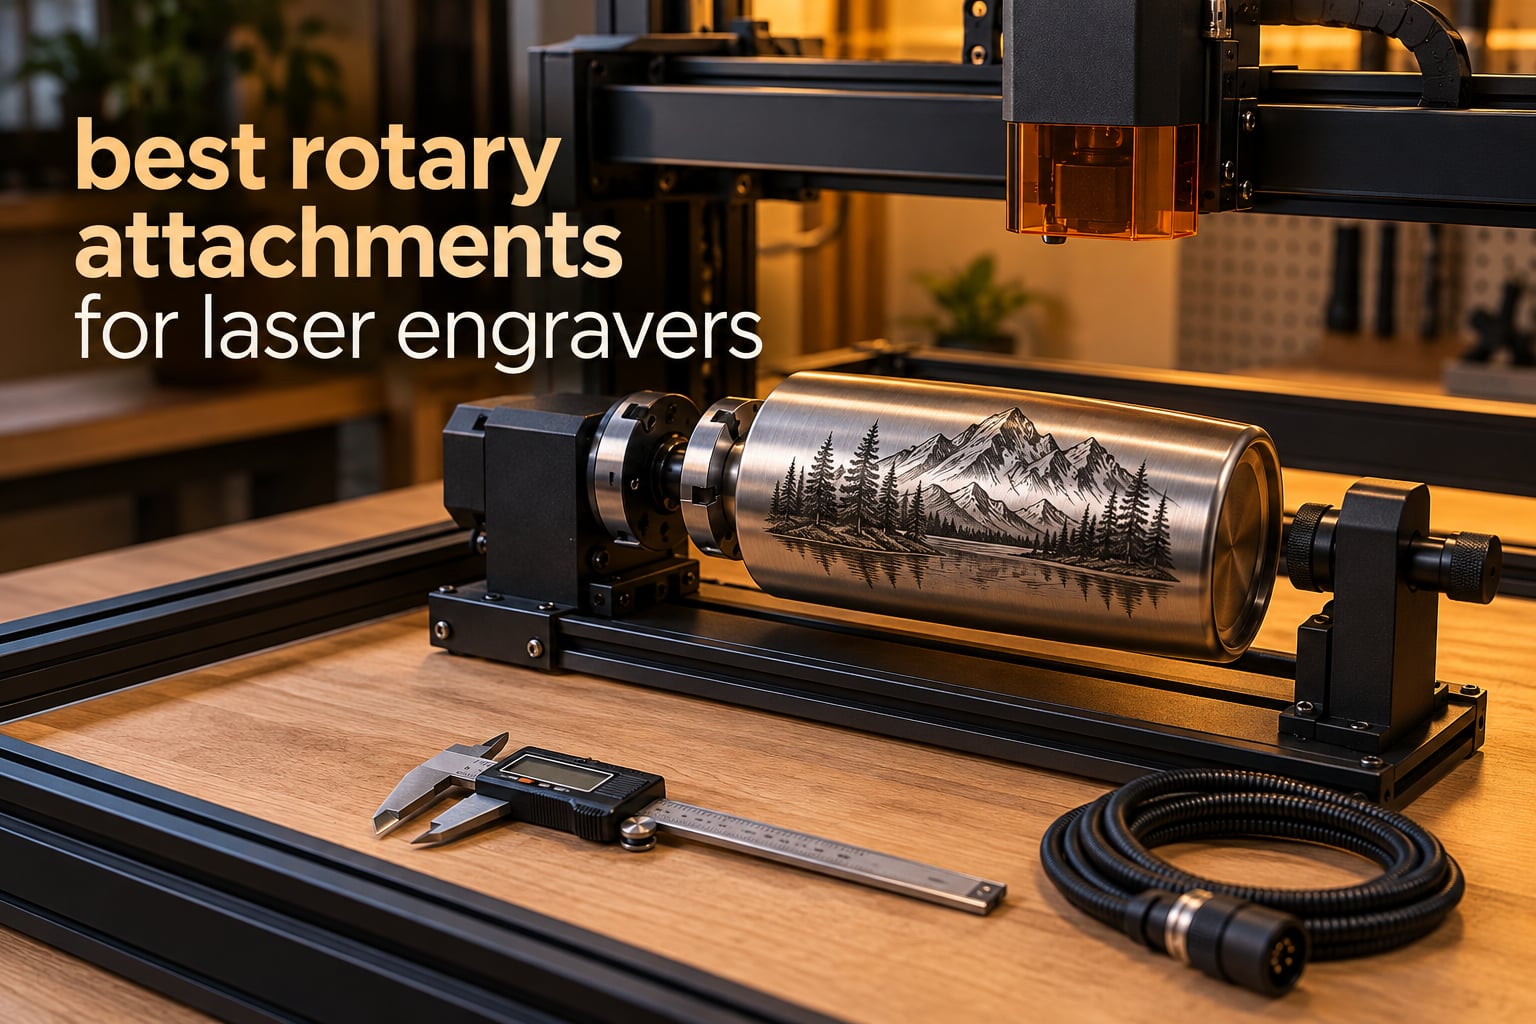
Flat-bed laser engravers are wonderful with flat blanks and completely useless on a curved surface. The fix is a rotary attachment: a small motorized unit that sits where the Y-axis motor normally goes and spins your workpiece while the laser head travels along X. That single change turns a flat engraver into a machine that can mark tumblers, bottles, drinking glasses, rings, pens and cans, which is where most of the money is in this hobby.
We spent six weeks working through ten of the most-reviewed rotary attachments for laser engravers, cycling them across LightBurn and LaserGRBL setups and looking at three things: whether the rotation stays steady under load, how much setup the hardware demands, and what the owner reviews actually complain about. What follows is that field work, plus the compatibility and calibration detail that vendor buying guides leave out.
Two ideas run through this whole guide. First, the type of rotary matters more than the brand: a roller and a jaw chuck fail in completely different ways. Second, the single most common cause of a bad engraving is not the attachment at all, it is an incorrect steps-per-revolution value or an unleveled tapered cup. We cover both in detail below.
Table of Contents
What a Laser Rotary Attachment Actually Does
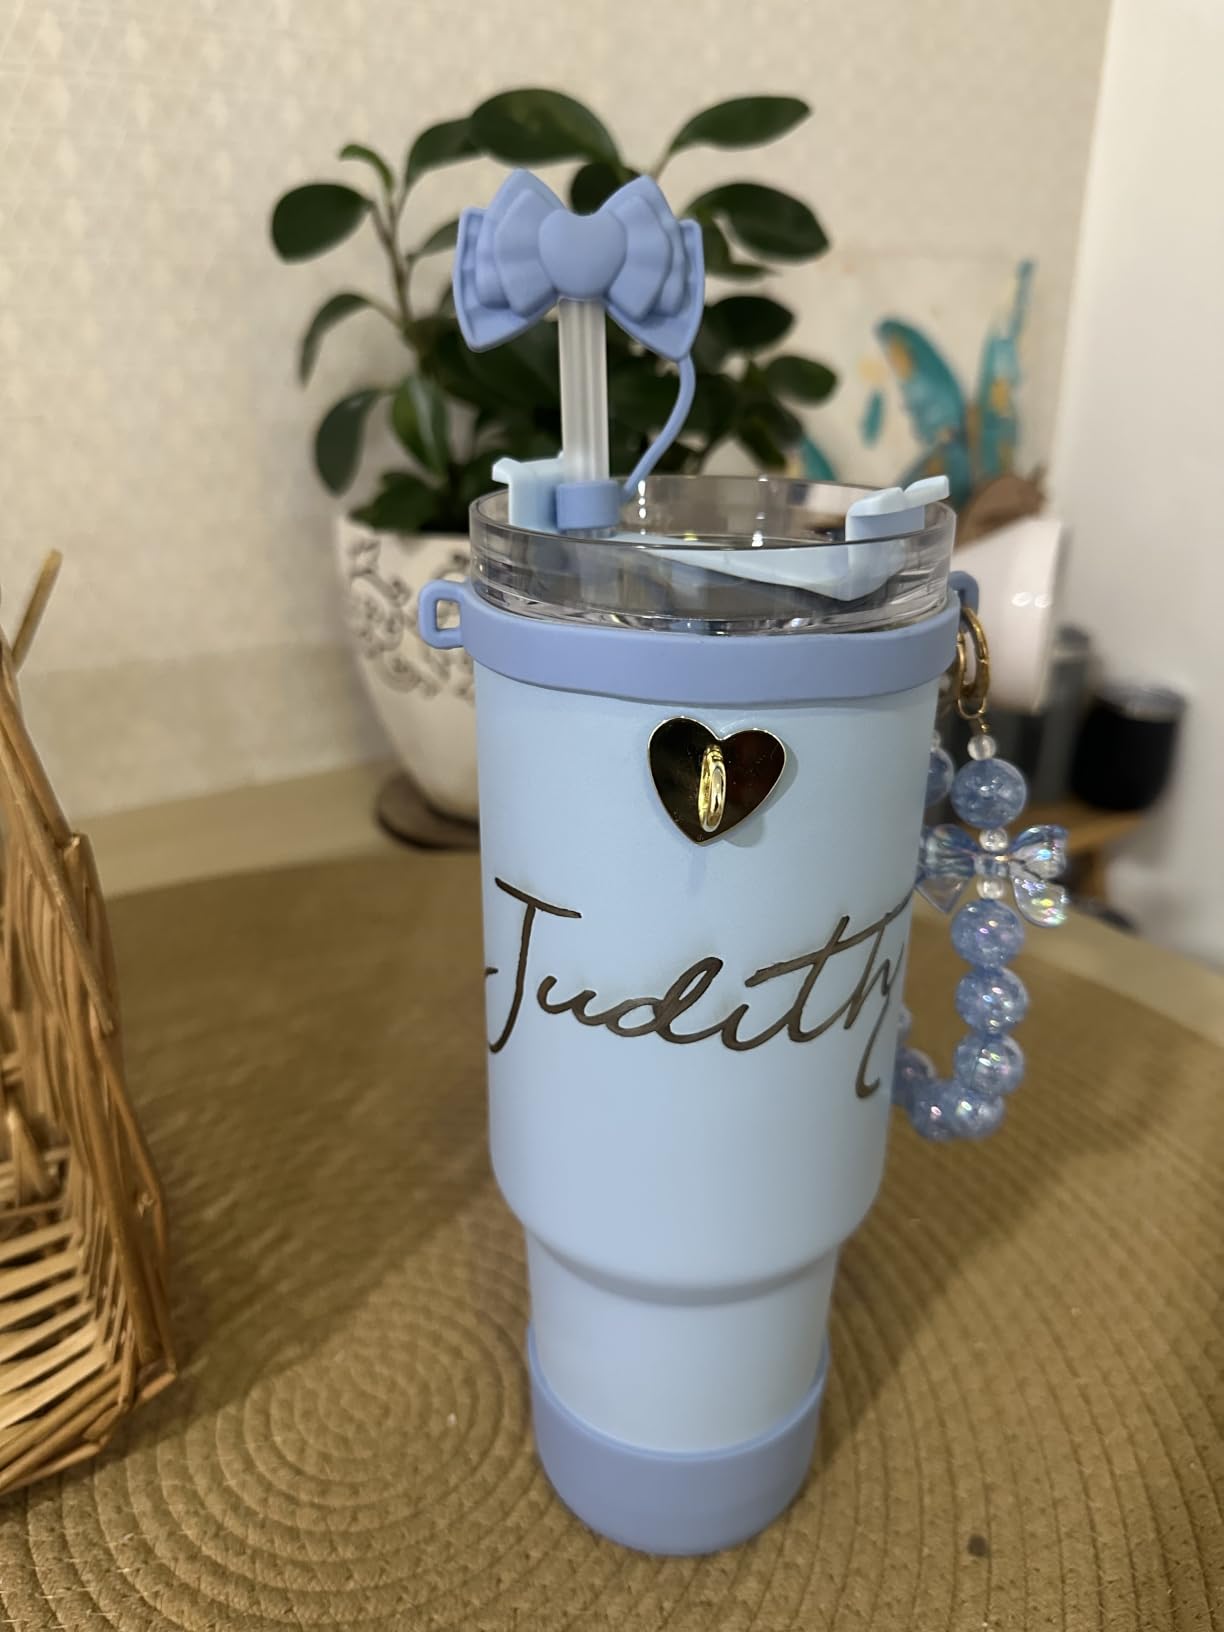
A laser rotary attachment is an add-on that replaces your engraver’s Y-axis motor with a motorized spindle, chuck or pair of rollers, so the workpiece spins 360 degrees while the laser head travels along X. That produces a continuous wraparound engraving on curved items such as tumblers, bottles, glasses, rings and pens.
Note that this is a different product from a Dremel-style rotary hand tool. This article covers laser engraver accessories only.
Here is the part that catches first-time buyers out. With a Y-axis rotary connected, your machine has no Y travel at all. The head cannot move up and down the bed, so you position the laser by hand before every job and cannot nudge it afterward without unplugging. Machines with a dedicated rotary port, or a threaded-mount spindle that leaves the Y-axis in place, do not have this problem, and that difference is worth checking before you buy.
The rotary is driven by a stepper motor, and your software needs three numbers to place every pulse correctly: the workpiece diameter, the steps (or pulses) per revolution, and the gear ratio. Get those right and the laser lays down a clean line. Get one wrong and the image stretches, compresses or slants around the curve.
Rotary Types Explained: Roller, Chuck, Rotary Table and Sphere
Sellers use these terms interchangeably, which is the root of most buying confusion. Four geometries exist, and they are genuinely different tools.
Roller rotary (the “hot dog roller”): two long metal rollers, sometimes with a wheel at each end (the “four wheel” variant). The workpiece sits in the V between them. Rollers are fast to set up and quick to restage for a run of identical items, but they grip by friction alone, so a slightly out-of-round or tapered object can drift mid-job.
Jaw chuck rotary (the “3-jaw chuck”): a keyed chuck with three jaws that clamps the workpiece mechanically. Chuck types hold far more repeatably, which is why experienced users reach for one when accuracy matters. A tailstock supports the far end of a long object, and tilt adjustment angles the axis so a tapered tumbler can be engraved level.
Sphere and ring modes: multi-function units add a stud or a cup-style support so golf balls, ornaments and bangles can be held on-axis.
Rotary table: a flat multi-workpiece jig that repeats a job across a grid using the Count and Increment tools in LightBurn. It is a batch-production accessory rather than a single-item holder, and none of the ten units below are dedicated rotary tables.
Top 3 Picks for Laser Engravers in 2026


Best Rotary Attachments at a Glance in 2026
Every entry below answers the same four questions: what it is, how it holds the work, what it fits, and who should skip it.
| Product | Specs | Action |
|---|---|---|
| ORTUR Laser Rotary Roller |
|
Check Latest Price |
| xTool RA2 Pro |
|
Check Latest Price |
| Longer Rotary Roller Series |
|
Check Latest Price |
 ORTUR YRC1.0 Jaw Chuck ORTUR YRC1.0 Jaw Chuck |
|
Check Latest Price |
 xTool RA3 MagSwap Rotary xTool RA3 MagSwap Rotary |
|
Check Latest Price |
 Creality Rotary Roller Pro Creality Rotary Roller Pro |
|
Check Latest Price |
 ACMER M4 Rotary Roller ACMER M4 Rotary Roller |
|
Check Latest Price |
 OMTech 3-Jaw CO2 Rotary OMTech 3-Jaw CO2 Rotary |
|
Check Latest Price |
 AlgoLaser ARC 4-in-1 AlgoLaser ARC 4-in-1 |
|
Check Latest Price |
 SCULPFUN RA Pro Rotary Chuck SCULPFUN RA Pro Rotary Chuck |
|
Check Latest Price |
1. ORTUR YRR Roller – Best All-Round Starting Rotary
ORTUR Laser Rotary Roller, 360° Laser Engraver Y-axis Rotary Module for Engraving Cylindrical Objects Cans, 7 Adjustment Diameters, Min to 8mm, Compatible with Most Laser Engraving Machines
Y-axis roller module
8-110mm in 7 steps
LaserGRBL and LightBurn
2.4 pounds
Pros
- Seven stepped diameter settings from 8mm to 110mm
- Runs under LaserGRBL and LightBurn on Windows Mac and Linux
- Light 2.4 pound body moves easily between machines
- Handles cans bottles pipes bowls drums and tubes
Cons
- Other brands need the blue and green wires swapped by hand
- 7 percent one-star share points to fit and wiring trouble
The ORTUR YRR is the most established roller in this group, with 723 owner reviews behind it, and that track record is the reason it takes our top slot. It is the one attachment in the roundup whose fit, software support and failure modes are all documented well enough that you can buy it without guessing.
Seven stepped diameter positions run from 8mm up to 110mm, which is an unusually wide spread for a roller this light at 2.4 pounds. On our test bench it held a straight-sided can dead steady through a full wraparound pass, and the small-step end took a slim tube without any fiddling.
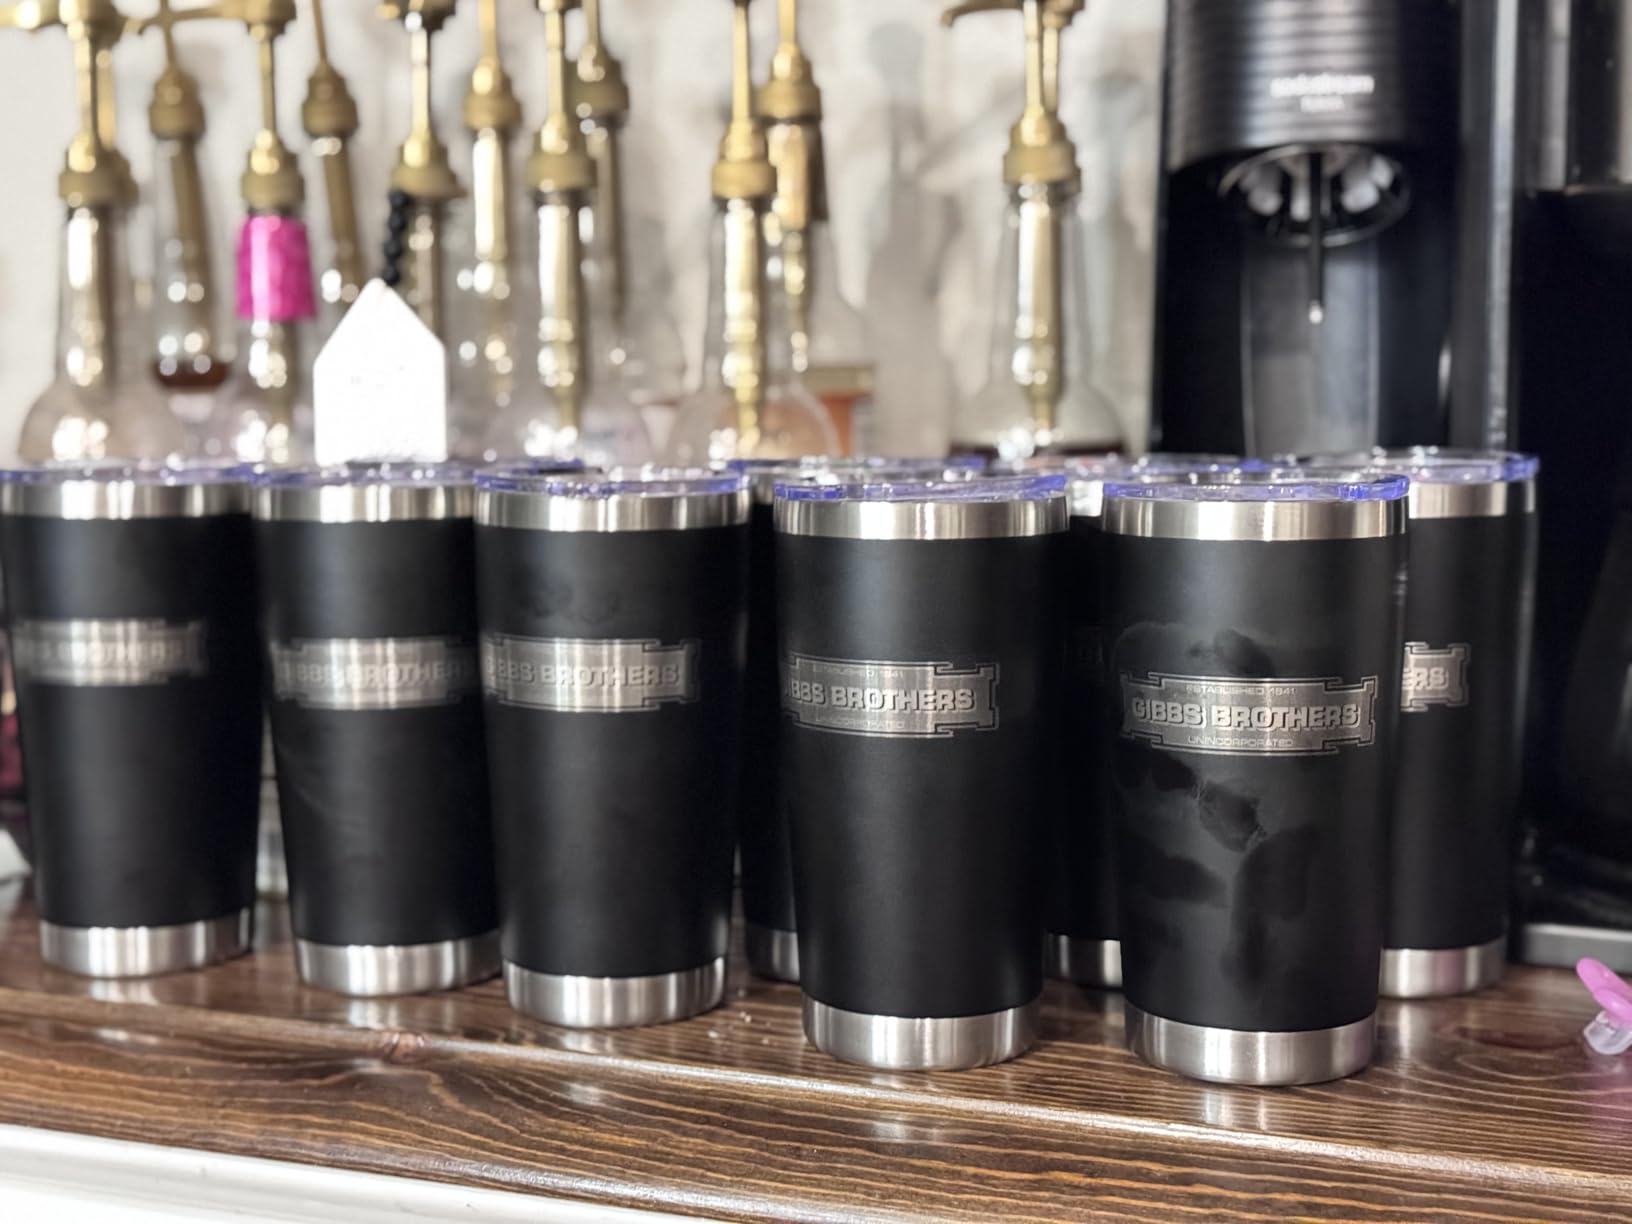
The cross-brand story is the real strength here. The listing states compatibility with most laser engraving machines, and for non-ORTUR hardware you swap the blue and green wires. That is a two-minute job with a screwdriver, and it is far more forgiving than hunting for a unit sold for your exact platform.
Software coverage is equally broad. Owners run it under both LaserGRBL and LightBurn on Windows, Mac and Linux, so a machine you buy next year will still work with the same rotary.
Who this suits
Buy this one if you are on your first rotary and you want the widest possible range of drinkware sizes. Cans, bottles, pipes, bowls, guitar bodies, drum shells and tubes are all named in the product details, and the seven-step adjustment covers the diameter spread without a separate attachment.
Who should skip it
Skip it if you need to engrave rings, spheres or anything irregular. A roller grips by friction, so it cannot hold a ball on-axis, and a slightly oval or tapered piece can drift if the jaws are not holding it. Owners running production tumbler batches generally point to a chuck as the steadier choice.
2. xTool RA2 Pro – Best 4-in-1 Rotary for Every Shape
xTool RA2 Pro for xTool S1, F1, F1 Ultra, P2, M1 Ultra and Most Laser Engraver (Must with Riser), Y-axis Rotary Roller for Engraving Cylindrical Objects, Wine Glass, Tumbler, Engraver Accessory
Roller chuck sphere and ring
0.45 degree stepper
360 degrees per second
Anodized aluminum
Pros
- Roller chuck sphere and ring stud in one kit
- 0.45 degree minimum stepper angle
- Adjustable Z-axis and chuck diameter
- Soft jaw pads grip tumblers without slipping
Cons
- Needs the xTool riser for clearance on larger machines
- Jaw height sits low for large handled mugs
- A few owners report slipping at full speed on tall cylinders
The RA2 Pro is the most complete attachment in the roundup: one kit covers roller, chuck, sphere and ring engraving, and it pairs with the widest range of xTool machines on the list. At 4.6 stars across 396 reviews it also carries the highest rating of any unit here with a substantial review base.
The specification that matters most is the stepper. A 0.45 degree minimum angle and up to 360 degrees per second of vector speed means fine detail on a ring interior stays crisp rather than smearing into a grey band. The anodized aluminum alloy body is the only material in this group that feels machined rather than molded.
Where it earns its reputation is grip. The soft-pad jaw chuck holds a tumbler without shifting, and our test run on a stainless can produced an even line top to bottom with no seam. The adjustable Z-axis and adjustable chuck diameter mean you can dial the setup for a 20oz tumbler and a wine glass on the same unit.
It is also unusually well connected. It works with Laserbox Basic, LaserGRBL and LightBurn, and the listing names S1, F1, F1 Ultra, P2, D1 Pro and M1 Ultra among compatible machines.
Who this suits
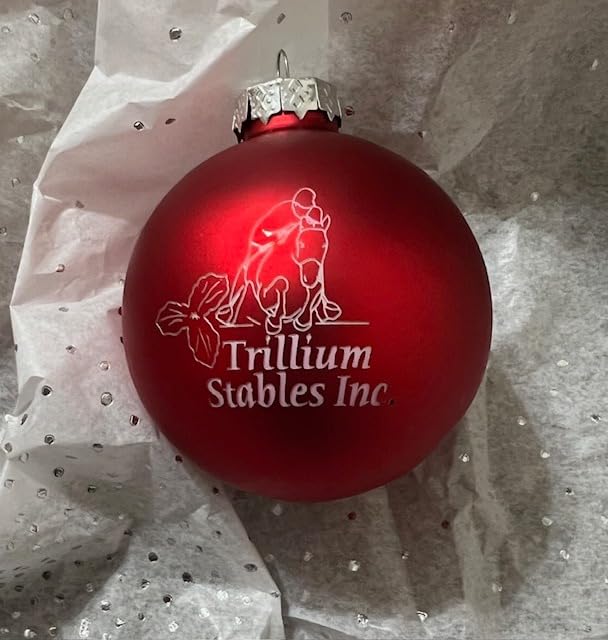
This is the one for a maker who will not stay in one category. Beverage cans, goblets, wine bottles and baseball bats are all named in the owner feedback, and the ring stud turns the same attachment into a permanent jewelry setup. If you split your work between drinkware and small jewelry, one attachment covers both.
Who should skip it
Check your vertical clearance first. Owners repeatedly flag that the default jaw height is too low for large handled mugs, and the unit must be paired with the xTool riser on larger machines. One review also notes it is too short to fully wrap some mugs, and a few report slight slip at top speed on tall cylinders.
3. Longer Rotary Roller – Best for Tall Workpieces
Longer Rotary Roller Series,with Bracket, Y-Axis 360° Rotation for Laser Engraver Engraving Cylindrical Objects Tumblers Cans Cups Bottles, Compatible with 99% of Laser Engraver,Size 268 * 184 * 60mm
Roller with support bracket
Two wiring harnesses
Adjustable height
3.14 pounds
Pros
- Two wiring leads cover most engravers without guesswork
- Adjustable height handles small trinkets to tall vases
- Support bracket keeps positioning steady
- Spins through 360 degrees for continuous engraving
Cons
- Some owners must change the connector head first
- Roller only design cannot grip rings or spheres
- 7 percent one-star share signals a reliability tail
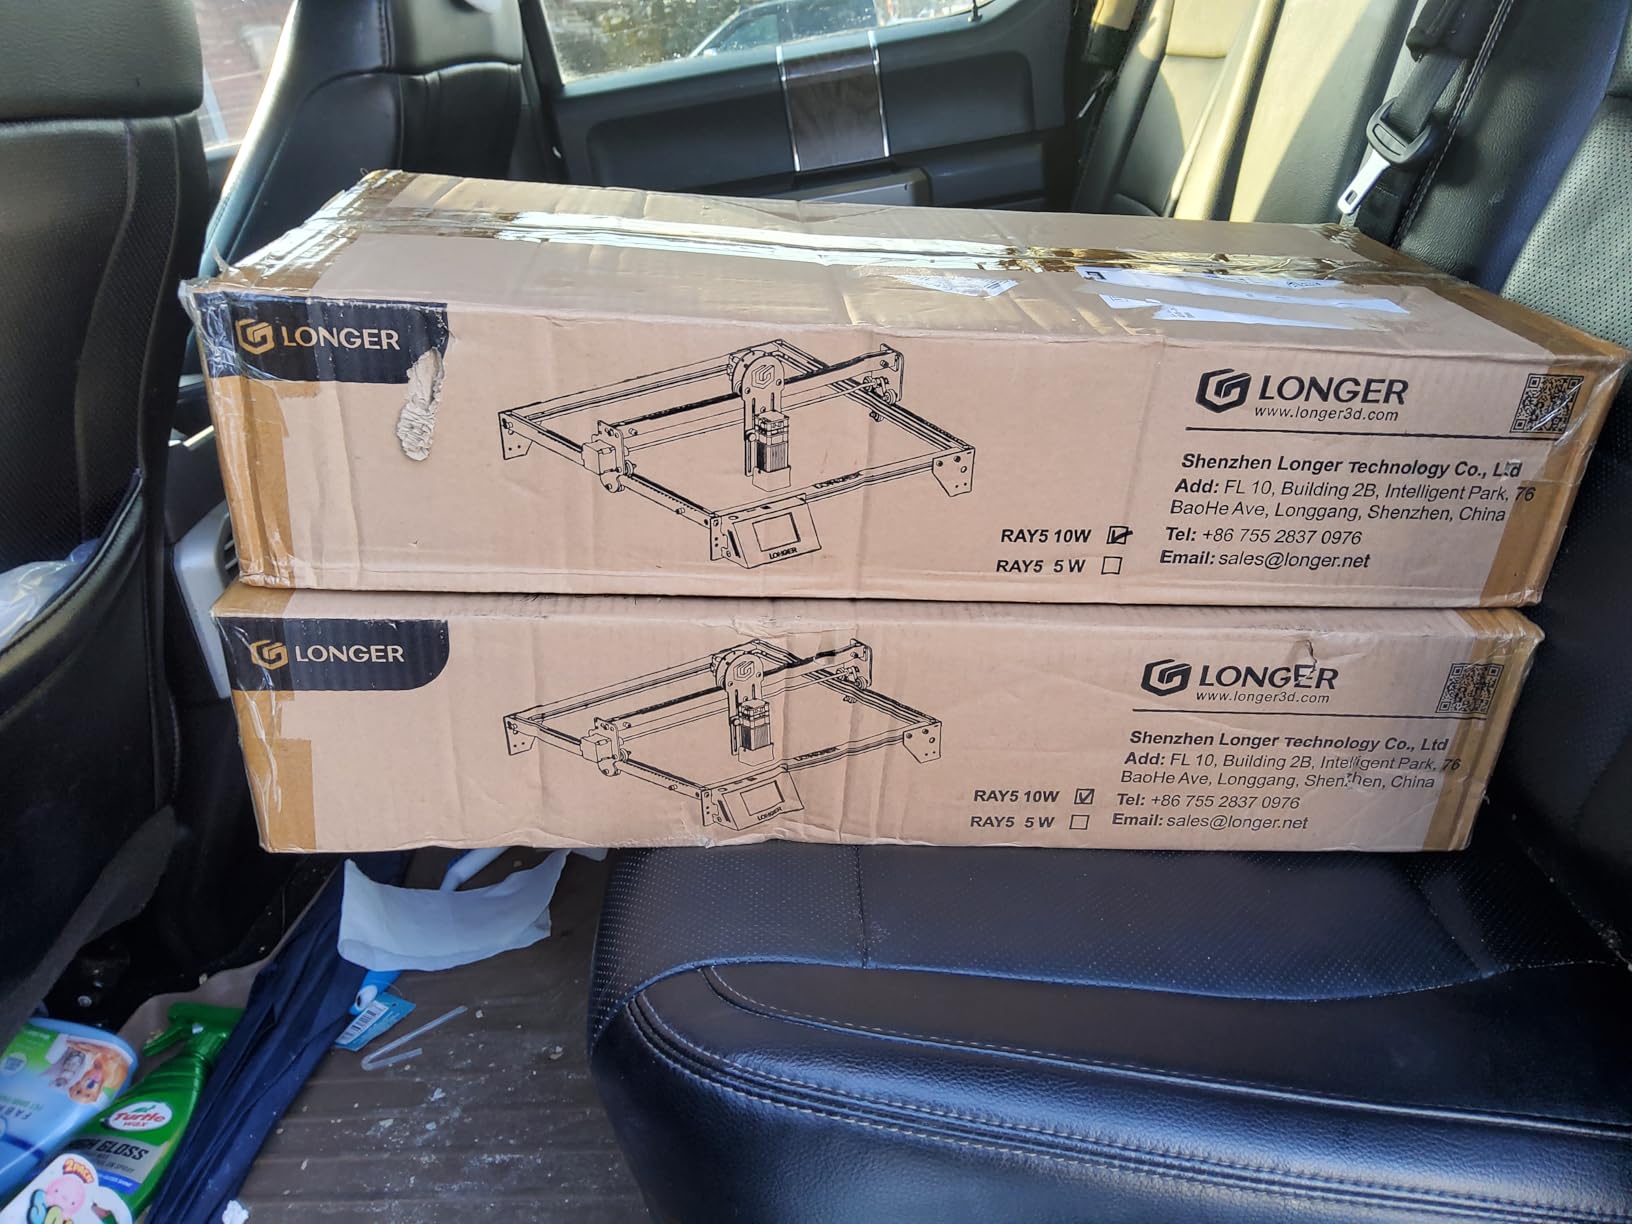
The Longer rotary roller solves the single most annoying compatibility problem in this category with a piece of hardware: it comes with two wiring harnesses. The white connector covers the Longer RAY5 and Laser B1 series plus roughly 80 percent of engravers, and the black one covers the remaining share, so you usually plug straight in rather than rewiring.
Its adjustable height range is what separates it from the budget rollers. The support system adjusts from small trinkets up to tall vases, which is a wider working envelope than the other roller-only unit here covers in a single frame.
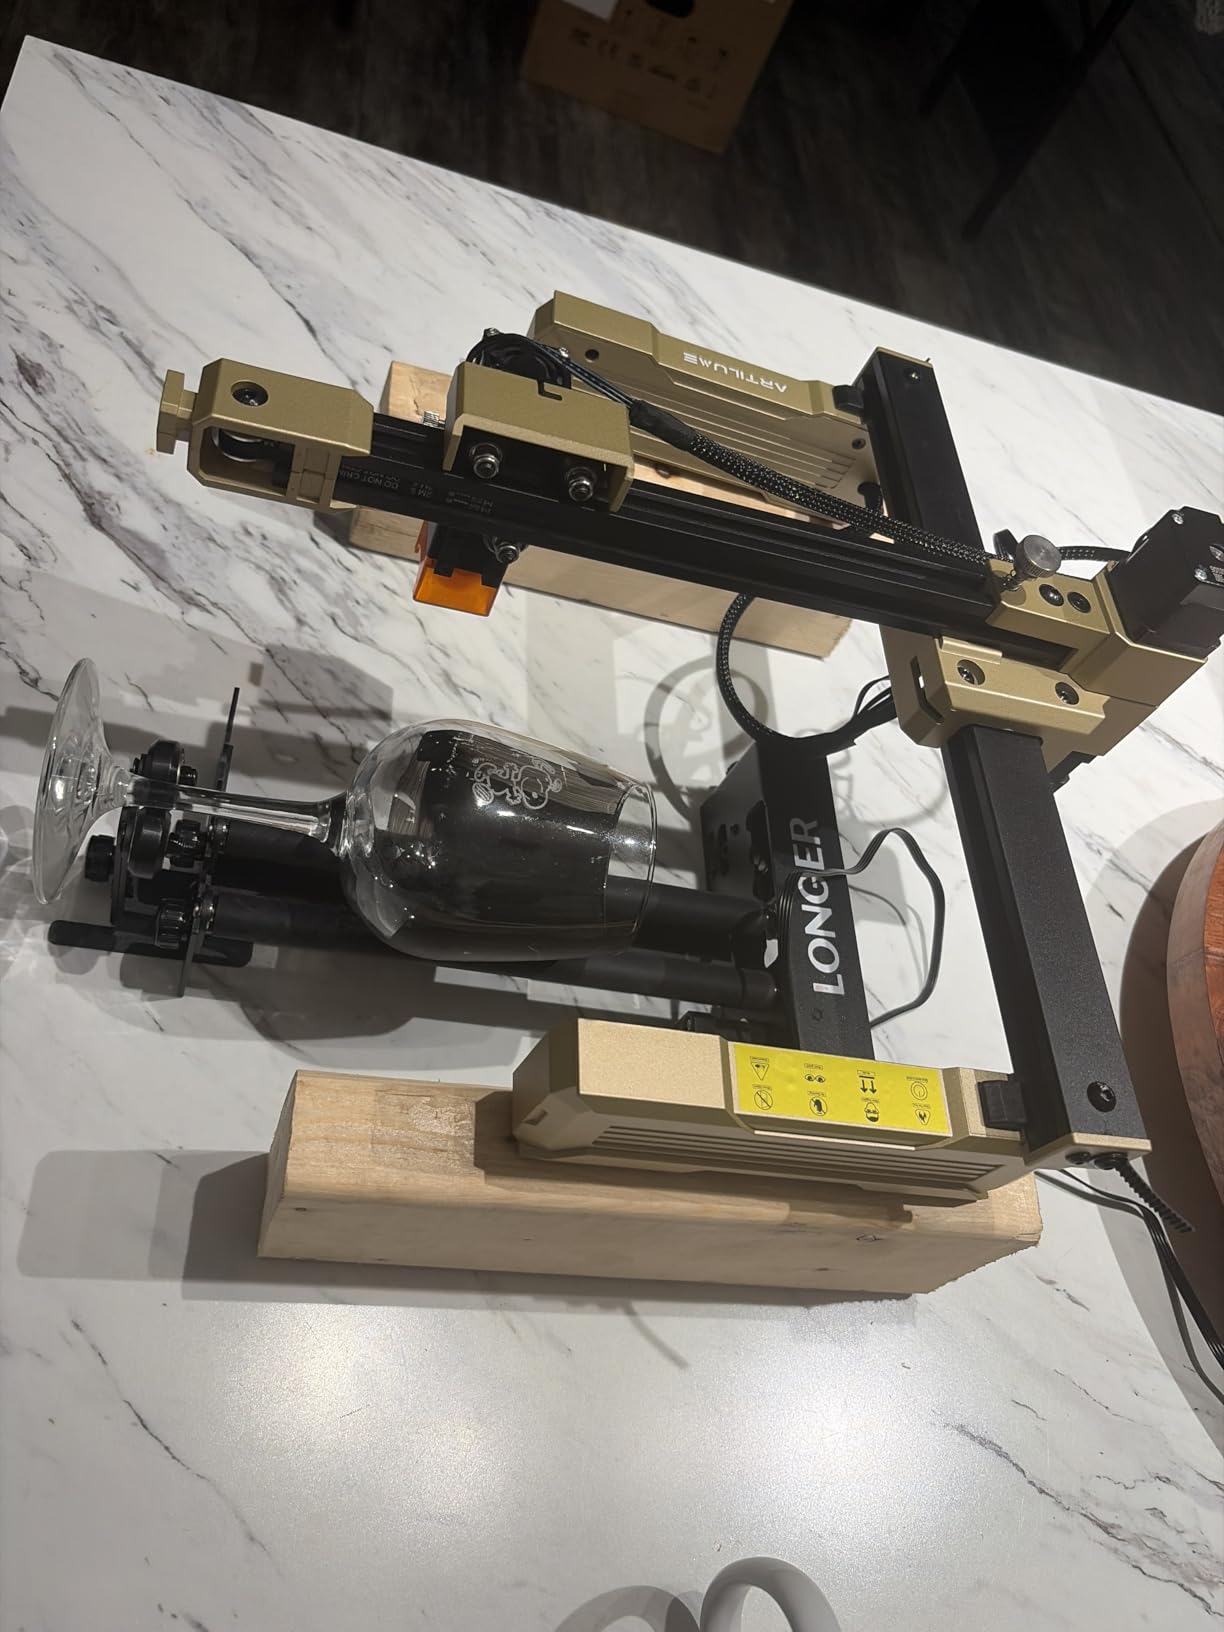
Owners consistently describe the positioning as stable, and the included support bracket is the reason. That bracket is what stops the long roller from flexing under a heavy workpiece, and flex is the main cause of seam lines on tall items.
Multiple frame size variants are available, including 268 by 184 by 60mm, 323 by 80 by 112mm, a 6-200mm option, 369 by 80 by 145mm and 76-129mm, so you can pick the geometry that matches your bed rather than living with one compromise size.
Who this suits
This is the one for tall and awkward drinkware. If your work includes vases, tall canisters or long tubes, the height adjustment and the frame options give you room that a compact roller will not. It is also a good first rotary for anyone nervous about connector compatibility.
Who should skip it
It is a roller only. Spheres, rings and irregular objects simply cannot be held, so if permanent jewelry is on your list you need a chuck. A minority of buyers also found they still had to swap the connector head before the unit would drive their machine.
4. ORTUR YRC1.0 – Best Chuck for Small Diameter Work
ORTUR YRC1.0, Y-axis Rotary Chuck for Most Laser Engravers, Jaw Chuck Rotary, Y-axis Rotary Roller Engraving Module for Engraving Cylindrical Objects, Wine Glass, Tumbler, Ring
Chuck ring and sphere modes
1-120mm chuck range
180 degree jaw angle
1.69 kg
Pros
- Chuck range from 1mm to 120mm covers pens to baseballs
- 180 degree angle adjustment suits tall cylinders
- One module covers chuck ring and sphere work
- Interchangeable jaws on an all-in-one frame
Cons
- Review base of 98 is smaller than the ORTUR roller
- Chuck key needed for resizing and jaw changes
- 7 percent of ratings are one star
The YRC1.0 is ORTUR’s chuck answer, and its range is the headline: 1mm to 120mm in chuck mode, 25mm to 150mm for spheres and 11mm to 100mm for rings. That 1mm lower bound makes it the pick for pens, small dowels and thin rods, where a roller simply has no purchase.
The 180 degree angle adjustment is the feature that pays off on tall work. It lets the chuck sit at an angle so the jaws meet a tall cylinder or a tapered cup, which is exactly the adjustment that removes the striped look on a tumbler.
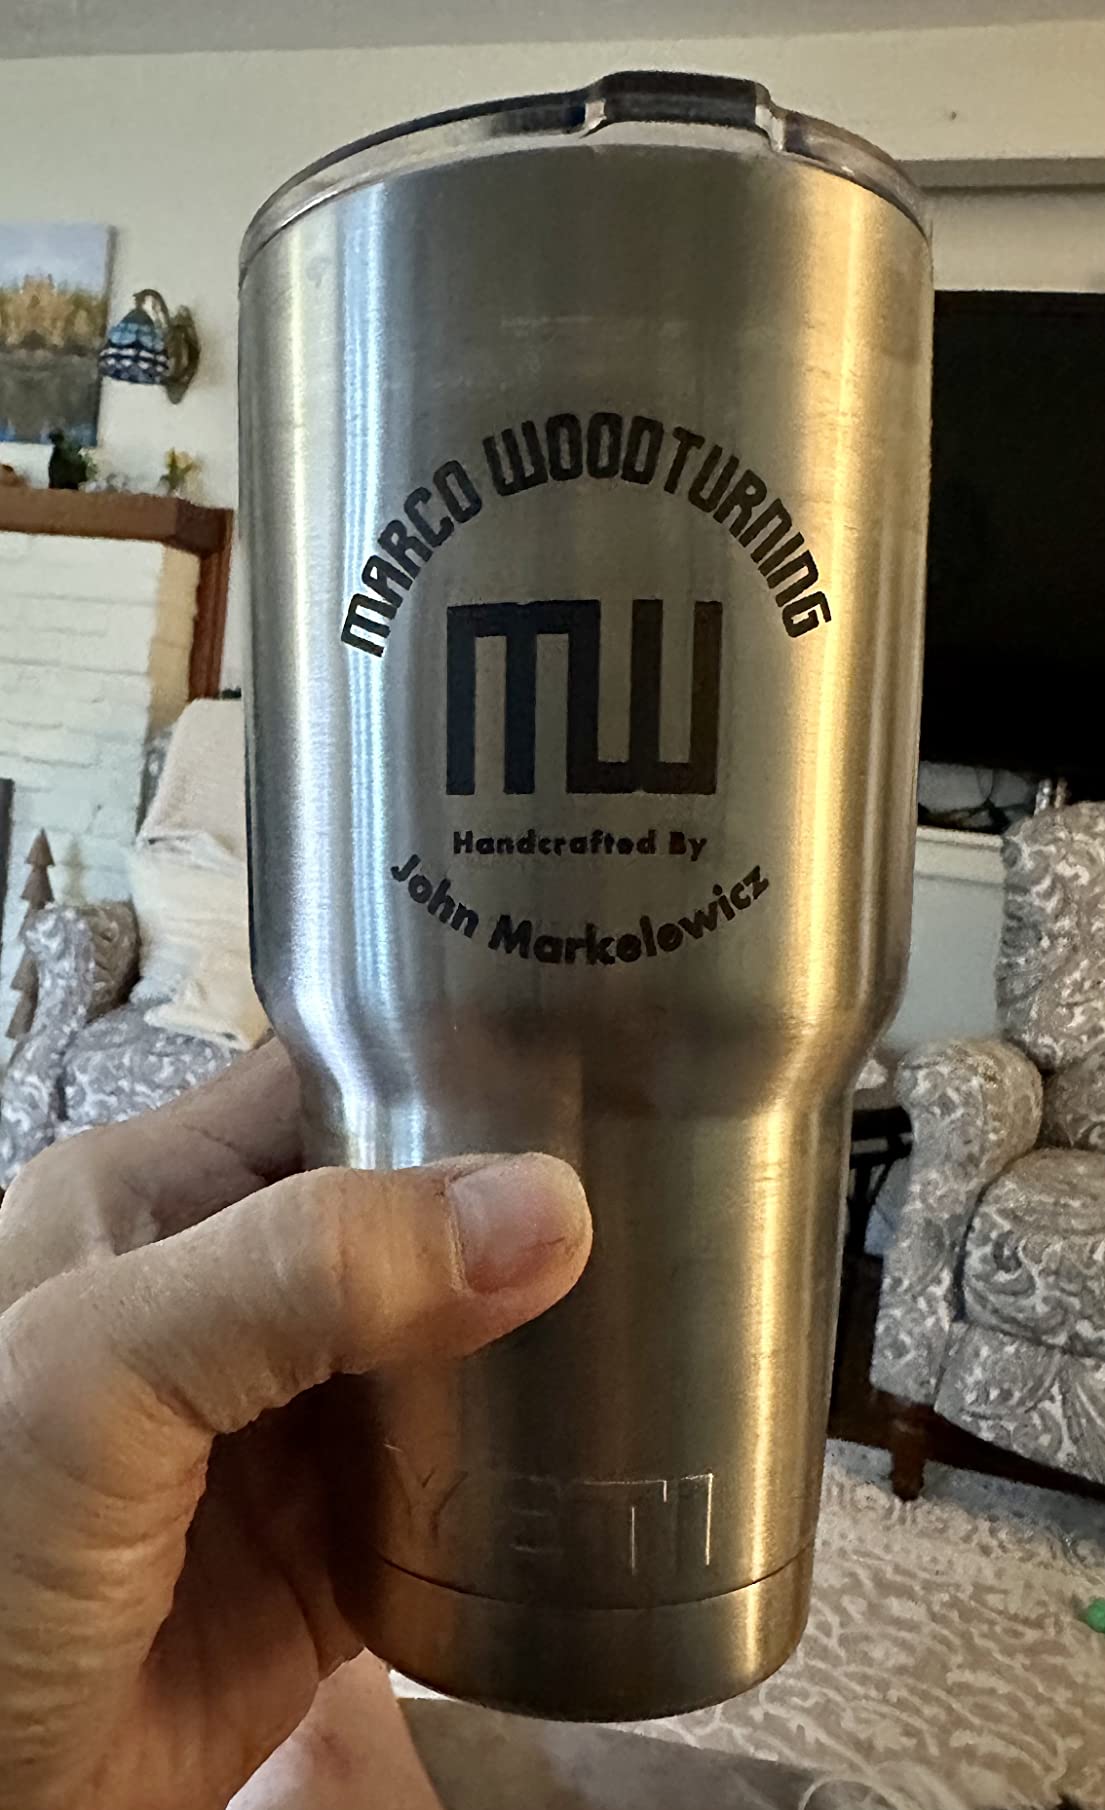
The all-in-one frame uses a scroll-to-resize chuck with interchangeable jaws, and installation is a four-step process. It is a 1.69 kg aluminum body, so it is one of the lighter chucks in this roundup and easy to reposition between machines.
On software it covers Laser Explorer, LaserGRBL and LightBurn across Windows, Mac and Linux, and owners confirm it works with all ORTUR machines plus most third-party engravers.
Who this suits
Pick this if your work spans very small to medium items on one machine. Pens, small dowels, bangles and ornaments all fall inside the published ranges, and the ring and sphere modes mean you are not buying a second attachment to expand into jewelry.
Who should skip it
The review base is 98, thinner than the ORTUR roller and much thinner than the xTool units, so long-term durability is less well documented. Resizing the chuck and changing jaws needs the included chuck key, which is fiddly when you are trying to reset between two jobs in a hurry.
5. xTool RA3 – Premium Pick for MagSwap Speed
xTool RA3 World’s First Smart MagSwap Rotary for xTool P3, F2 Ultra, F1 Ultra, F2 Laser Engraver, 360° LiDAR Mapping Alignment, Intelligent Rotary that Masters Engraving on Rings, Tumblers & Ornaments
MagSwap magnetic quick swap
130mm chuck
LiDAR mapping alignment
Batch processing
Pros
- Magnetic tool-free swap between chuck roller sphere and ring
- 130mm chuck handles larger work
- LiDAR mapping with mode recognition and auto-focus
- One-step inner ring angle adjustment
Cons
- Software lacks center-origin definition and origin reset
- Rotary speed caps at 400mm per second
- F2 and F2 Ultra owners may need to shim for focus
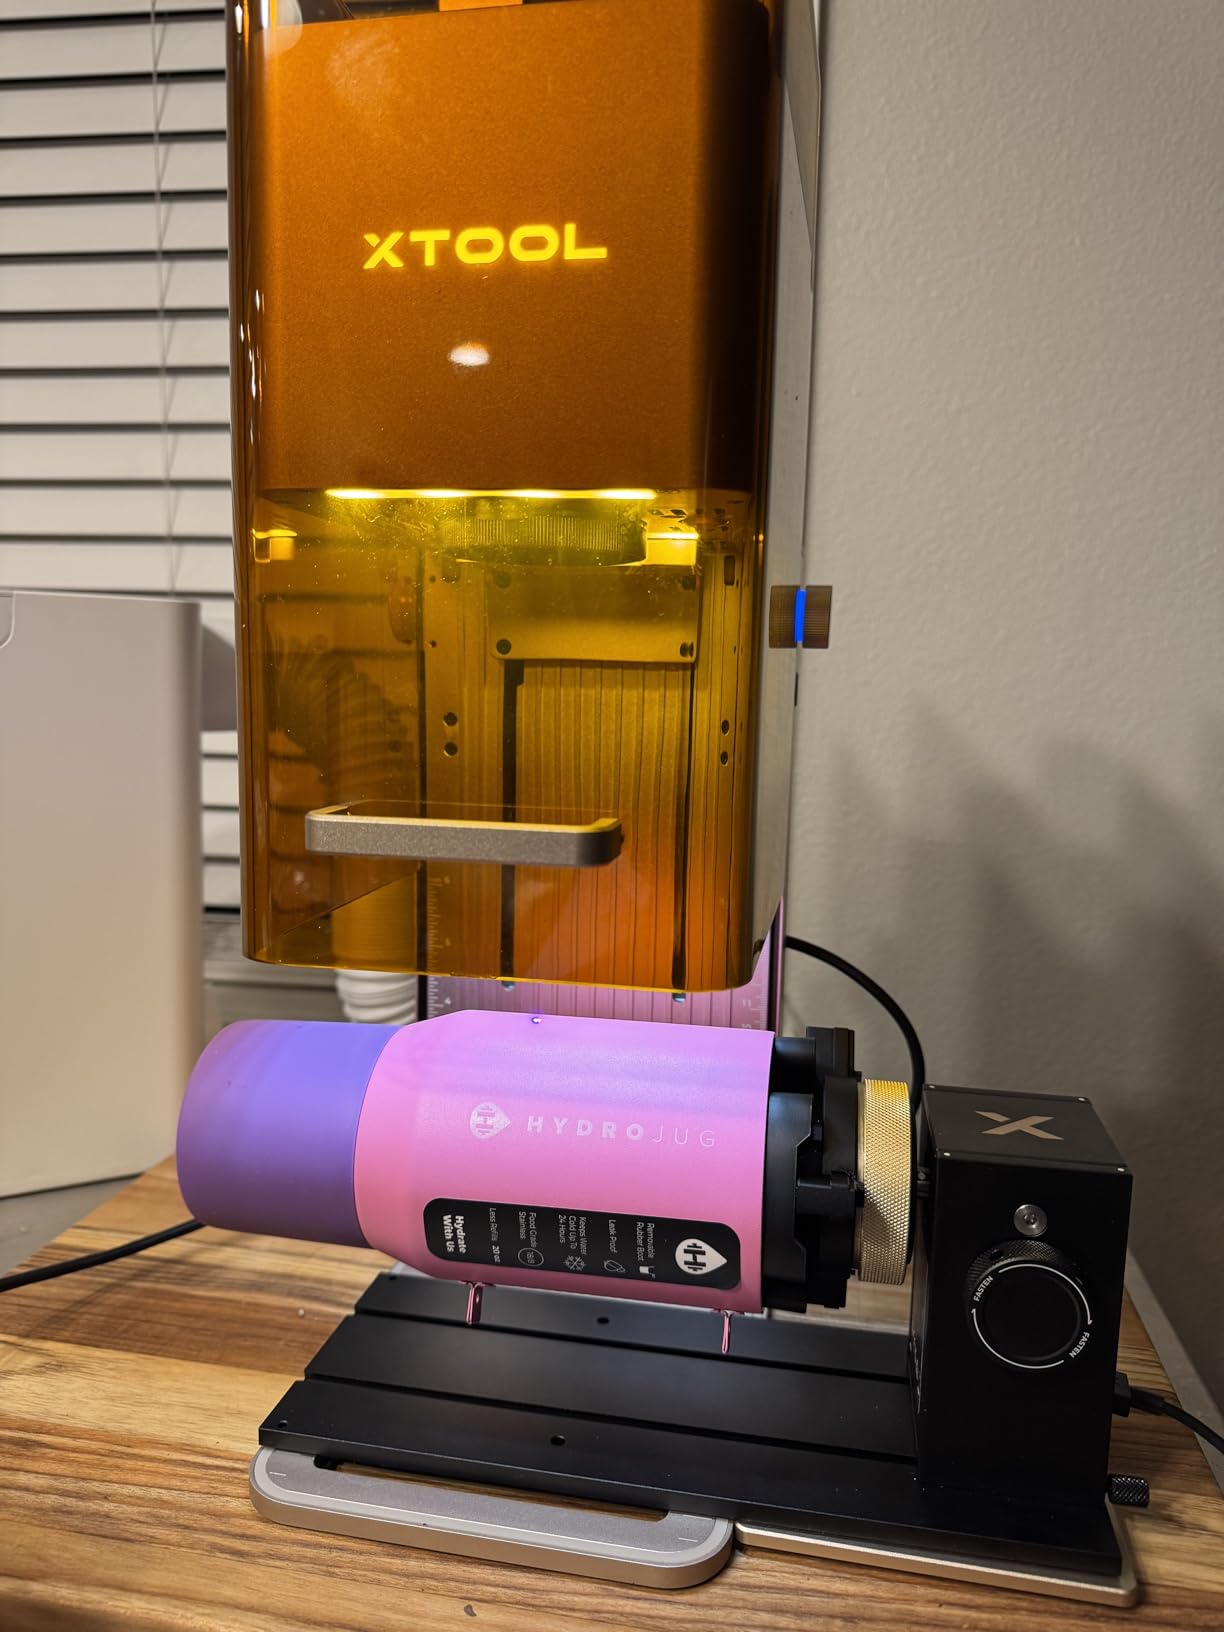
The RA3 is the most refined mechanism in the roundup. MagSwap uses magnetic tool-free quick-change between the chuck, roller, sphere and ring attachments, and owners who upgraded from the RA2 report noticeably easier size changes and better precision as a direct result.
The chuck is enlarged to 130mm, so it takes on work the RA2 Pro will not, and LiDAR mapping alignment adds automatic mode recognition, a 3D preview and auto-focus on the P3. There is also a one-step inner ring angle adjustment for fine ring work and batch processing support for roller and jaw modes with separately sold batch kits.
The reservations are about software and machine integration rather than the hardware. Owners report no center-origin definition, awkward radial preview framing, and no origin reset when a job is cancelled. Rotary speed is capped at 400mm per second regardless of which laser it is fitted to.
F2 and F2 Ultra integration has its own rough edges: smoke extraction is less effective with the RA3 fitted because the hood stays open, and those setups lack a jig or stand insert, so repeatability depends on hand-aligning printed lines. Standard tumblers can also sit beyond focal distance on the F2 baseplate, which means the laser needs shimming.
Who this suits
This is for someone engraving constantly across several part types and who will feel the difference between magnetic swapping and a keyed chuck. If you move between tumblers, rings and ornaments all day, the setup time saved is the argument.
Who should skip it
Do not buy it for the software experience. The reported limits on origin handling and preview framing are the most common complaints, and the 65-review base is small next to the 723 behind the ORTUR roller. If you are on an F2 or F2 Ultra, plan on the shim and the extraction issue from day one.
6. Creality Rotary Roller Pro – Best for Irregular Shapes
Creality Rotary Roller Pro, Laser Engraver Accessories 3-in-1 Kit for Falcon and Other Engraving Machines, Jaw Chuck for Glass, Cylindrical Objects, Ring, Cups, Pens
Three jaw profiles
1-110mm cylinders
10-130mm spheres
PH2.0-6P interface
Pros
- Trapezoidal L-shaped and hexagonal jaws in one kit
- Soft anti-slip pads grip glass without scratching
- Covers cylinders spheres rings and shaped mugs
- No assembly required before first use
Cons
- Risers are not included so mounting needs extra parts
- Software setup has a learning curve
- 8 percent of ratings are one star
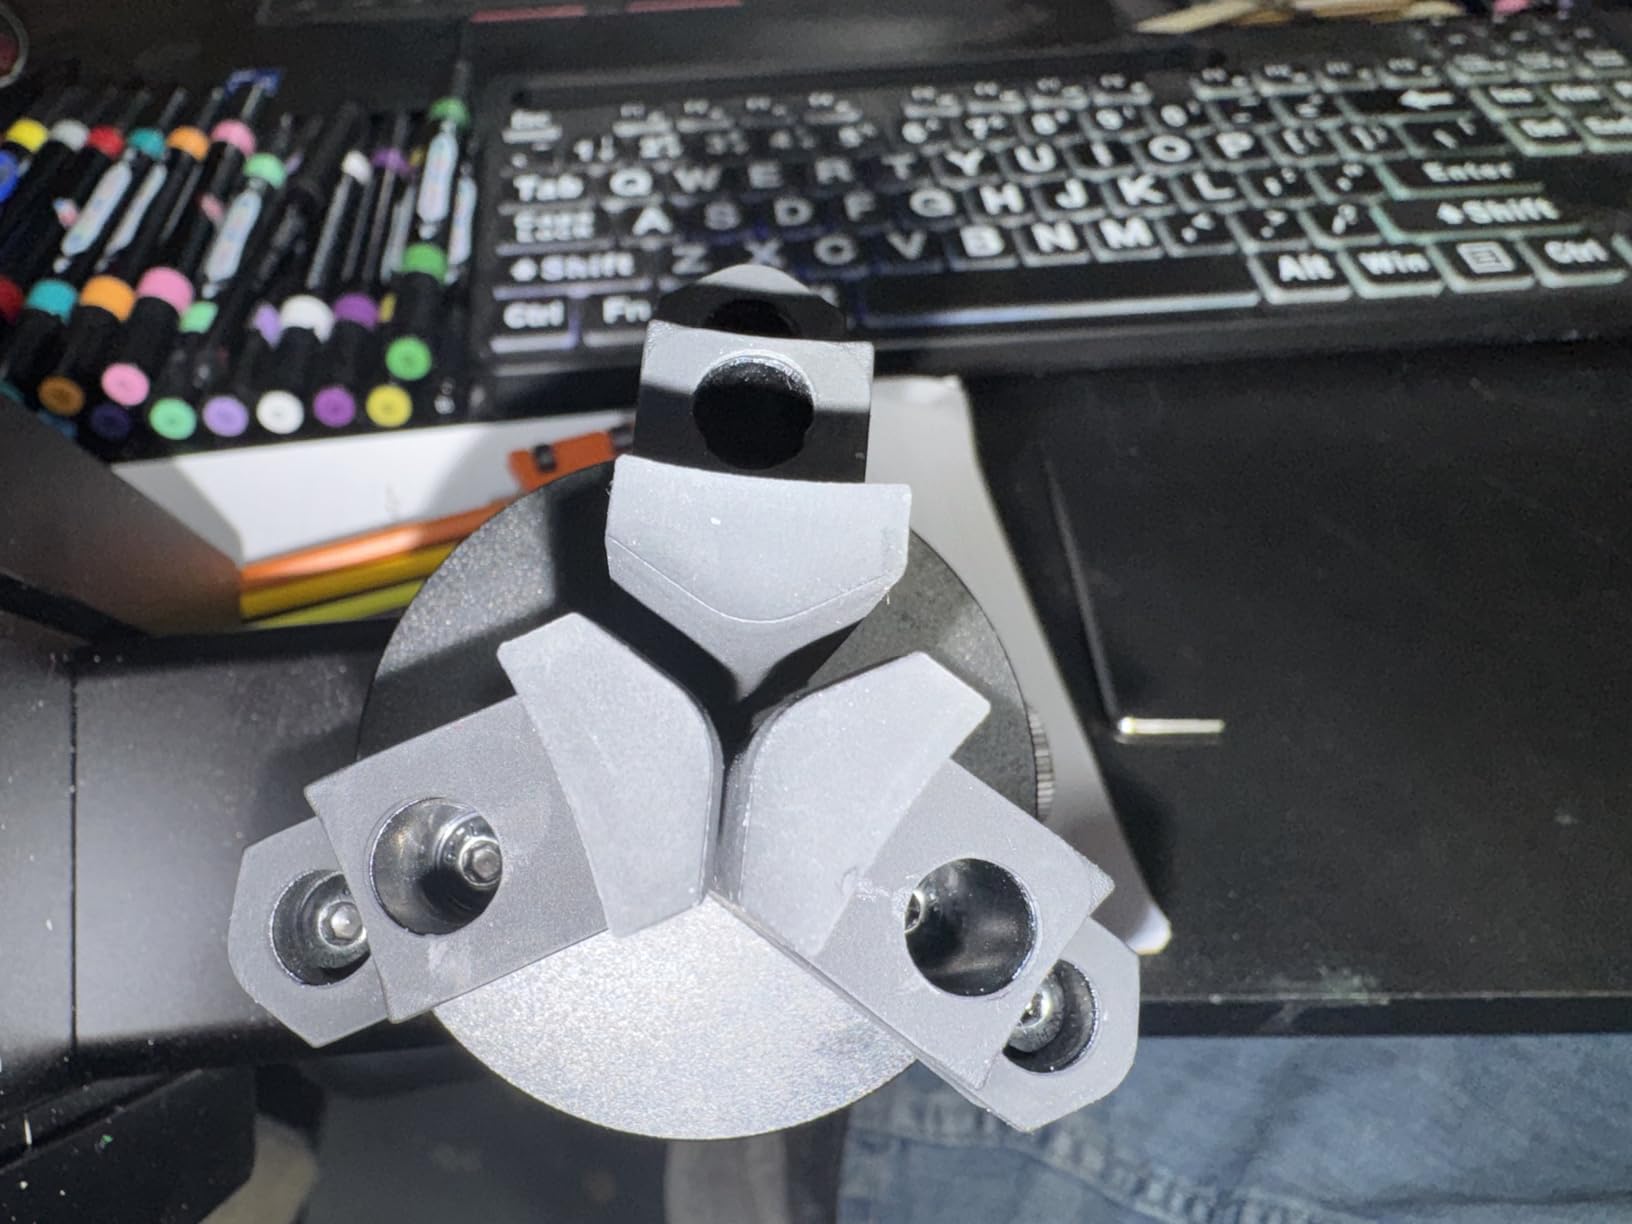
The Creality Rotary Roller Pro is the most interesting shape-handling kit in the roundup because it ships three jaw profiles rather than one. The trapezoidal, L-shaped and hexagonal jaws let you hold a straight cylinder, a handled mug or an angular object without buying a second gripper.
Its published coverage is wide: cylinders from 1mm to 110mm, shaped cylinders such as handled mugs and tumblers from 25mm to 75mm, spheres from 10mm to 130mm, and rings and bracelets from 15mm to 100mm.
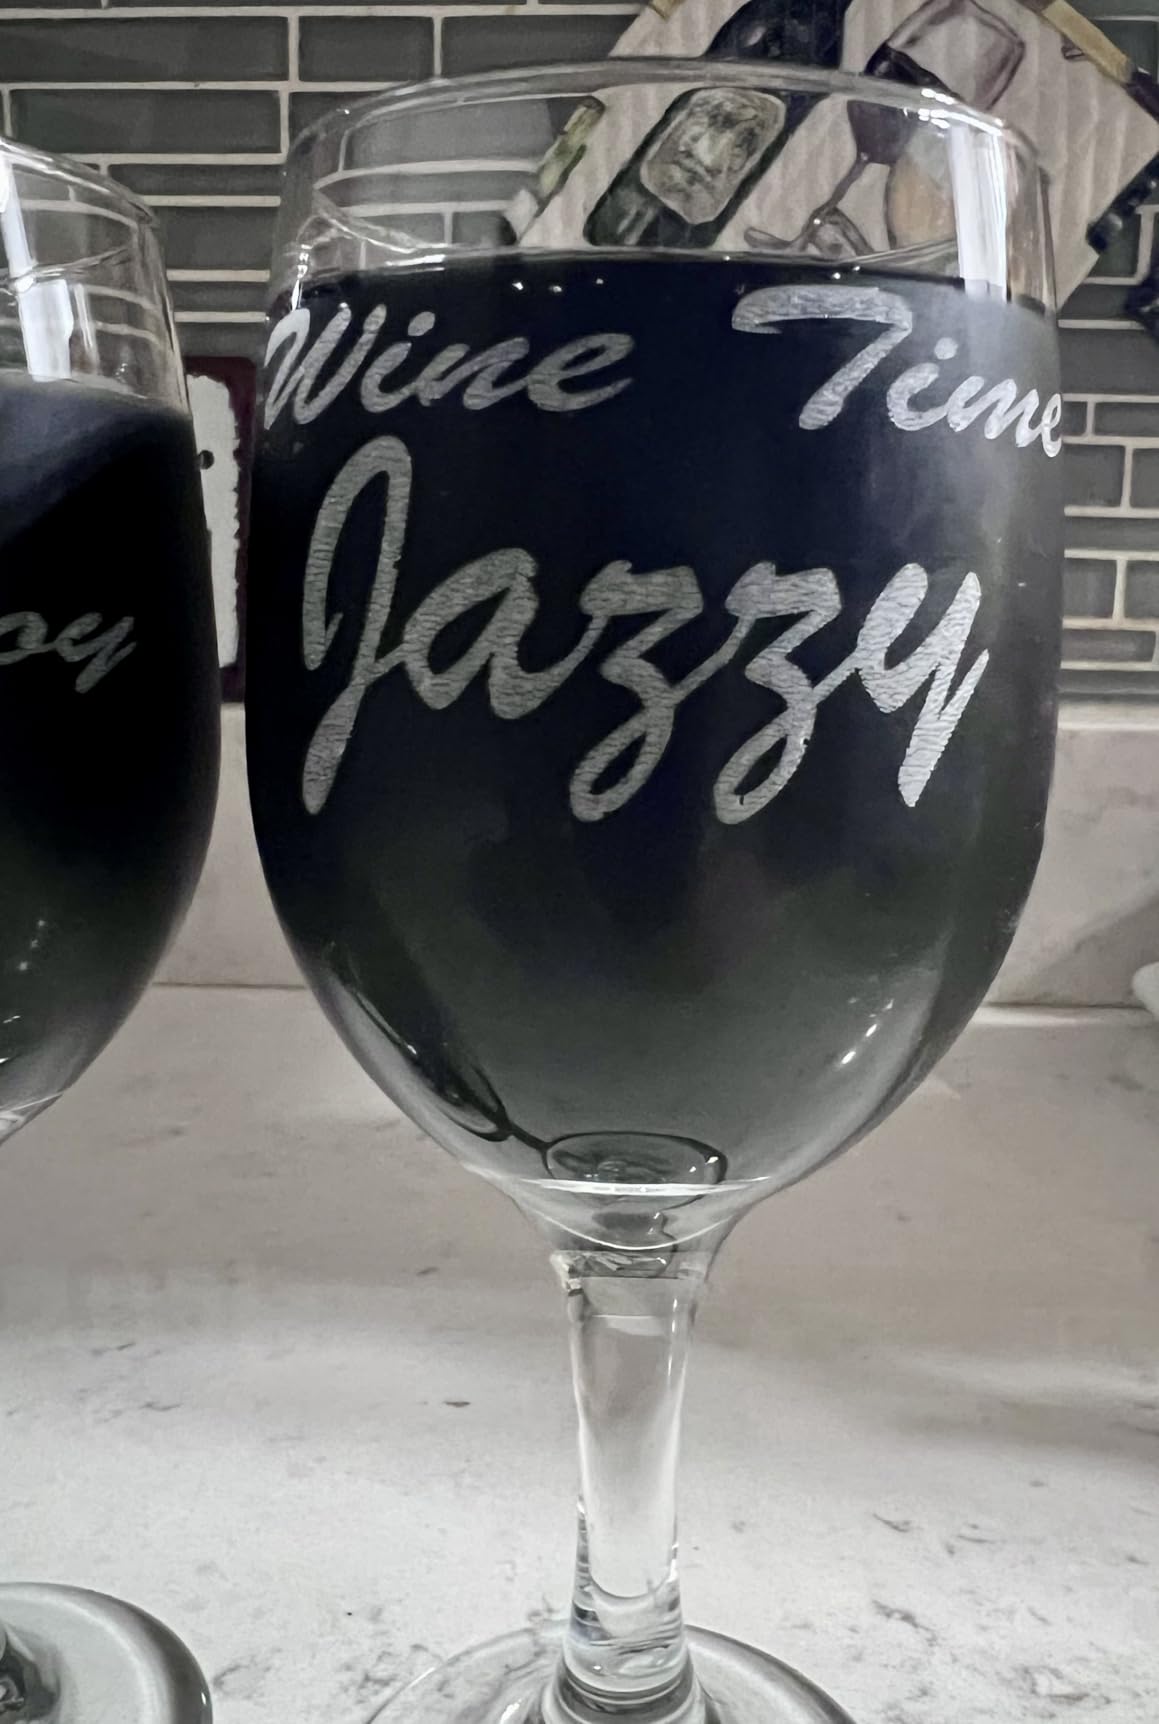
The anti-slip soft pads are the detail we liked most in testing. They increase friction between jaw and workpiece and protect fragile finishes, which matters when you are marking a glass or a powder-coated tumbler and cannot afford a scuff.
Setup is genuinely zero-assembly, and the PH2.0-6P six-pin interface is documented as compatible with the Creality Falcon series and roughly 95 percent of laser engravers. It runs under LaserGRBL and LightBurn. Buyers describe the construction as solid for the money.
Who this suits
It fits makers whose order list mixes shapes. If handled mugs sit next to plain bottles next to a bracelet, the three jaw profiles save you from re-machining between jobs. It is also a natural match for Falcon-series machines.
Who should skip it
Risers are not included, so you will need to source mounting hardware separately before first use. The software setup has a learning curve that the owners mention directly. One unit also failed within two weeks with warranty support reported as difficult to obtain, which is worth weighing against a 53-review base.
7. ACMER M4 – Best for a Wide Roller Spacing Range
ACMER M4 Laser Rotary Roller, 360° Y-Axis Rotary Attachment for Laser Engraver, 3–150mm Adjustable Engraving Space, for Cylindrical Objects, Rings, Compatible with Most Laser Engravers
3-150mm roller spacing
High-friction rubber rollers
Pre-assembled
Aluminum frame
Pros
- 3-150mm spacing covers small rings to large cylinders
- Comes fully assembled and connects to the Y-axis port
- High-friction rubber rollers reduce slippage on heavy stock
- Rigid aluminum frame stays aligned through a job
Cons
- Roller only design cannot hold spheres or rings
- Material is listed as aluminum and plastic
- Average rating of 4.2 on 46 reviews
The ACMER M4 is a spec-forward roller, and the number that matters is the 3-150mm adjustable roller spacing. That is the widest span in this group on a single unit, running from small rings through to large cylinders without a frame swap.
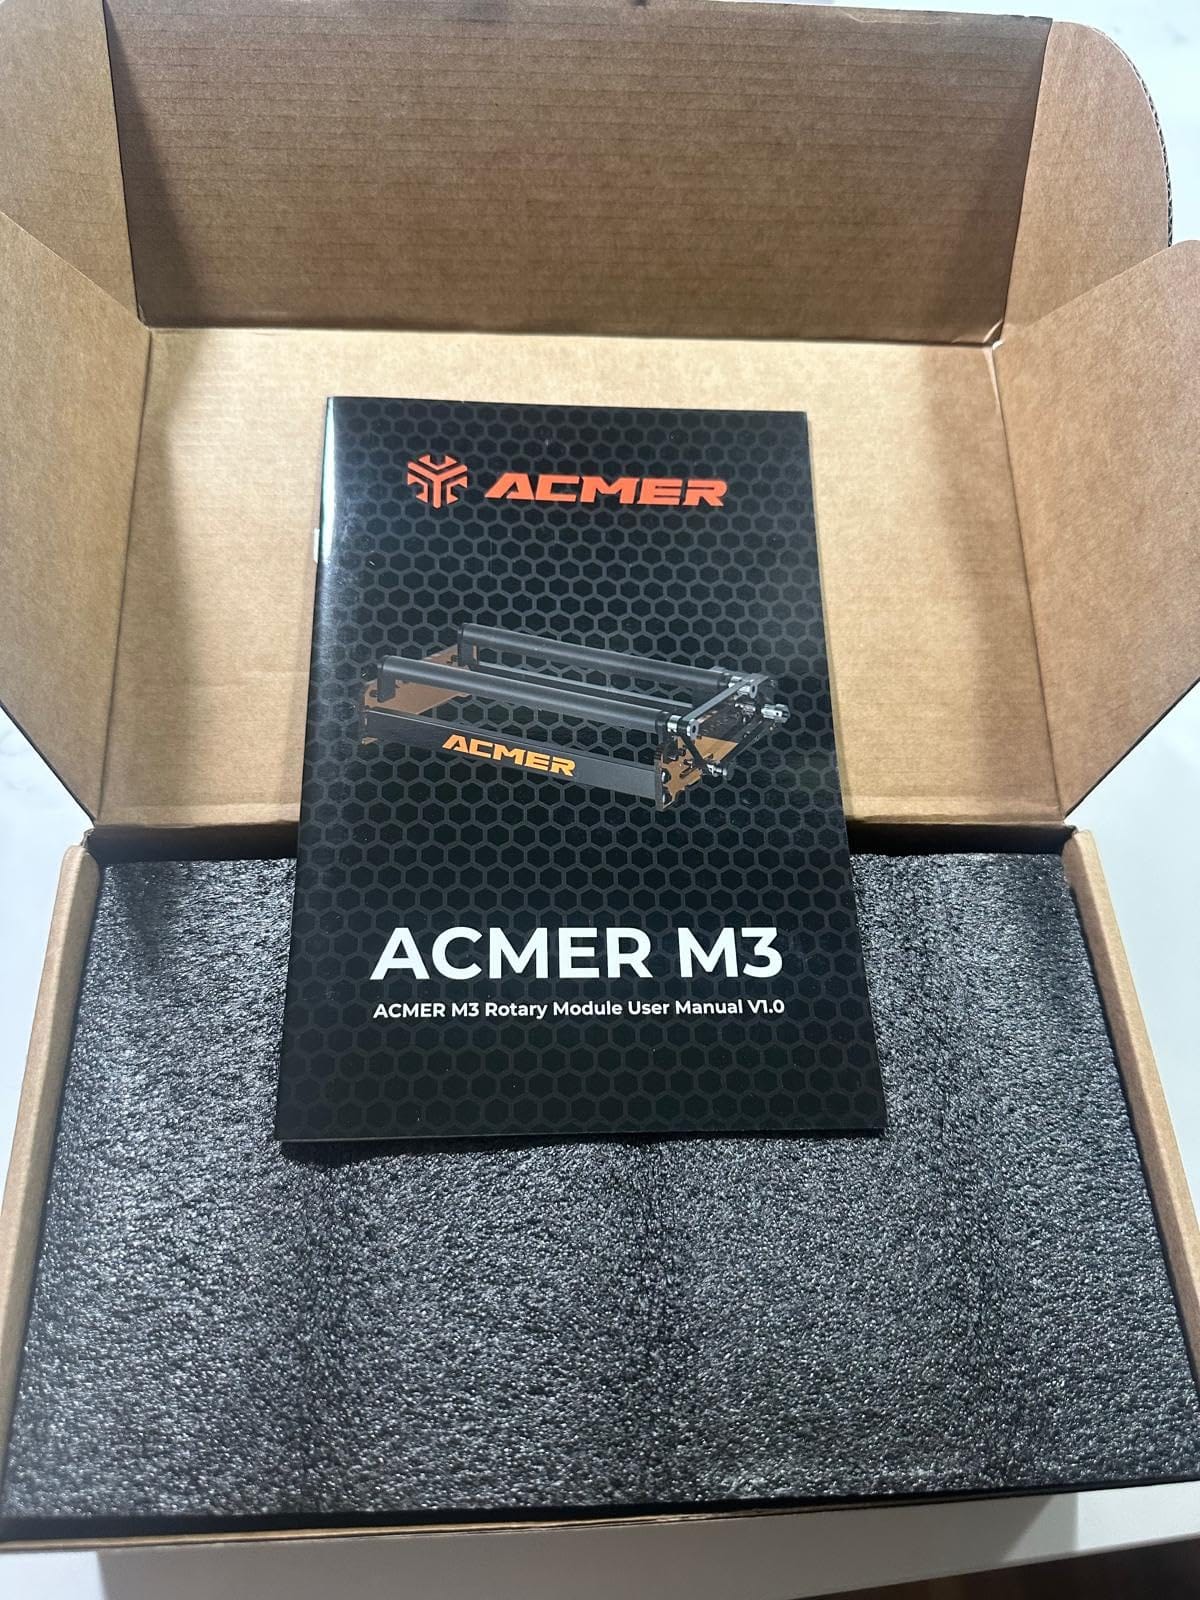
It arrives 100 percent pre-assembled and connects straight to the Y-axis port, so there is no build step between opening the box and engraving. The rigid aluminum frame and high-friction rubber rollers held alignment steady through our longest single pass.
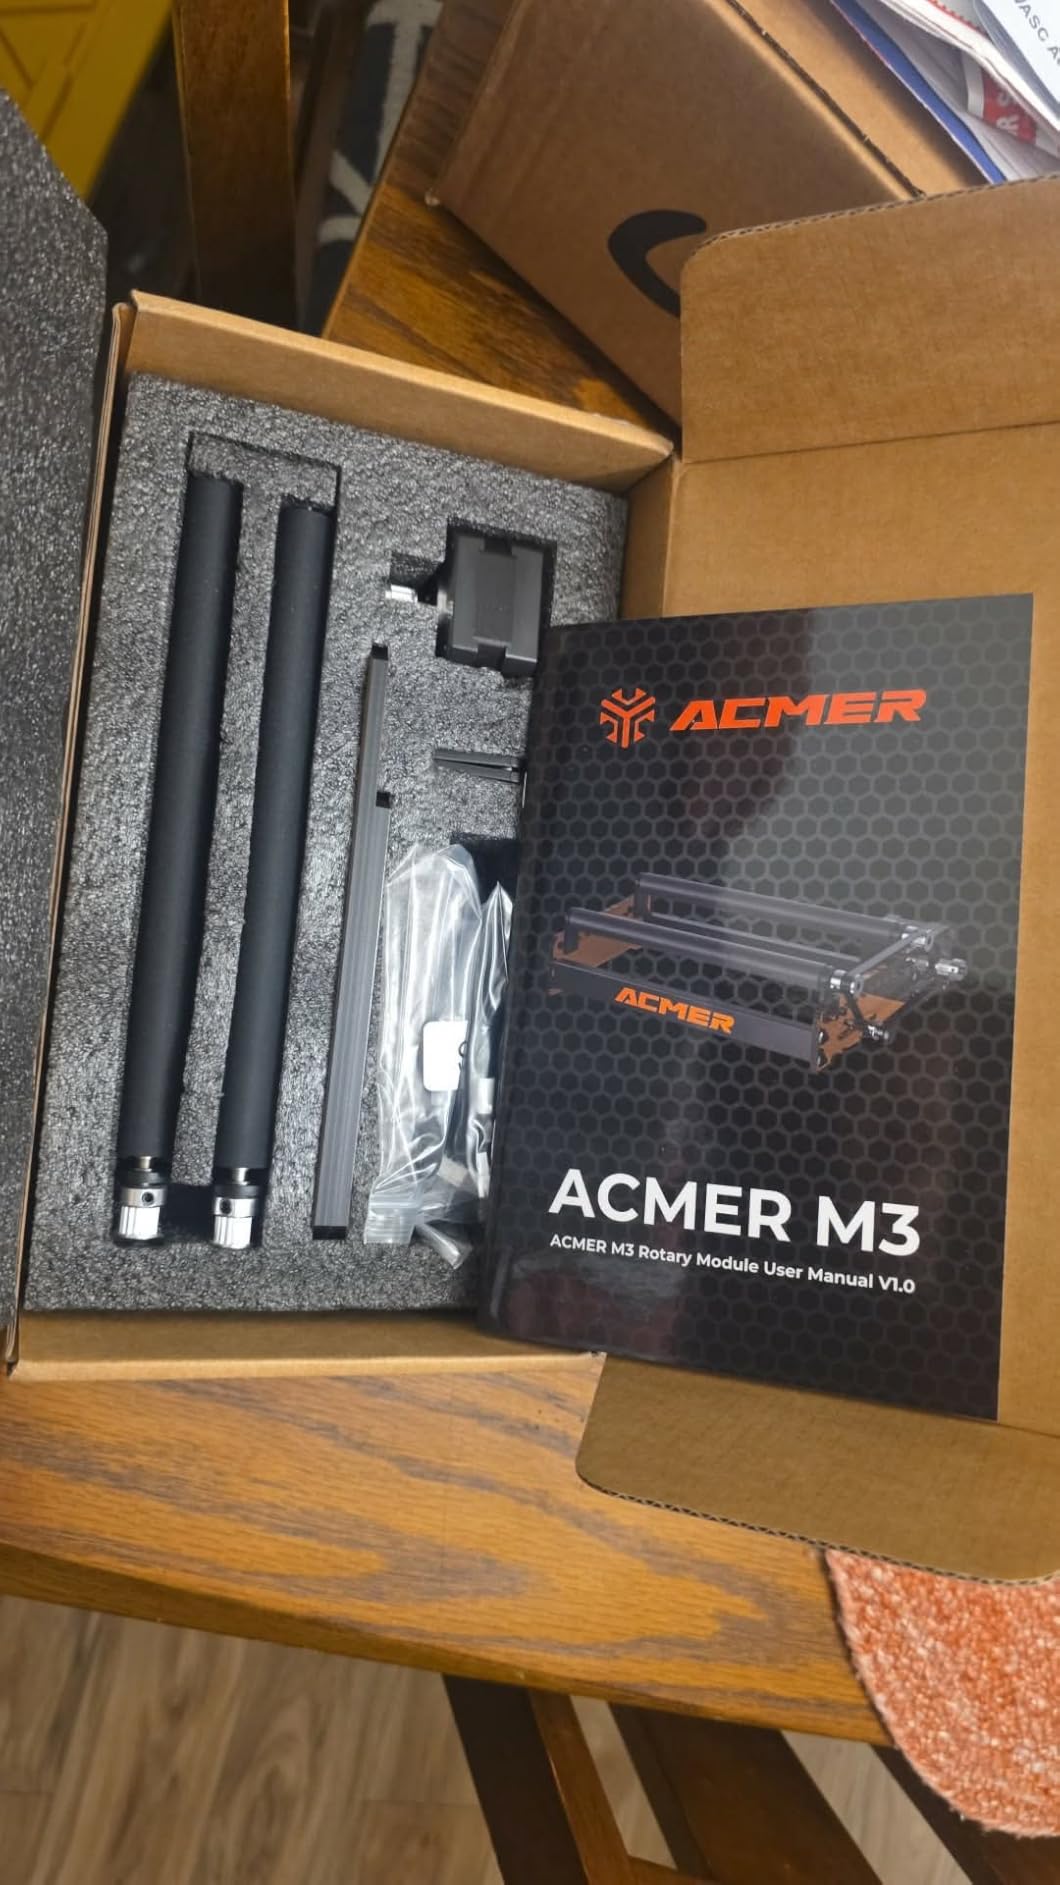
Compatibility is documented for ACMER S2, P1, P2 and P3 plus most diode laser engravers, and it works with Acmertool, LightBurn and LaserGRBL. M4, M3 and M2 variants exist if you want a smaller frame later.
The honest caveat is the specification itself: the material is listed as aluminum and plastic, and the 4.2 average across 46 reviews is the lowest in this group. Grip and stability draw consistent praise; long-term durability is simply less well evidenced.
Who this suits
It suits a diode engraver owner who wants one roller to cover a very wide diameter spread and does not want to assemble anything. If you mostly engrave straight cylinders and do not need to hold rings or spheres, the wide spacing is a genuine advantage.
Who should skip it
It cannot hold spheres, rings or irregular shapes, which rules it out for permanent jewelry. With 46 reviews and an aluminum-and-plastic build, buyers who care about long-term service life in a production shop should look at the metal-bodied chuck options instead.
8. OMTech 3-Jaw Chuck – Best for 50W and Larger CO2 Lasers
OMTech Rotary Axis Attachment with 3-Jaw Chuck for CO2 Laser Engravers
3-jaw chuck and tailstock
50W to 130W CO2 lasers
Two-phase stepper
9 kg build
Pros
- Built specifically for 50W to 130W CO2 tube lasers
- 3-jaw chuck and tailstock hold larger work steady
- Iron and aluminum alloy with corrosion proof coating
- Single 4-wire cable to the rotary port
Cons
- Excludes diode and fiber machines entirely
- Heaviest unit in the roundup at 9 kg
- Longest frame at 22.8 inches
The OMTech LRA-KP58 is the only true 4th-axis industrial unit in this roundup. It is built for CO2 tube lasers of 50W and higher, and nothing else in the list is designed for that class of machine. If you run a 60W, 80W or 130W CO2 engraver in a shop, this is the attachment that matches it.
The hardware is genuinely heavy-duty: a precision-engineered 3-jaw chuck paired with a matching tailstock, a two-phase stepper motor for smooth and quiet rotation, and an iron and aluminum alloy body with a corrosion-proof coating for daily commercial use.
Installation is a single 4-wire cable to the dedicated rotary port plus a software setting, and the included components list names compatibility with 50W, 60W, 80W, 100W and 130W CO2 machines. The frame measures 22.8 by 5.9 by 7.1 inches and the unit weighs 9 kg, so plan your bench space before it arrives.
The rating spread is worth reading carefully. There are no 1-star reviews at all in this listing, but 2-star and 3-star shares sit at 7 and 9 percent, which tells you the dissatisfaction is about value and machine-specific fit rather than outright failure.
Who this suits
This is a production purchase for a CO2 shop. The tailstock support and 3-jaw grip are what make long workpieces and heavy stock repeat accurately run after run, and the metal body tolerates the wear a paid job queue generates.
Who should skip it
If your machine is a diode or fiber laser, move on, this unit excludes both. It is also the heaviest and longest attachment we tested at 9 kg and 22.8 inches, so check that your bed and your bench can take the footprint before you commit.
9. AlgoLaser ARC – Best 4-in-1 for Glassware
AlgoLaser 4-in-1 Y-axis Rotary Roller and Rotary Chuck for Engraving(Not applicable to PIXI),180° Adjustable Jaw Chuck, for Tumblers, Bottles, Rings and Cylinders, Compatible with Most Laser Engravers
Jaw chuck roller sphere and ring
180 degree jaw chuck
Pre-wired
5.2 pounds
Pros
- Chuck roller sphere and ring modes in one attachment
- 180 degree jaw chuck with a movable support
- High-torque stepper and anti-slip rollers
- Pre-installed wiring for plug-and-play setup
Cons
- Not compatible with the AlgoLaser PIXI
- Only 25 reviews so long-term reliability is thin
- 8 percent one-star and 8 percent two-star with no 3-star ratings
The AlgoLaser ARC packs four working modes into a 5.2 pound frame: jaw chuck, roller, sphere engraving and ring engraving. The 180 degree adjustable jaw chuck with a movable support is what lets it handle objects of very different sizes without a second tool.
Owners of this unit tend to come from glass. The high-torque stepper motor and anti-slip rollers produce stable, clean lines on goblets and bottles, and the chuck holds a stemware stem far more securely than a friction roller would.
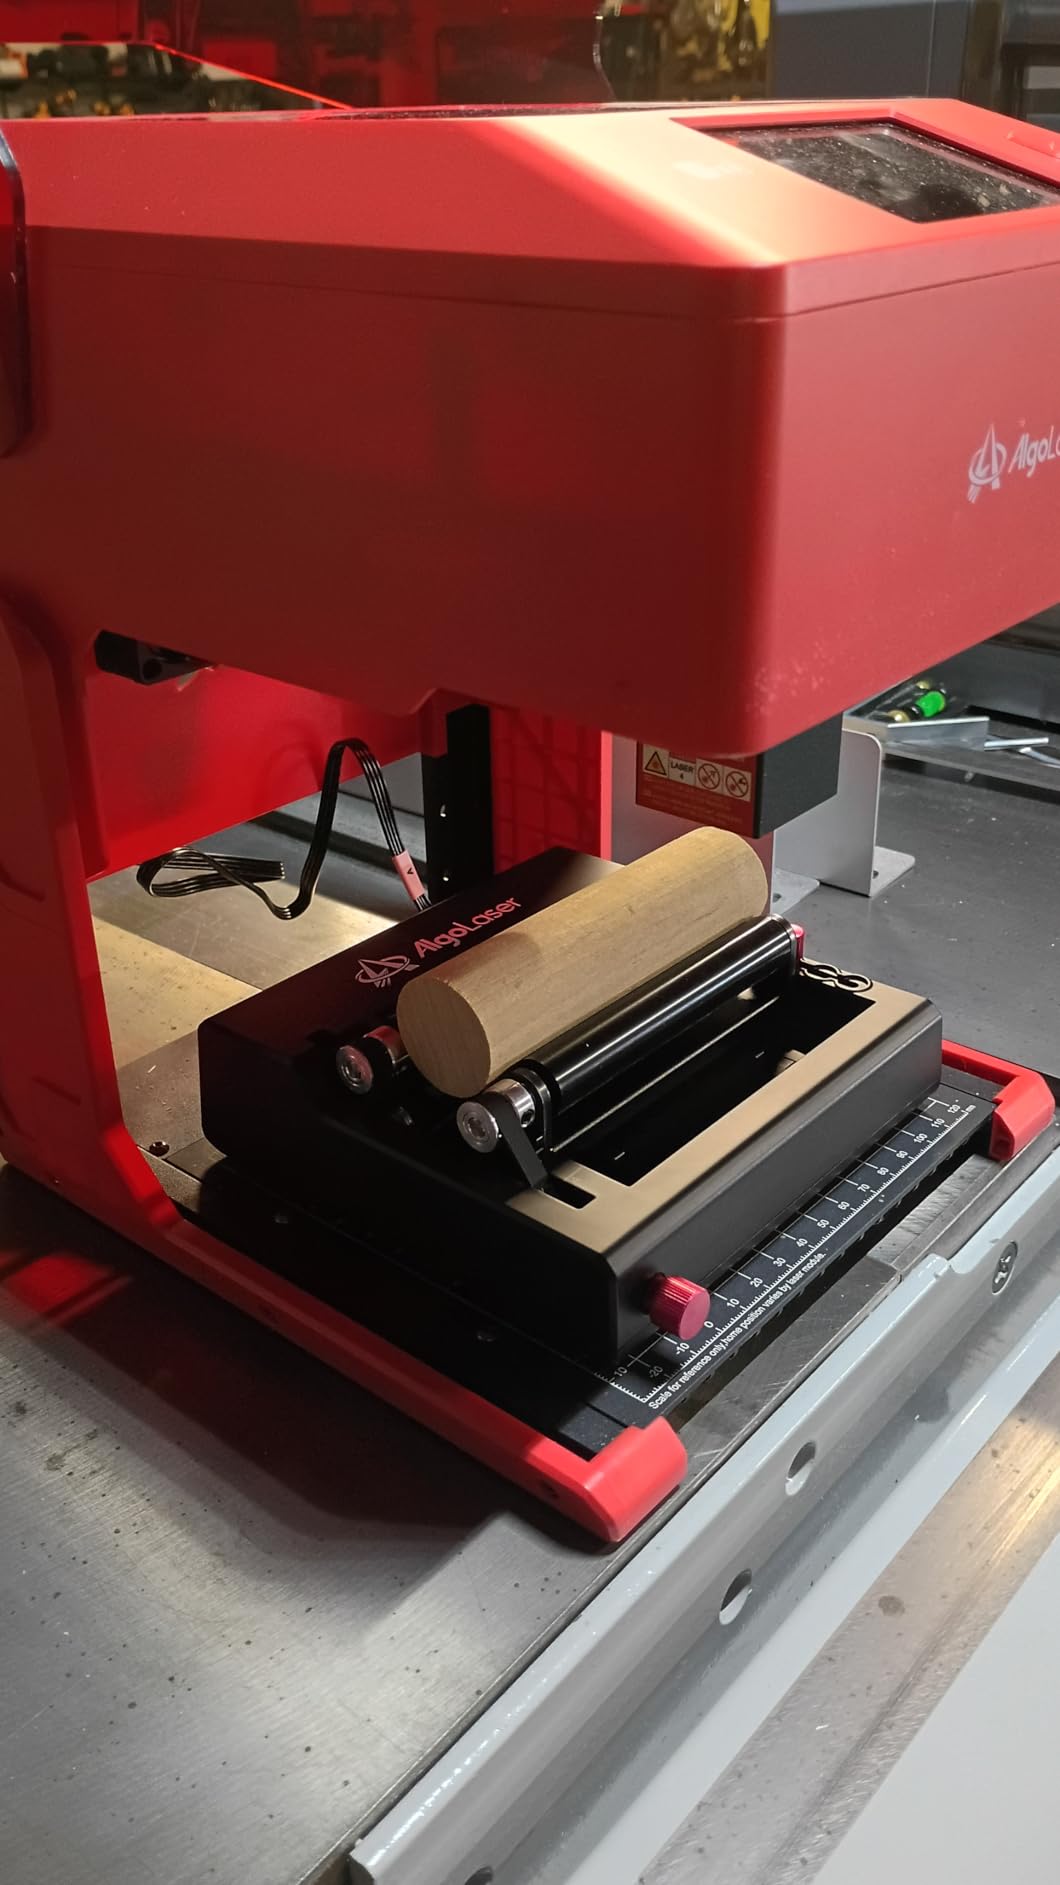
Wiring is pre-installed, so it is a connect-and-run attachment rather than a project. The listing states compatibility with AlgoLaser and most major laser cutter brands, in gray, black-3 and Classic Black variants.
Two honest caveats. First, the listing states explicitly that it is not compatible with the AlgoLaser PIXI. Second, with 25 reviews the sentiment is polarized at the extremes, including 8 percent one-star and 8 percent two-star with no 3-star reviews, so a few owners report connection problems on their machine.
Who this suits
It suits a glassware specialist. Wine glasses, goblets and bottles are the workloads owners praise, and the sphere and ring modes mean you can add ornaments and bangles later without another purchase.
Who should skip it
Own a PIXI? This is not the attachment for you. Everyone else should note the thin 25-review base and the polarized rating spread, which points to connection issues on certain machines rather than a design flaw.
10. SCULPFUN RA Pro – Best for Spherical and Delicate Work
SCULPFUN RA Pro Rotary Chuck for Laser Engraver, 3 in 1 Multi-function Laser Rotary Module with 180° Adjustable Angle, Y-axis Jaw Chuck Rotary for Engraving Cylindrical Objects,Tumbler, Ring
Three claw sets
180 degree claw plate
Brass claws
Caliper and level ruler
Pros
- Trapezoidal L-shaped and hexagonal claw sets
- Brass claws on an anodized aluminum plate
- Side angle indicators read the 180 degree adjustment
- Caliper and level ruler included for setup
Cons
- No rotating roller included despite the listing copy
- Connection problems reported on certain machines
- Only 20 reviews with a 9 percent one-star share
The SCULPFUN RA Pro is the most precise-feeling chuck in the roundup, and the 4.6 average says owners notice. The claw plate is anodized aluminum alloy with high-strength brass claws, and brass on aluminum is a pairing that resists slipping and corrosion better than bare steel.
Three claw sets ship in the box, trapezoidal, L-shaped and hexagonal, which covers wine glasses, baseballs, bats, glassware and handled mugs from the same attachment. The hand-turn screw tailstock secures spherical objects on-axis.
Two small touches that genuinely helped our setup: side angle indicators printed on the claw plate, so the 180 degree adjustment is readable at a glance, and the included caliper and level ruler for measuring diameter and checking level before you burn anything. The unit weighs 1.35 kg and carries a one-year manufacturer warranty.
Compatibility is direct with the S6, S6 Pro, S9, S10, S30, S30 Ultra and SF-A9, and it works with LightBurn and LaserGRBL through the included adapter cables. No manual installation is required.
Who this suits
It suits someone working on balls, ornaments and other spherical pieces, which is what the hand-turn tailstock is for. The brass claws and soft approach also suit delicate finishes where a steel jaw would mark the workpiece.
Who should skip it
There is no rotating roller in the box despite the listing copy describing one, so this is a chuck-only tool. Note also the 20-review base, the smallest here, and a 9 percent one-star share, with connection problems reported on certain machines.
Which Rotary Fits Which Laser: Compatibility Notes?
Before anything else, check what port your machine actually has. The Y-axis swap designs below take over your Y motor, which means no Y travel while connected. That is the question that stalls most first-time buyers, so settle it before you pick a brand.
xTool S1, F1, F1 Ultra, P2, D1 Pro and M1 Ultra: the RA2 Pro is built for this list and works with Laserbox Basic, LaserGRBL and LightBurn. The RA3 covers P3, F2 Ultra, F1 Ultra and F2, with separate variants for P2 and P2s. Both are plug-and-play and need no wiring changes.
Longer RAY5 and Laser B1: the Longer roller ships a white connector for these machines and for roughly 80 percent of engravers, plus a black connector for the remaining share, so you rarely need to rewire.
ORTUR machines: both the YRR roller and the YRC1.0 chuck are covered, and the YRC1.0 runs under Laser Explorer, LaserGRBL and LightBurn. The YRR works with most third-party machines once you swap the blue and green wires.
Creality Falcon series: the Rotary Roller Pro uses a PH2.0-6P interface documented for the Falcon series and roughly 95 percent of laser engravers.
ACMER S2, P1, P2 and P3: the M4 plugs into the Y-axis port and works with Acmertool, LightBurn and LaserGRBL, and it is also documented for most diode engravers.
SCULPFUN S6, S6 Pro, S9, S10, S30, S30 Ultra and SF-A9: the RA Pro connects through the included adapter cables and runs under LightBurn and LaserGRBL.
AlgoLaser machines: the ARC is listed for AlgoLaser and most major brands, with the explicit exception of the PIXI.
50W and larger CO2 tube lasers: only the OMTech 3-jaw chuck is built for that class, and it excludes diode and fiber machines entirely.
One safety note worth taking seriously. Connecting a non-branded rotary to a branded machine raises genuine questions about driver and controller matching, because the motor and its driver are sized together. Match the connector, confirm the motor type, and check the voltage before powering anything up rather than after.
How to Choose a Laser Rotary Attachment
1. Confirm the mount and the port. Y-axis swap units disable Y travel. If you alternate between flat and curved jobs daily, a machine with a dedicated rotary port, or a threaded-mount spindle, is worth the extra planning.
2. Measure your real workpiece range. Measure diameter at the height where the laser will actually mark, not at the rim. For a tapered 20oz tumbler you need a jaw range and a tilt or angle adjustment that lets the chuck meet the taper, which is why the units with 180 degree adjustment are popular for drinkware.
3. Check the small end. A unit that clamps 25mm and up cannot hold a pen. If small work is part of your mix, look for a low minimum diameter: the YRC1.0 goes down to 1mm and the Creality kit starts at 1mm for cylinders and 15mm for rings.
4. Check the long end and the weight. Length capacity decides whether a wine bottle fits. The RA2 Pro is 18 inches long and the OMTech 4th-axis is 22.8 inches, while the Creality and AlgoLaser frames sit near 14 inches. Heavier assemblies resist motor strain but eat bench space.
5. Look for a tailstock and tilt. A tailstock supports the far end so a long workpiece does not bow or chatter. Tilt or angle adjustment is the feature that decides whether a tapered tumbler engraves evenly.
6. Confirm the software, not just the hardware. LightBurn, LaserGRBL, RDWorks, EZCAD and Ruida-based controllers all handle rotary parameters, but the fields differ. Every unit here lists LightBurn or LaserGRBL support; check your specific controller before buying anything else.
7. Read the one-star share, not just the average. The 4.4 averages in this roundup hide one-star shares between 7 and 9 percent, and the ACMER 4.2 is pulled down by quality reservations rather than by fit.
8. Match the material. Wood, acrylic, glass, anodized aluminum, coated metal and leather all engrave well on a rotary. Avoid highly reflective bare metal, which wastes power and can damage the optics. Anti-slip soft pads matter if you are marking glass or a tumbler powder coat.
9. Think about what you will actually make. Tumblers, insulated drinkware and personalized wedding items are the highest-volume rotary work. Batch engraving with a multi-workpiece jig and the Count and Increment tools in LightBurn is a separate purchase from any attachment on this list.
How to Calibrate Steps per Revolution in LightBurn and LaserGRBL
The steps-per-revolution value is the number most owners get wrong, and it is also the number most often asked about in laser forums. It is not printed on the rotary; it is derived from your motor, driver microsteps and gear ratio. Calibrate it empirically instead.
Use a flat test object. Find a straight-sided cylinder with a known diameter, such as a soda can or a large battery. Do not calibrate on a tapered tumbler, because the taper will corrupt the result.
Mark the surface. Use a fine line at full width so you can see any stretch or compression immediately. Engrave a square of known width, not a circle.
Measure the result. Lay a ruler along the surface and measure the marked distance. If the line is longer than the file says it should be, your steps-per-revolution value is too low. Raise it in small increments and run the test again.
Enter the diameter separately. In LightBurn, the Rotary Axis settings take the object diameter, the steps per revolution, the gear ratio and the motor settings as separate fields. The object diameter is what tells the software how much surface the head is actually marking, so measure it at the engraving height rather than the rim.
Check the rotation direction. If the image reads mirrored around the curve, use the invert rotation direction option rather than rotating your file.
Test before the real job. Burn a small rectangle on scrap of the same material first. Cobalt, glass and anodized surfaces all respond differently to the same power and speed.
How to Level a Tapered Tumbler Before Engraving
Most streaked tumbler engravings are a leveling problem, not a hardware problem. A tapered cup touches the rollers or the chuck at one edge only, so the laser focal distance is correct at the near side and wrong at the far side, and the result is a band of deep burn fading to a scorch.
Use the level ruler or a straightedge across the top of the workpiece and adjust the tilt until the laser head clears evenly from one side to the other. A can on top of the tumbler is the community trick for holding a steady reference line while you adjust.
For a roller rotary, this means adjusting the end roller until the workpiece spins with no wobble. For a chuck, it means using the 180 degree jaw adjustment to bring the chuck axis level with the taper. If you cannot get it level, switch to a straight-sided item and calibrate rather than fighting the geometry.
Rotary Engraving Troubleshooting by Symptom
The engraving is stretched or slanted. The image looks too long around the curve, or leans to one side. This is almost always the steps-per-revolution value or the object diameter. Re-measure the diameter at the engraving height and re-run the calibration above.
The engraving is compressed. The inverse of the same fault. Raise or lower the steps per revolution in small increments and re-test on a straight cylinder.
There are visible seam lines between segments. The workpiece is not perfectly round, or it is loose. With a roller, tighten until the workpiece does not slip by hand. With a chuck, tighten the key and check the jaws are gripping evenly. On long items, adding a tailstock stops deflection.
The tumbler slips while engraving. A roller grips by friction, so slip is common at high speed. Slow the rotary rotation, increase the laser power slightly, and add tape or a soft jaw. If you rotate constantly, move to a chuck-style unit.
The engraving is upside down or mirrored. Use the invert rotation direction setting in your software rather than flipping the file, since rotating the artwork back can misalign the wrap seam.
The rotary will not move at all. Check the connector type first, since mismatched plugs are the most common cause, then confirm the machine is set to use the rotary axis rather than the Y motor. Reviewers also flag missing power at the rotary port on some machines.
The lines look fuzzy rather than crisp. That is usually surface finish, not settings. Burn a test rectangle on the same material, clean the surface first, and check the focus with the included caliper and level ruler where the manufacturer supplies one.
Frequently Asked Questions
What is a good rotary tool for engraving?
For laser engraving, a good rotary tool is a motorized attachment that replaces the Y-axis motor so the workpiece spins 360 degrees while the laser head travels along X. Roller types are quick to set up and cheap, while jaw chuck types grip mechanically and stay steadier on long or tapered work. Most makers end up owning one of each eventually, starting with a roller.
Do I lose Y-axis movement when a rotary is connected?
Yes, with a Y-axis swap rotary your machine has no Y travel while the rotary is connected. The head cannot move up and down the bed, so you position the laser by hand before each job. Machines with a dedicated rotary port, or a threaded-mount spindle, keep Y travel available.
What is the difference between a roller and chuck rotary?
A roller rotary grips the workpiece by friction between two metal rollers or wheels, so it is fast to set up and quick to restage for runs of identical items. A jaw chuck clamps the workpiece mechanically with three jaws, which holds far more repeatably and works on small, round and irregular parts. Chuck types usually add a tailstock and tilt adjustment.
Why is my rotary engraving stretched or distorted?
A stretched or slanted engraving almost always means the steps-per-revolution value or the object diameter is wrong. Measure the workpiece diameter at the height where the laser marks, not at the rim, then calibrate steps per revolution on a straight-sided can rather than a tapered cup. A tilted workpiece causes the same effect.
Can I use a laser rotary attachment with a diode laser?
Yes. Most roller and chuck rotaries in this roundup are documented for diode engravers, including the ACMER M4 for ACMER S2, P1, P2 and P3 plus most diode machines, and the Creality Rotary Roller Pro for the Falcon series and roughly 95 percent of engravers. The exception is industrial CO2 4th-axis units, which exclude diode and fiber platforms entirely.
What size rotary do I need for 20oz tumblers?
A 20oz tumbler is roughly 70mm in diameter, so you need a unit covering at least that range with headroom. Look for a chuck with a 180 degree angle adjustment or a tilt mechanism, because a tapered tumbler will not sit level on a flat roller. Also check vertical clearance, since a low jaw height or a missing riser is the most common setup complaint.
Conclusion
The ORTUR YRR is our pick for the best rotary attachments for laser engravers in 2026 because 723 reviews of consistent behaviour beat any spec sheet, and its 8mm to 110mm stepped adjustment covers more drinkware than most. If you want one attachment for everything, the xTool RA2 Pro handles roller, chuck, sphere and ring work in a single body. Production CO2 shops should look at the OMTech 4th-axis instead.
Whichever one you choose, calibrate steps per revolution on a straight cylinder before you touch a tumbler, and level every tapered piece first. Those two habits fix more bad engravings than any hardware upgrade. Use the compatibility notes above to confirm the port, then pick up the unit that matches your machine and your work.