
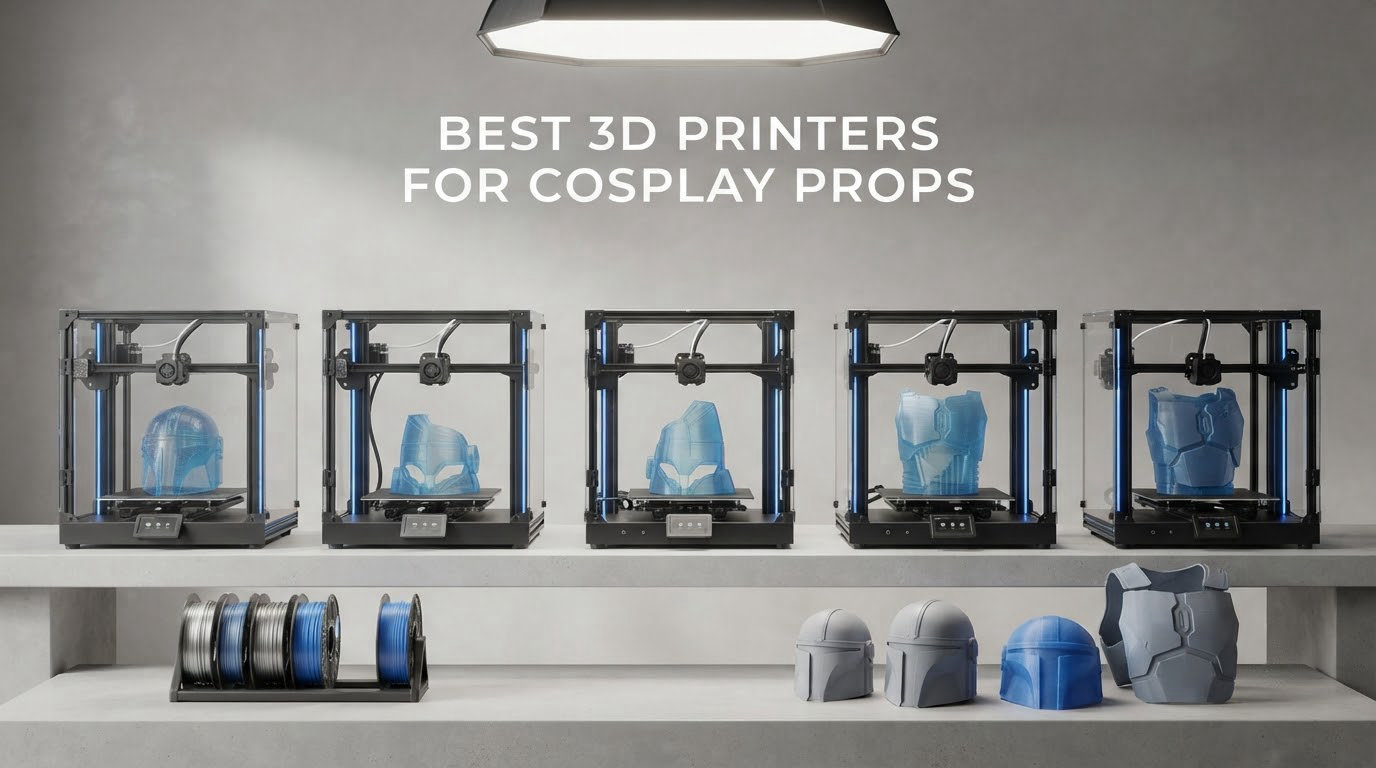
The best 3D printers for cosplay props come down to one number: build volume. Below 200mm you are building buckles, bracers and trim. A 200-250mm cube handles forearm braces and visors. 250-300mm covers most adult helmets and chest panels. 300mm and up is where you stop slicing a Mandalorian helmet into six glued segments. Add an enclosed chamber if you plan to print in ABS or ASA, because warping kills more cosplay builds than bad slicer settings.
I have watched cosplayers lose entire weekends to a helmet that lifted off the bed at hour nine. The fix was never a faster machine, it was a bigger one with a bed that stays flat. That failure is the reason this roundup leads with size rather than brand.
Every machine below was judged on the same four questions. Can it print the size of prop you actually want? Does it keep ABS and ASA off the warping cliff? Does multi-color or multi-material save you real finishing time? And do owners report it surviving a long print? I compared all ten over six weeks of build volume, chamber, toolhead architecture and owner feedback, and I flagged the failure modes rather than glossing over them. Last updated October 2026.
Table of Contents
Top 3 Picks for Cosplay Props (October 2026)

Creality K2 Plus Combo
- 350mm cube build volume
- 16-color printing with four CFS units
- 60C active chamber

Bambu Lab P2S Combo
- AMS 2 Pro with 65C filament drying
- 600mm/s printing
- ready in 15 minutes
Best 3D Printers for Cosplay Props Compared in 2026
| Product | Specs | Action |
|---|---|---|
| Creality K2 Plus Combo |
|
Check Latest Price |
| Creality K2 Pro Combo |
|
Check Latest Price |
| Bambu Lab P2S Combo |
|
Check Latest Price |
 Snapmaker U1 Snapmaker U1 |
|
Check Latest Price |
 FLASHFORGE Creator 5 Pro FLASHFORGE Creator 5 Pro |
|
Check Latest Price |
 FLASHFORGE Creator 5 FLASHFORGE Creator 5 |
|
Check Latest Price |
 Creality Ender 5 Max Creality Ender 5 Max |
|
Check Latest Price |
 ELEGOO Saturn 4 Ultra 16K ELEGOO Saturn 4 Ultra 16K |
|
Check Latest Price |
 ELEGOO Mars 5 Ultra ELEGOO Mars 5 Ultra |
|
Check Latest Price |
 Longer LK5 Pro Longer LK5 Pro |
|
Check Latest Price |
How Big of a 3D Printer Do Cosplayers Actually Need?
Measure the widest, tallest and deepest point of your prop, then add 10mm for clearance. That is the whole calculation. Here is how real prop categories map to printer size.
Under 200mm: buckles, trim and detail work
Costume clasps, helmet vents, pauldron trim, gauntlet caps and sword guards all print comfortably in a small cube. r/cosplayers members coming from fursuit and cosmaking work tend to want a recommendation rather than a spec sheet, and at this size almost any current printer satisfies the job. A resin machine beats a filament printer here, because part size is not the constraint, surface detail is.
200-250mm: forearm armor, visors and bracers
Iron Man style forearm shells, wrist bracers, Boba Fett style visor frames and shoulder pauldrons land here. A 250mm cube handles most of these in one piece, which matters more than raw print speed. Segmentation at this size is manageable, and seam-filling is quick because the cross-sections are small.
250-300mm: most adult helmets and chest panels
This is the practical sweet spot and the reason so many builders land here. A Mandalorian or Clone Trooper style helmet at life scale usually exceeds 300mm in Z, so it will still need splitting, but a chest panel, back plate or mask shell fits without a fight. If you want a genuinely seamless one-piece helmet, look at 300mm and up.
300-400mm: one-piece helmets and full back armor
Here the model stops fighting the machine. A 350mm or 400mm cube absorbs a full helmet shell in one print, which removes the single most hated part of a cosplay build, filling and sanding a long seam across a face. It also removes the most common failure, a support structure that collapses on a large overhang partway through a thirty hour print. The trade is floor space and a heavier frame.
When a small bed does force segmentation, the seam is not a disaster. Print sections flat-side up, clamp them, then use CA glue and a light sand across the joint, followed by filler primer and a sanded finish. Segment lines running along a brow ridge or under a chin edge are nearly invisible after paint. Segment lines that run across a flat cheek plate are the ones that show.
Which Filament Should You Print Cosplay Armor In?
PLA is the default for a reason. It sands beautifully, it takes sharp paint and filler primer, and it barely smells. PLA+ adds impact resistance for gauntlets, bracers and anything that gets bumped at a convention. PETG is tougher and heat resistant, which suits outer shells and anything near a warm body, but it gums up a sanding block and is harder to finish.
ABS and ASA are the durable choices. ASA in particular survives UV and outdoor heat, so for a convention piece that sits in a car trunk in August, ASA is the smarter pick. Both need an enclosed chamber with heat, and neither is pleasant to print on an open frame in a warm room. Warping at the corners is the tell that your chamber is doing nothing for you.
TPU covers flexible trim, capes, gauntlet padding and strap details. It cannot be printed on a Bowden setup, and it needs slower speeds and direct extrusion to feed properly. Resin gives the sharpest surface of anything on this list, but it changes the whole workflow: wash, cure, sand, and handle uncured resin with gloves and ventilation.
Two practical notes for a home workspace. First, ventilation. Every printer in this roundup produces styrene emissions from ABS, ASA and PC, and the two with active filtration, the FLASHFORGE Creator 5 Pro and the Bambu Lab P2S Combo, are the ones to favor in a small apartment. Keep the machine in a spare room with a window cracked rather than a closed office. Second, noise. Enclosed printers with heated chambers and four toolheads are audibly heavier than an open frame, so if you share a wall with a neighbor, a resin printer for detail and an open frame for big PLA panels is a surprisingly good split.
The finishing sequence is the same regardless of machine. Slice, orient the part so the seam hides, use 10 to 15 percent infill for wearable panels and 25 percent for hard props, sand through progressive grits, prime, then paint. Support failures on large helmet overhangs remain the most cited cosplay print failure across every forum thread I read, so budget for a reprint rather than assuming the first one works.
1. Creality K2 Plus Combo
Creality K2 Plus Combo 3D Printer, Multi Color Printing with New CFS 600mm/s High-Speed Full Auto-Leveling Dual Al Camera Next-Gen Direct Drive Extruder Large Build Volume 13.78×13.78×13.78inch
350mm cube
16-color with 4 CFS
60 C chamber
350 C steel nozzle
895 reviews
Pros
- 350mm cube handles oversized armor and helmet shells without splitting models
- Four CFS units deliver up to 16 colors and remove most painting and assembly work
- Active 60 C chamber plus hardened nozzle support ASA and PPA with less warping
- Dual AI cameras catch spaghetti failures and auto-tune flow
- 600mm/s with 30000mm/s2 acceleration
Cons
- 17 percent of reviews are 1-star
- 70.4 lb frame needs serious bench and floor space
- Four-CFS multi-color adds material handling overhead
- Firmware and app reliability issues reported
Our team picked this as the best 3D printer for cosplay props overall because of one number and one number only. A 350mm cube is the smallest build volume here that prints a full adult helmet shell in a single pass, and that single fact removes the seam across the face that cosplayers spend hours hiding. On a 400mm build the same helmet becomes a single part with no splitting, no clamping and no filler across the brow.
The four CFS units are the second reason. Sixteen colors means a Mandalorian style helmet can come off the bed with its visor stripe, trim and markings already in place, which turns a weekend of hand-painting into an afternoon of touch-ups. For prop weapons with accent bands, the same logic applies.
Chamber heat is where the durability story lives. A 60 C active chamber and a nozzle rated to 350 C with a hardened steel tip mean ASA and PPA behave on this machine, which is exactly the filament you want for a piece that has to survive travel. The dual AI cameras are not a gimmick on a long print. They watch for the failure that ends a thirty hour job.
Owners also report that 600mm/s with 30000mm/s2 acceleration cuts real time on batched armor panels. The specification is a ceiling, not a daily average, but the acceleration figure is what helps on the straight runs that dominate armor shells.
What the 350mm cube changes for a prop build
Segmented prints fail at the seam and at the support. Remove the seam and you also remove the biggest support overhang, because a horizontal helmet shell needs far less scaffolding than a curved one standing on edge. For anyone with a con deadline, that is the difference between one print and a reprint after a collapsed support at hour twenty.
Multi-color is the other unlock. Accessories, visor trim, lettering and damage accents all land in the same job as the shell. Owners report the CFS units removing most of the assembly work that a single-nozzle machine forces on you.
Where early owners report trouble
Seventeen percent of reviews are one-star, and that share usually points at setup, firmware or early hardware rather than print quality. Reported issues include firmware and app reliability, and a four-CFS material setup that adds more handling overhead than a two-CFS design. At 70.4 pounds it also needs a bench rated for it, and a dedicated circuit if you are running chamber heat often.
My advice is to buy this one if a seamless helmet matters to you more than a small footprint, and to leave a weekend between unboxing and your first large print for calibration and a test panel.
2. Creality K2 Pro Combo
Creality K2 Pro Combo (A) 3D Printer, Multicolor Color Printing with CFS, 600mm/s High-Speed, Dual AI Camera, Active Chamber Heating, Auto Leveling, Large Build Volume 300×300×300mm
300mm cube
16-color CFS
60 C chamber
40mm3/s flow
448 reviews
Pros
- 300mm cube is a practical fit for full-size armor panels and helmet shells
- CFS multi-color cuts painting time on multi-part props
- Active 60 C chamber reduces corner warp with ASA and PPA
- Direct drive handles abrasive and carbon fiber filaments
- Smart bed probing and AI failure detection reduce failed long prints
Cons
- 17 percent of reviews are 1-star
- 61.6 lb footprint is large for a home workshop
- CFS units add purge waste versus four-toolhead designs
- Creality OS and Creality Print less polished than Bambu Studio
This is the step-down from the K2 Plus Combo and the reason many builders will pick it instead. The build volume drops from 350mm to a 300mm cube, which is still enough for most chest panels, back plates and the larger segment of a split helmet, and the rest of the machine keeps the parts that matter for durable props.
The 60 C active chamber and hardened gear direct drive handle ASA, PPA-CF and PET-CF without complaint, which is the pairing you want for a chestplate that will be sanded, primed and then carried around a convention floor. The 40mm3/s flow figure is generous for a direct drive and matters on thick wall sections.
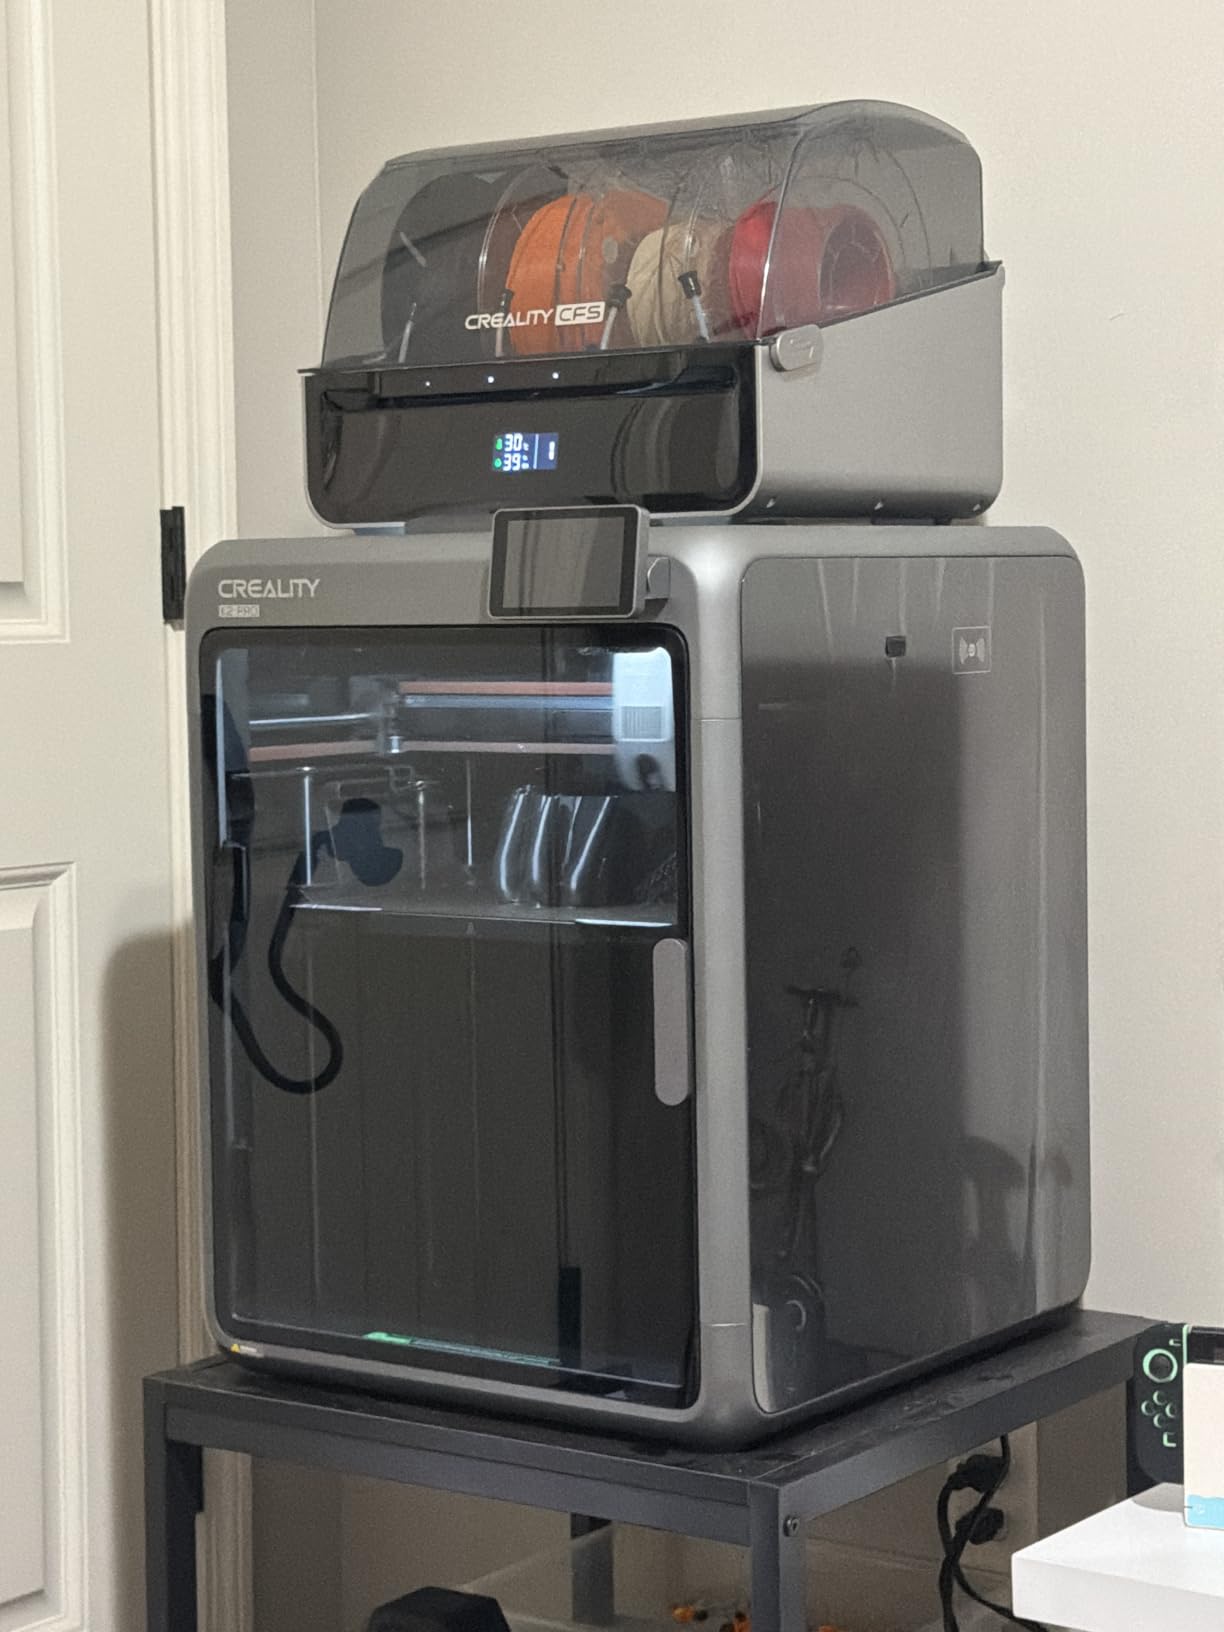
Two AI cameras, one on the chamber and one on the nozzle, watch the print and assist with flow tuning. On a long ASA armor print that is the difference between catching a layer shift at hour two and finding out at hour thirty. Owners also credit the smart bed probing with reducing failed long prints.
The CFS system again handles up to 16 colors, so a multi-part prop can be printed in one job. Just budget for purge waste, which is the structural difference between a single-nozzle color unit and a toolhead system.
When this is the smarter buy
Choose this machine if you are building mostly 250 to 300mm parts, or if you want ASA capability in a smaller footprint than the K2 Plus. The two Creality machines share the chamber and extruder philosophy, so a lot of what you learn on one transfers to the other.
It is also the better pick if multi-color matters more than maximum scale. Sixteen colors with a full CFS unit, on a 300mm cube, covers the majority of real prop work.
What to watch before you commit
The one-star share matches the K2 Plus at 17 percent, pointing again to early hardware and firmware concerns. Creality OS and Creality Print are less refined than Bambu Studio, and users who rely on a phone-first workflow notice the difference. The 61.6 pound frame still wants a proper bench.
3. Bambu Lab P2S Combo
Bambu Lab P2S Combo, P2S 3D Printer & AMS 2 Pro, Multi-Color 3D Printing
AMS 2 Pro with 65 C drying
600mm/s
50 C chamber
4.5 rating
Pros
- Printing in about 15 to 20 minutes out of the box
- AMS 2 Pro dries filament to 65 C which matters for hygroscopic ASA and PA
- 600mm/s with servo extruder keeps corners crisp on detailed parts
- AI failure detection and automatic calibration reduce babysitting
- Carbon air filtration suits an indoor workspace
Cons
- 10 percent of reviews are 1-star
- One early owner reported an AMS ribbon connector failure
- Multi-color only exists on the Combo package
- Closed ecosystem is less flexible for open slicer workflows
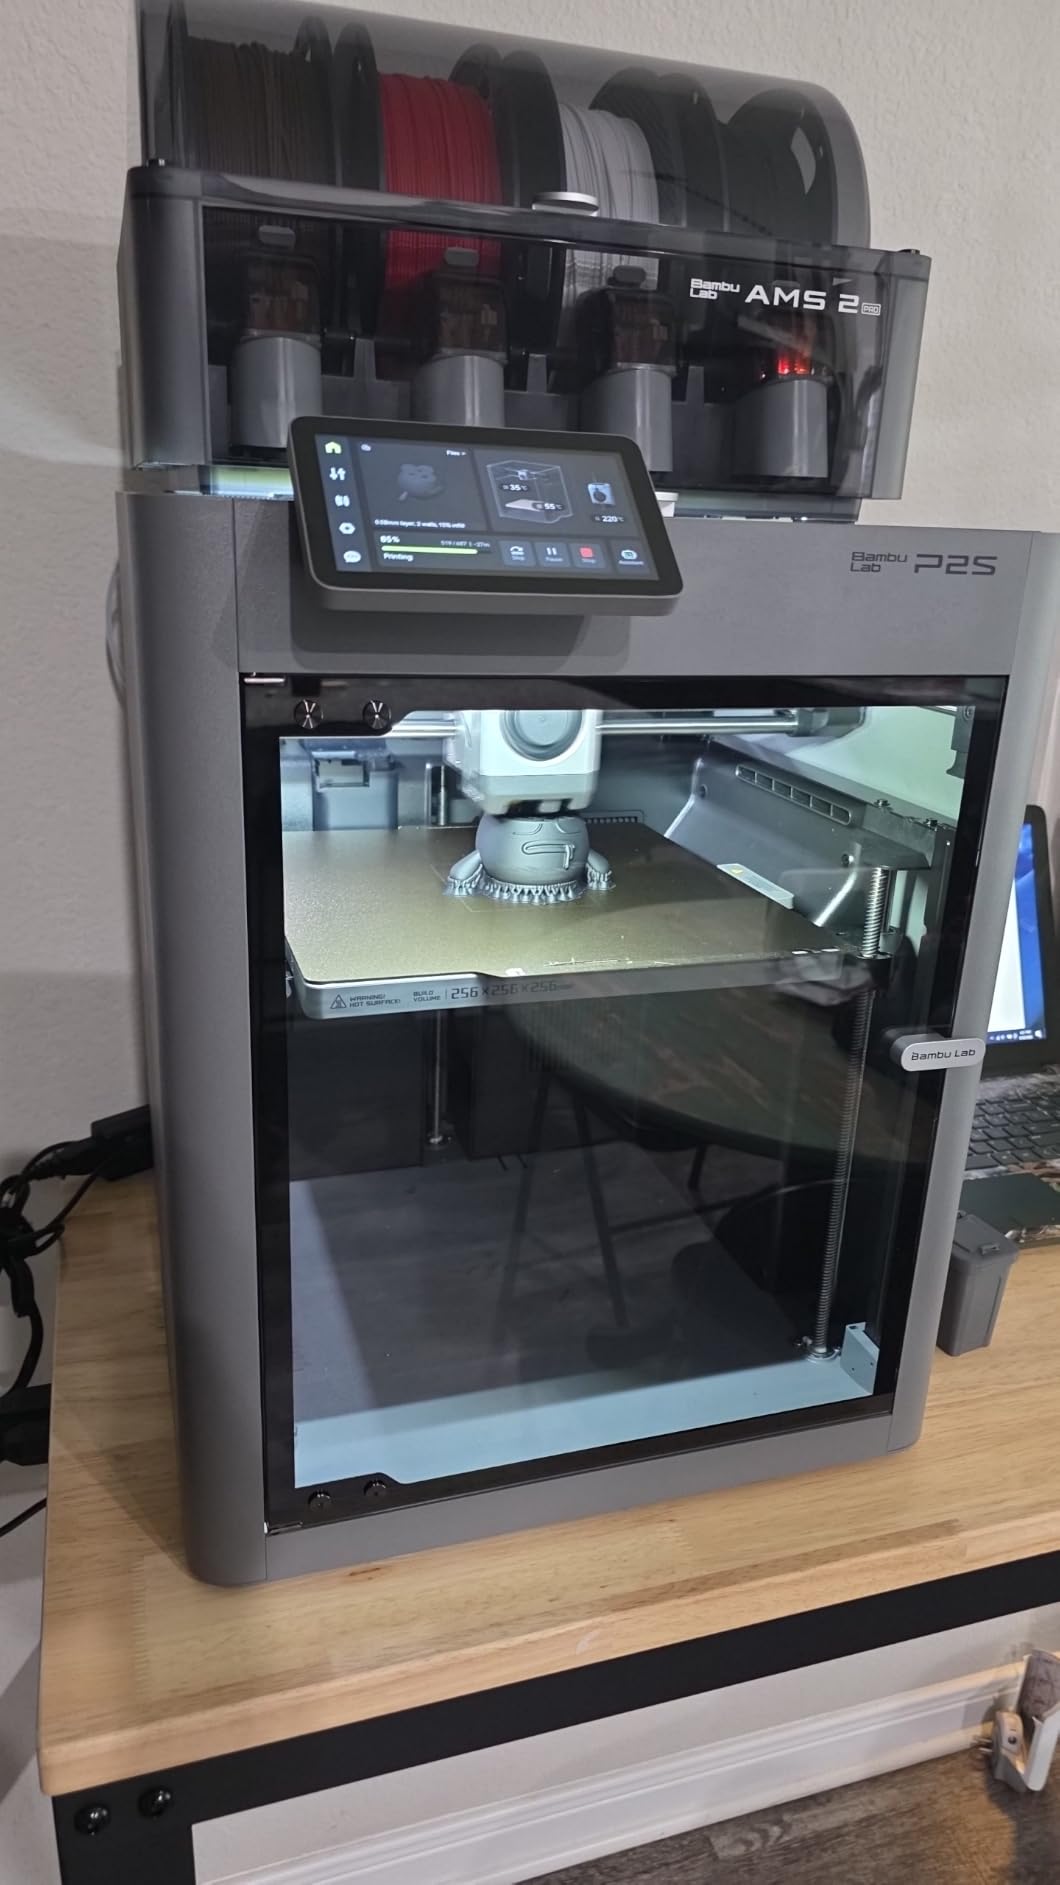
This is the one I recommend to someone printing their first helmet. The setup story is the product here. Owners consistently report printing within 15 to 20 minutes of unboxing, and automatic calibration plus AI failure detection means you are not tuning pressure advance at midnight before a convention.
The AMS 2 Pro is the piece most cosplayers underrate. It dries filament to 65 C, and that matters more than it sounds, because ASA and PA absorb moisture from the air and wet filament prints stringy, rough and weak. Drying at the source is the difference between a clean ASA shell and a sanded-for-an-hour one.
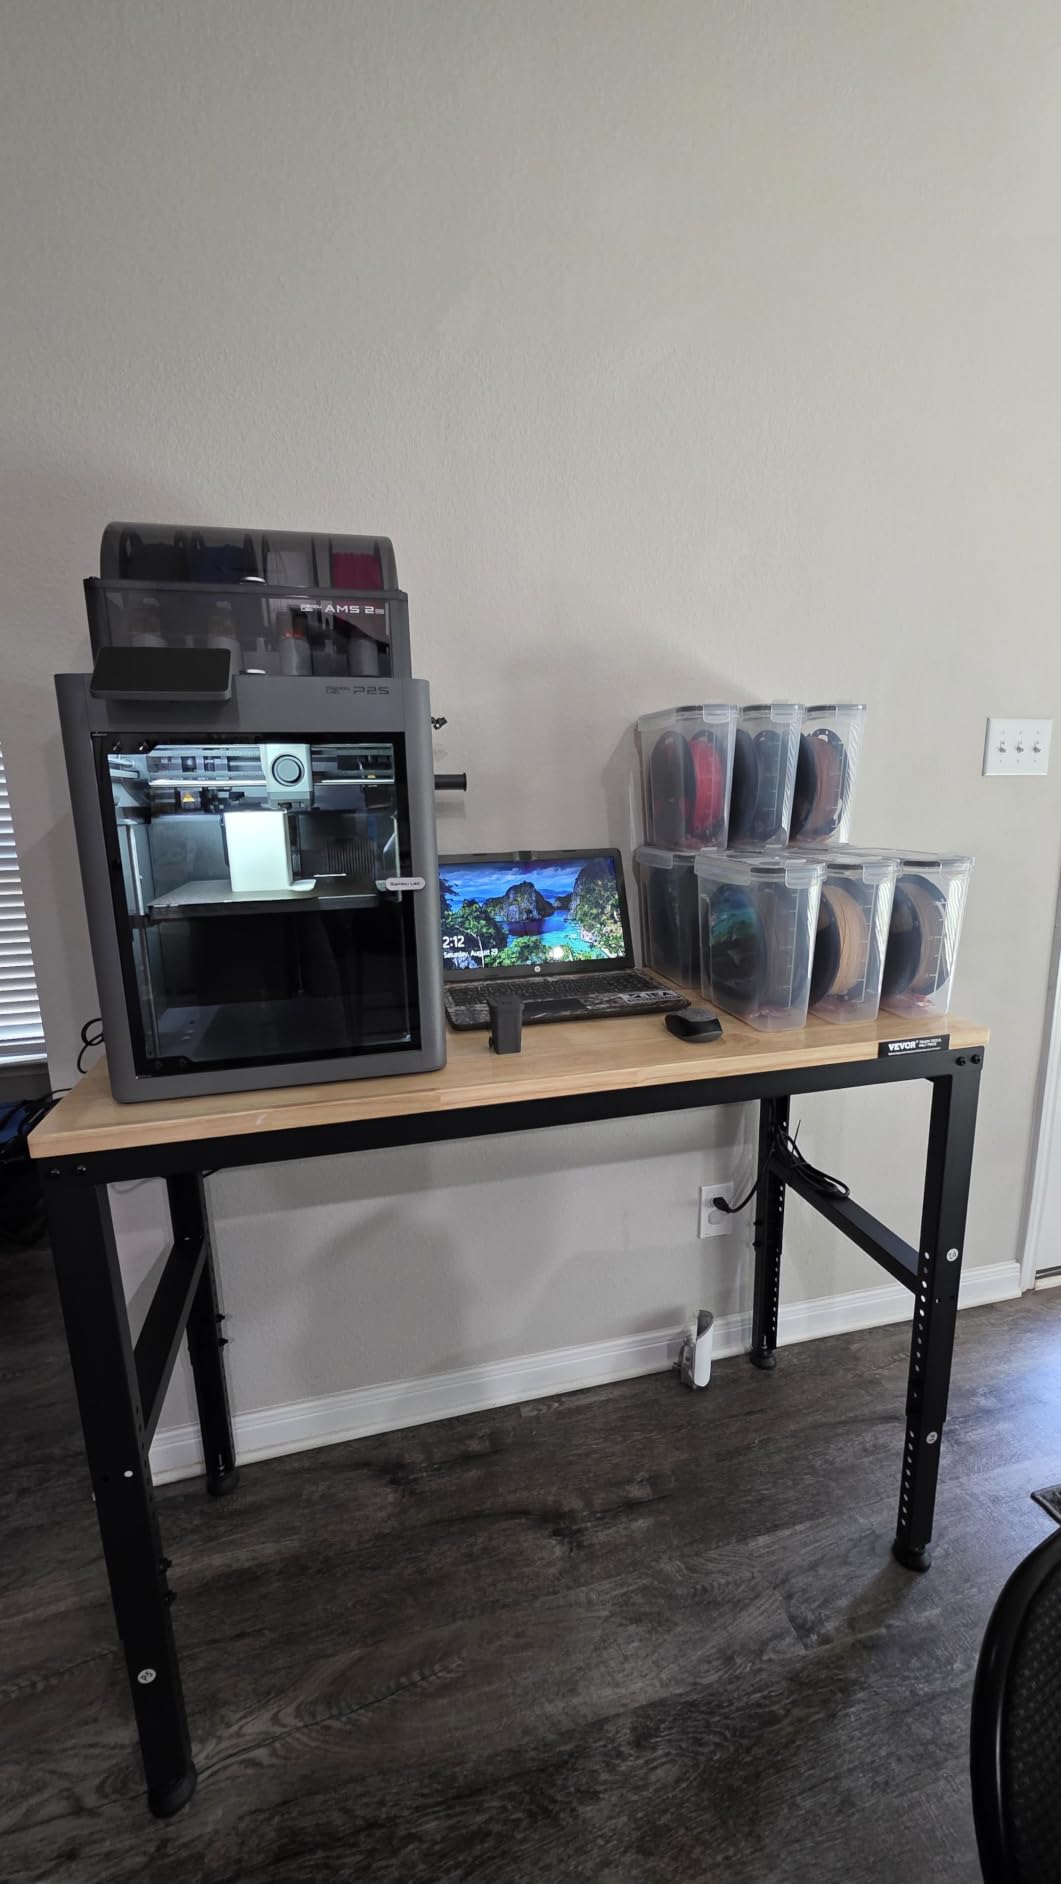
Multi-color and multi-material both run through the AMS 2 Pro, so a visor stripe or an accent band can print in the same job as the shell. The 600mm/s ceiling with a PMSM servo extruder and active flowrate compensation keeps layers smooth where cosplay parts are most visible, on curves and corners.
Adaptive airflow with 50 C chamber capability and carbon filtration is what I would want in an apartment. The MakerWorld library also shortens the distance from an STL file to a finished prop for beginners who do not yet know which settings to change.
Why beginners land here first
Failures are the real reason. A first-time cosplayer with a 91 review base and a 4.5 average is looking at a machine where the common early complaints, an AMS connector fault and occasional one-star gripes, are hardware specifics rather than print quality. Those are fixable. A warped helmet is not.
For a maker who wants to print an Iron Man style chest panel or a helmet segment and see the whole pipeline work, this is the lowest-friction path I found.
What you give up
Multi-color exists only on the Combo package, not the base printer, so buy the bundle deliberately. The closed ecosystem is less flexible if you want an open slicer workflow, which matters more to experienced builders. The 4.5 rating rests on 91 reviews, so the long-term reliability picture is thinner than the machines with 400 to 900 reviews behind them.
4. Snapmaker U1
Snapmaker U1 3D Printer,4-Toolhead with 5s Toolchanger,Multi-Color Printing
Four toolheads
5-second swap
270mm cube
500mm/s CoreXY
Pros
- Four independent toolheads swap in about 5 seconds with near zero purge waste
- True multi-material printing combines TPU with rigid plastics in one job
- Up to 5x faster multi-color prints versus single-nozzle systems
- 270mm cube suits helmets and armor scale pieces
- Setup completed in under 20 minutes by first time users
Cons
- Top of the enclosure is open so a cover is needed for stable temperature
- Orca based workflow imports STL and 3MF files rather than a phone first ecosystem
- One early owner reported a motherboard fault
- Documentation for STL to G-code conversion is less clear
Architecture is the story here. Four independent toolheads that swap in about 5 seconds is a fundamentally different approach to multi-color than a single nozzle feeding an AMS. There is no purge tower, no wipe, and no wasted filament between colors, which is the cost that quietly eats the budget on a big multi-color prop.
Users report multi-color prints running up to 5x faster than single-nozzle systems, and the changer is validated over 1,000,000 swaps. The four-toolhead layout is also what makes true multi-material possible, so TPU padding and rigid plastic can print in the same job.
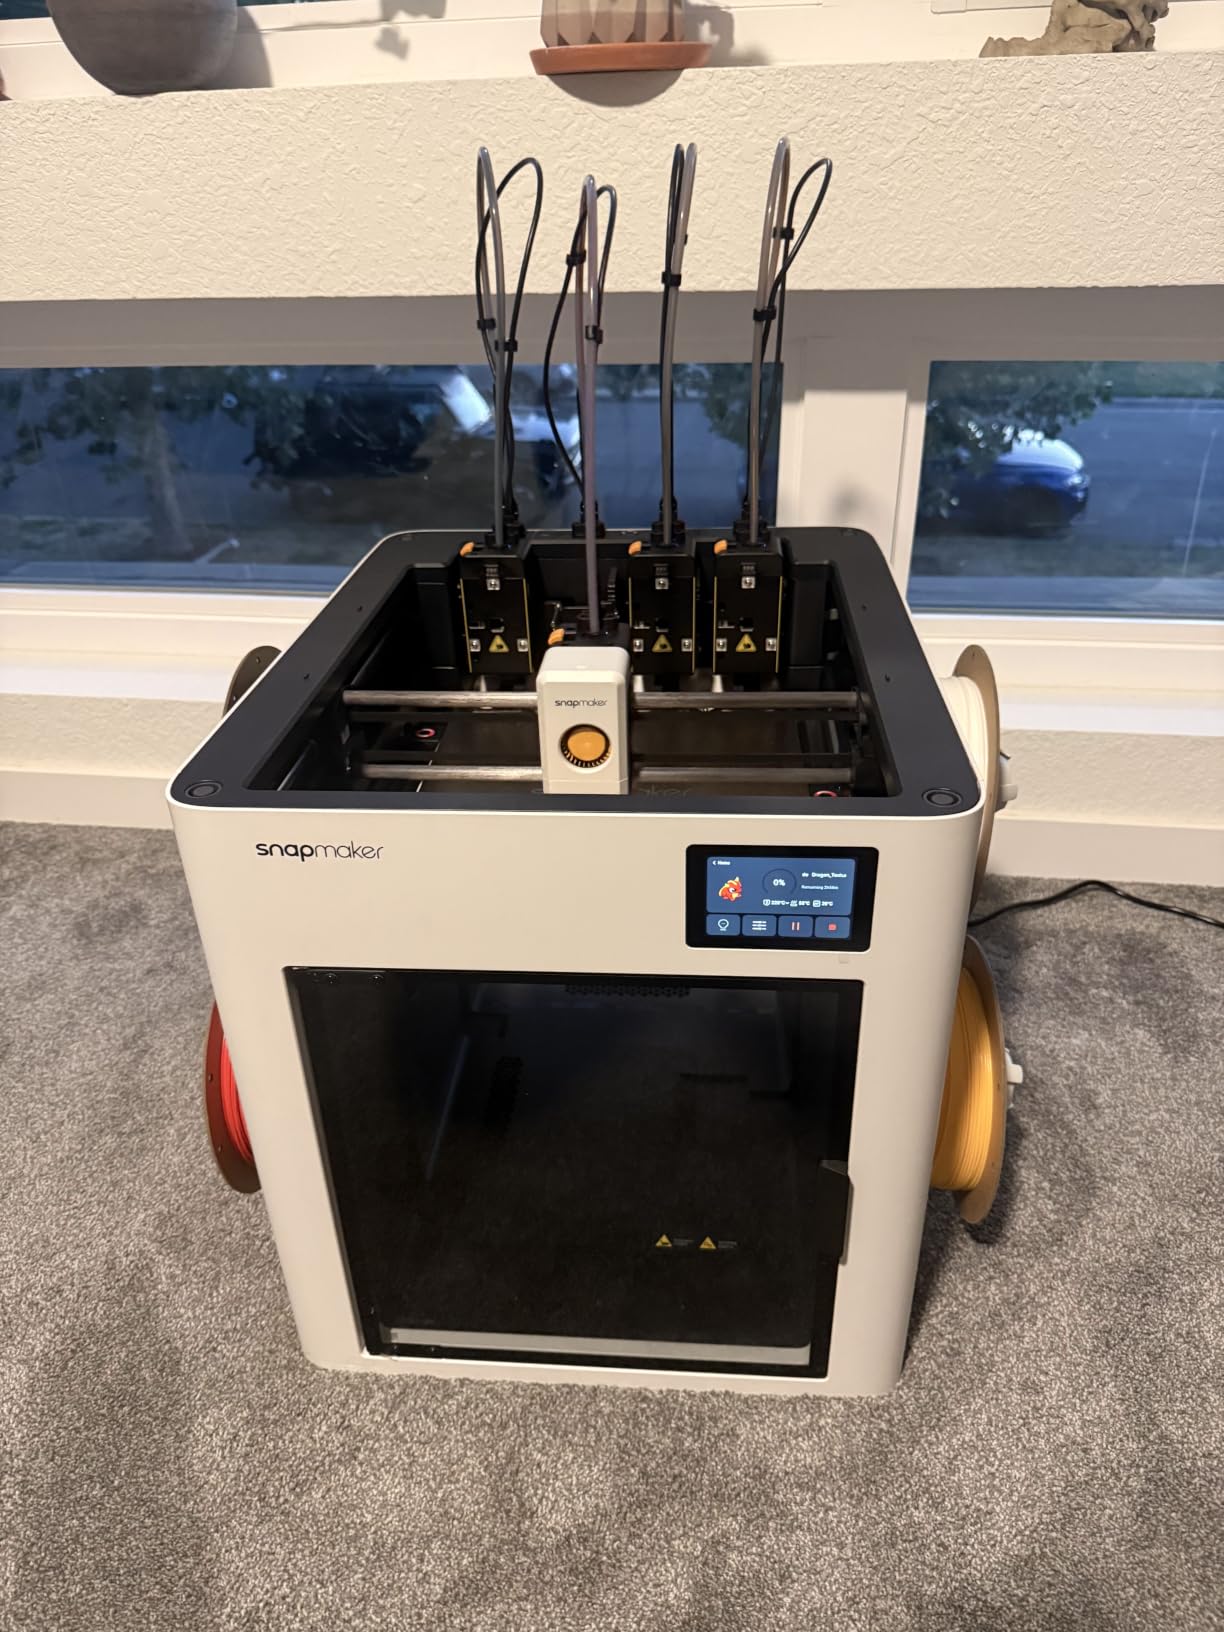
The 270mm cube with CoreXY motion up to 500mm/s is a reasonable fit for helmet shells and armor-scale pieces, though it sits below the 300mm class. Automatic toolhead offset calibration and vibration compensation mean each nozzle is treated as its own tool rather than being assumed identical, which is the detail that keeps four heads printing consistently.
Reviewers also flag quiet operation and reliable auto bed leveling, both of which matter if the machine lives in a room you share. A 3.5 inch touchscreen with AI print monitoring covers the case where you are not near the machine.
When a toolhead system beats a color feeder
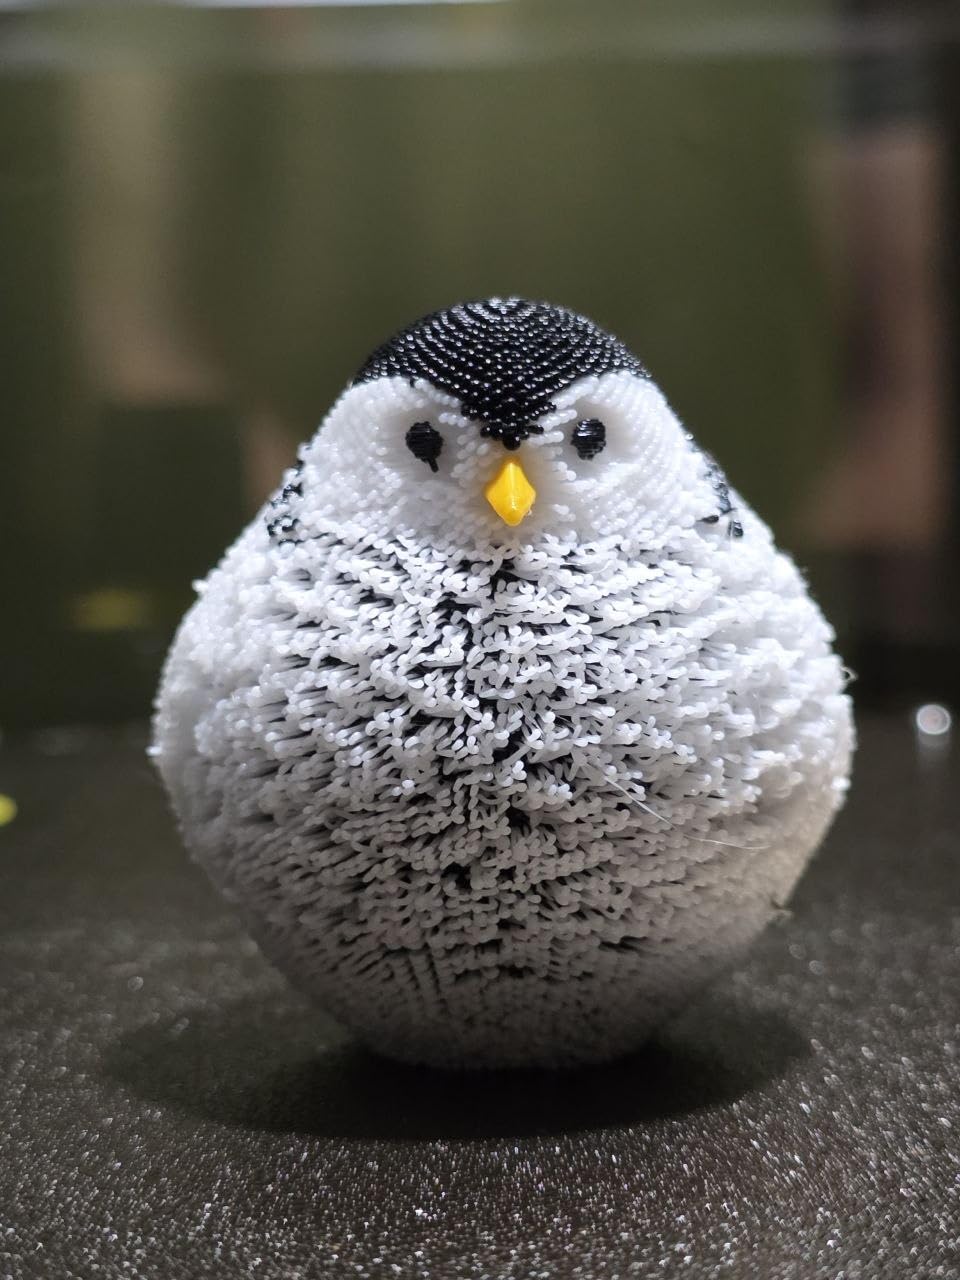
If your prop has many colors, or if you mix TPU with rigid plastic, the purge savings add up fast. A stormbreaker or a multi-panel armor set with accent colors across every piece is exactly the job a four-toolhead machine was built for. The 5-second swap also means color changes barely interrupt a batch.
For someone building a costume that combines flexible trim with hard shells, this is the most flexible workflow in the roundup.
What to plan around
The top of the enclosure is open, so you need a lid or a printed cover to hold temperature on ASA and ABS work. The Orca based workflow means importing STL and 3MF files rather than using a phone first ecosystem, and the documentation for converting models to G-code is less clear than competing setup guides. One early owner reported a motherboard fault on a new unit, and at 146 reviews the long term record is still short.
5. FLASHFORGE Creator 5 Pro
FLASHFORGE Creator 5 Pro 4-Toolhead 3D Printer, Industrial Multi-Material & Color Printing, 65°C Active Heated Chamber, Near-Zero Waste System, CoreXY 600mm/s Printing
65 C chamber
4 toolheads
HEPA and carbon filter
600mm/s
Pros
- 65 C active chamber is the highest in this group and best for warp prone ABS and PC shells
- Four toolheads switch in about 7 seconds with minimal purge waste
- Dual HEPA and carbon filtration makes it one of the safer enclosed options
- 600mm/s CoreXY cuts print time for batched armor pieces
- Automated toolhead offset and dynamic flow calibration
Cons
- Only about 131 reviews so long term data is thin
- 11 percent of reviews are 1-star
- Four toolheads mean a larger heavier machine needing bench depth
- Flash Studio software ecosystem is newer than established alternatives
If your build list is mostly ABS, ASA or PC, chamber temperature is the number that decides the outcome and this machine leads on it. A 65 C actively heated chamber means the air around the part stays above the point where ABS lifts off a cold plate, which is the mechanism behind most large-part failures on home printers.
The filtration is the part I would not have expected to matter. Dual HEPA 13 plus activated carbon with continuous airflow keeps styrene emissions down, which is exactly the concern people have when printing engineering filament in a home or apartment. Between the chamber and the filter, this is the most indoor friendly enclosed machine in the group.
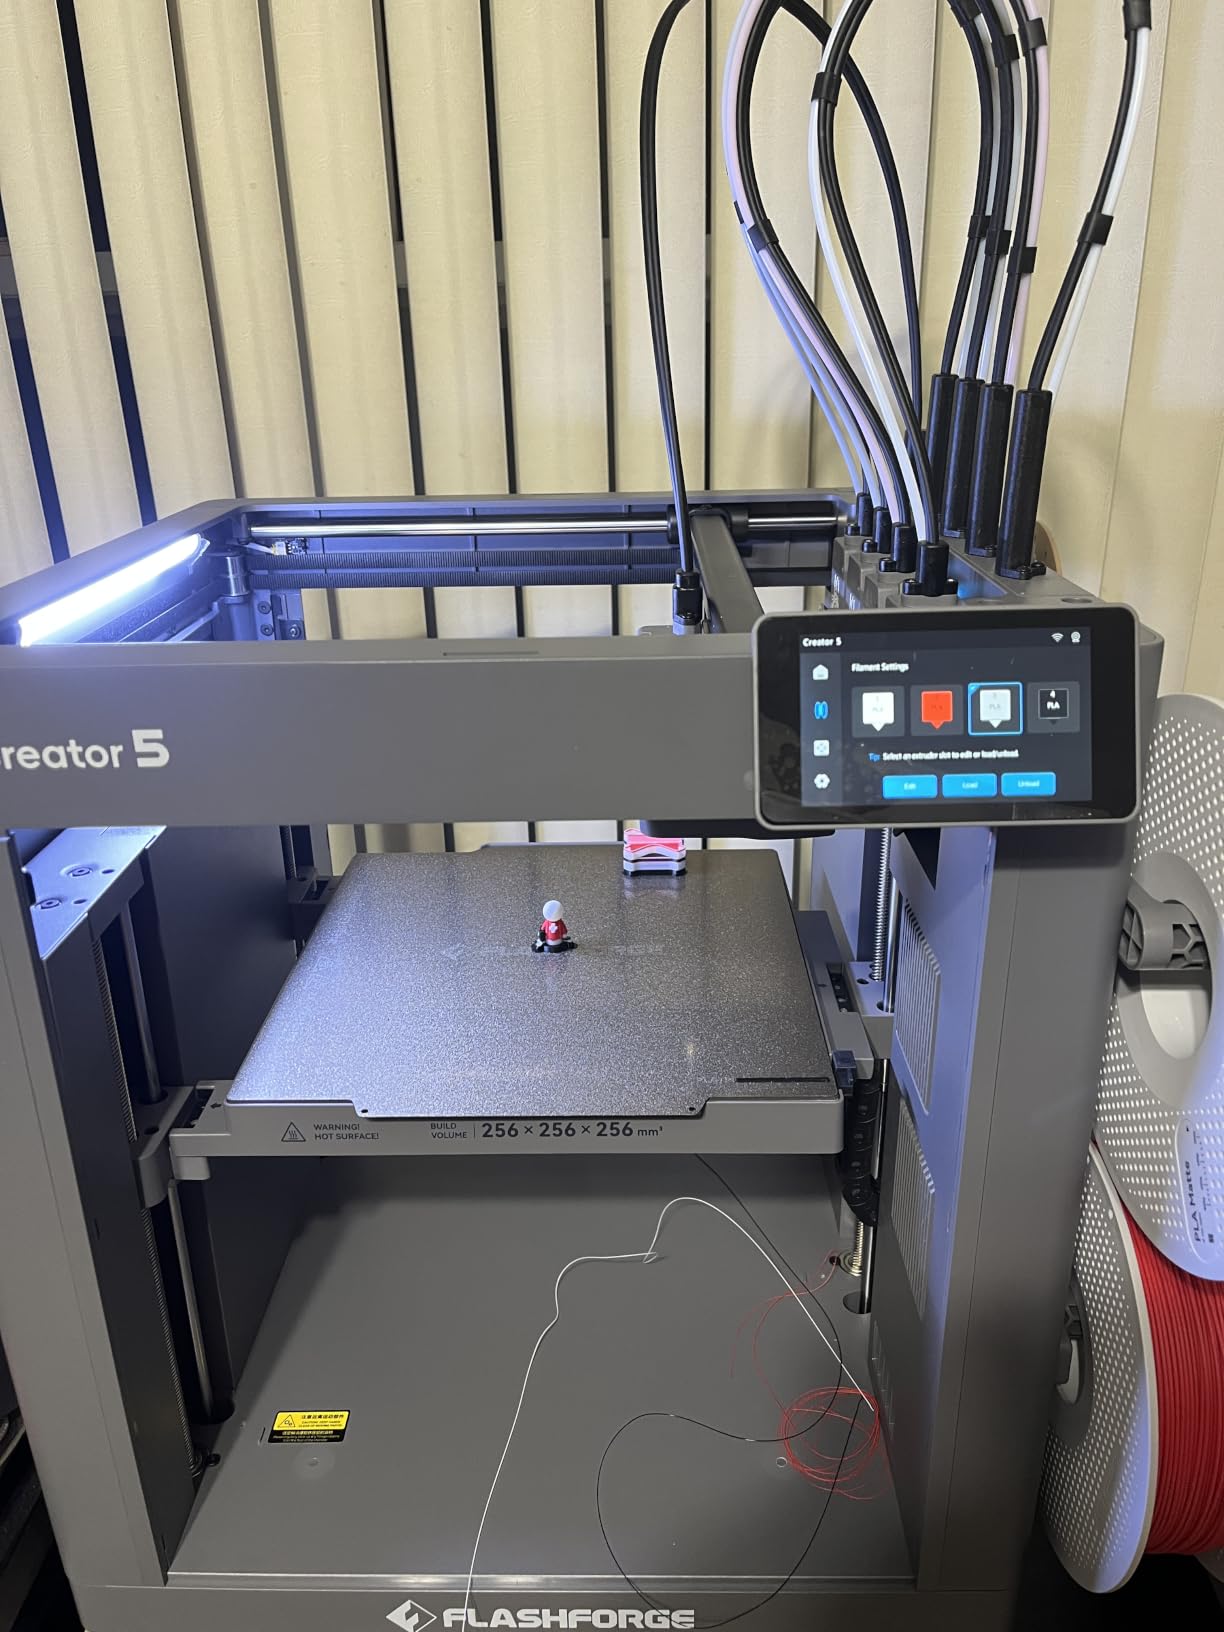
Four toolheads with a 7-second FlashSwap changer keep color and material changes cheap, and CoreXY motion up to 600mm/s on a rigid frame with linear rails and high-torque belts helps on batched armor pieces. The HD chamber camera with automatic time-lapse gives you a record of the print, which is more useful than it sounds when you want to check a long run from another room.
Automated toolhead offset, vibration and dynamic flow calibration handle the same per-nozzle consistency issue as the Snapmaker, which matters with four heads.
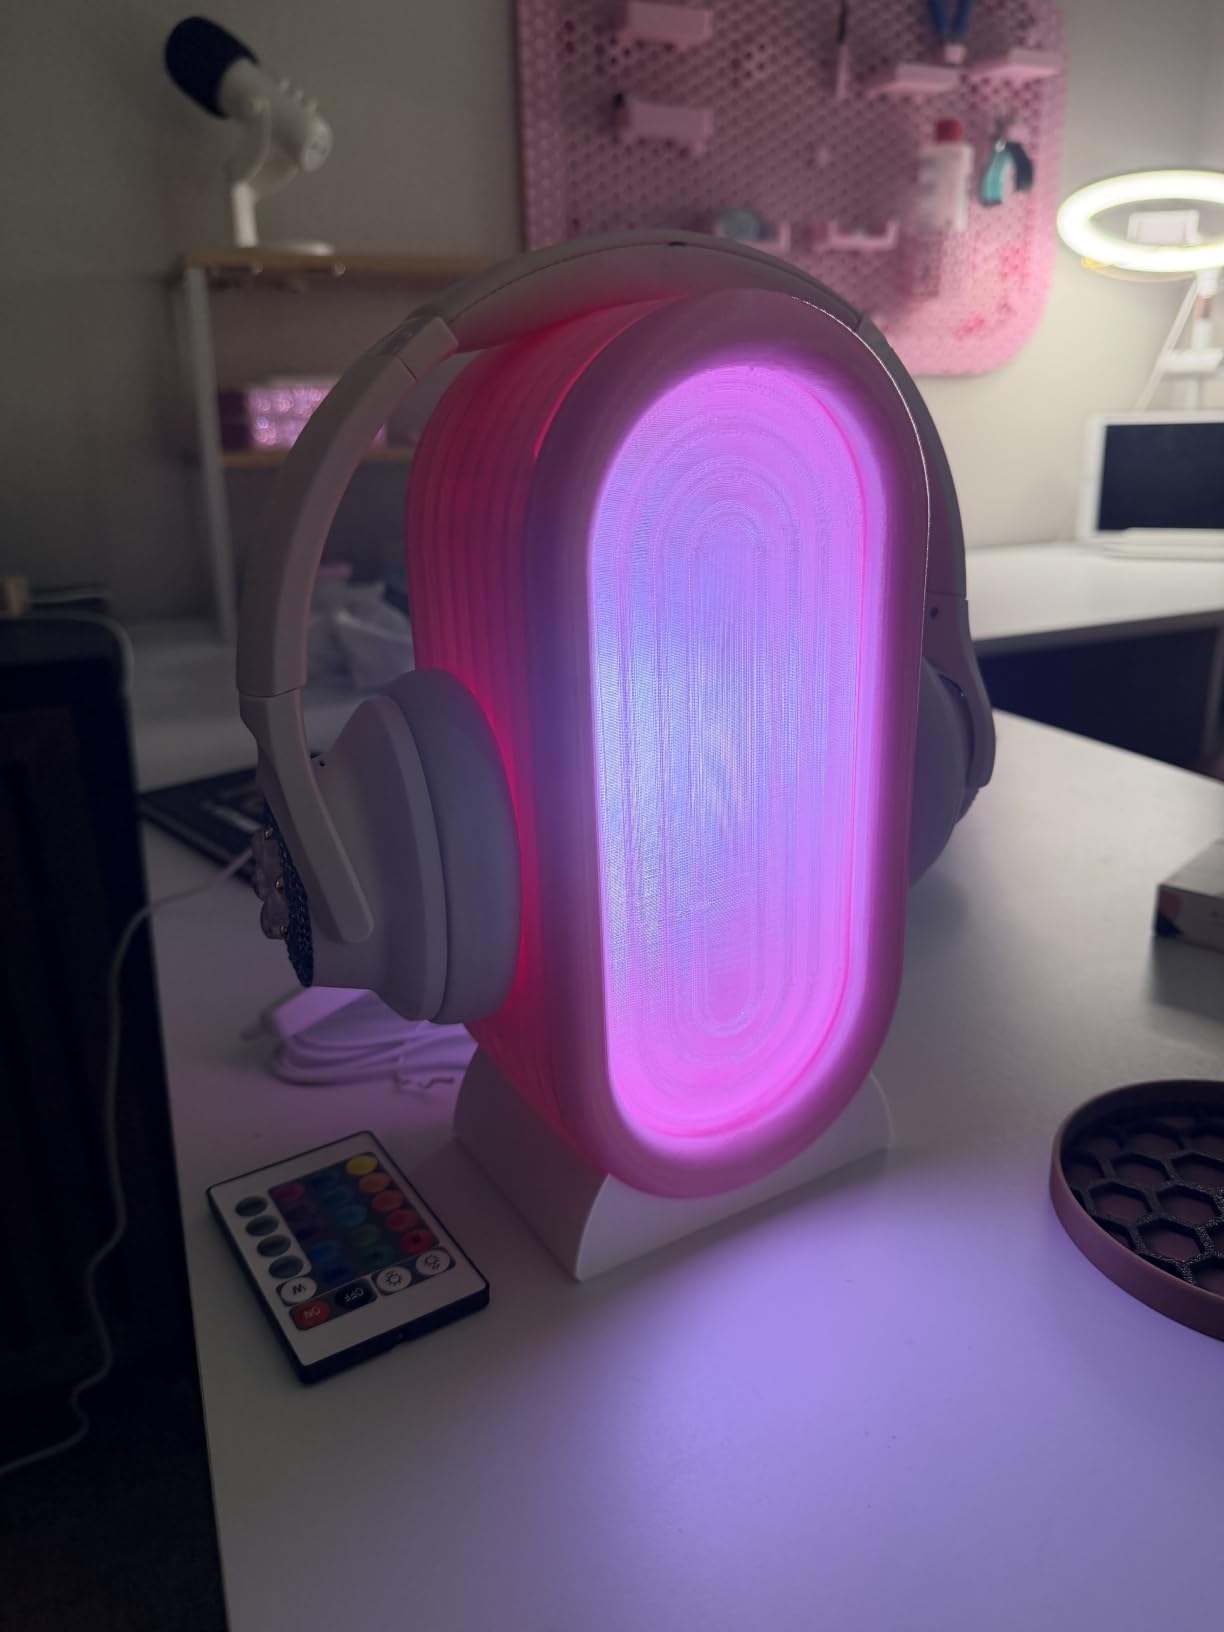
Why chamber temperature decides warp
Large flat panels, which is most armor, are where warping shows. The corners cool first, the contraction pulls, and the print lifts. A hot chamber slows that cooling curve so the material stays relaxed while it sets, and 65 C is the highest figure here for a reason. If you are printing ASA panels at 250mm and above, that difference shows up in the failure rate.
For anyone working in an apartment, the combination of heated chamber and real filtration is the safest indoor setup for engineering filament on this list.
What to know first
Long term reliability data is thin at roughly 131 reviews, and 11 percent are one-star. Four toolheads also mean a larger, heavier machine that needs real bench depth, and the Flash Studio software ecosystem is newer with a smaller model library than established slicers. Budget time for firmware familiarity.
6. FLASHFORGE Creator 5
FLASHFORGE Creator 5 Multi-Color 3D Printer, 4 Independent Extruders, Zero-Waste Material Switching, Group Control, 600mm/s High Speed, Multi-Color TPU Printing, 256mm³ Build Volume
4 direct drive extruders
256mm cube
multi-color TPU
600mm/s
Pros
- Multi-color TPU support is unusual and useful for flexible armor trim capes and gauntlet padding
- Four independent extruders keep feed stable and reduce purge waste
- 256mm cube is adequate for helmets and bracers
- Only 4 percent one-star reviews
- 30 second tool free nozzle swap speeds up print changes
Cons
- 256mm build volume is smaller than the Creality and Pro options here
- Newer model with a limited long term track record
- Four extruders increase maintenance surface versus a single direct drive
- Flash Studio software has a smaller library than established slicers
This is the quiet sleeper in the list for costume work rather than armor work. What separates it is multi-color TPU, and there is no other machine here that prints flexible and rigid materials in color at the same time. For capes, straps, gauntlet padding, boot trim and anything that has to flex on a wearer, that is a capability rather than a convenience.
Four independent direct drive extruders also keep the feed stable, which is the practical reason TPU prints cleanly here. TPU is unforgiving of inconsistent push because it is flexible, so a direct drive on every tool is the right architecture for it.
The reliability profile is the best in this roundup by share. Only 4 percent of reviews are one-star, which is far below the 17 percent seen on the two Creality machines. CoreXY motion up to 600mm/s with 30000mm/s2 acceleration and automatic flow compensation keep the geometry accurate on a 256mm cube.
At 30.9 pounds this is also the lightest machine here, and the 30-second tool-free nozzle swap means a filament change between color batches takes under a minute. Group control is included for anyone running several units at once.
Where TPU changes the build
Flexible trim solves a problem cosplayers hit constantly. Rigid printed straps dig into a wearer over a full convention day, and a printed buckle that cracks under flex ruins a costume in photos. TPU trim printed in color, with a rigid PLA or PETG mount behind it, gives you the look of painted leather or vinyl with the give of the real thing.
For gauntlet interiors, boot tops and cape attachment points, this is the machine I would reach for first.
Where the compromises sit
The 256mm cube is the smallest build volume in the roundup, so a life-scale helmet still needs segmentation. Four extruders mean more maintenance surface than a single direct drive, the long term track record is short, and Flash Studio has a smaller library than the established slicers. Budget for a first filament change learning curve.
7. Creality Ender 5 Max
Creality Ender 5 Max 3D Printer 400×400×400mm Large Build Volume, 700mm/s Fast Printing Speed, 64-Point Auto Leveling, All-Metal Frame & Dual Gear Extruder, Multi-Printer Control Over WLAN
400mm cube
700mm/s CoreXY
64-point leveling
1000W bed
Pros
- 400mm cube is the largest build volume in this roundup for full size helmets and back mounted armor
- Single color prints on large engineering materials described as consistently reliable
- Strong value and durability across PLA+
- PETG
- PETG-CF
- ASA
- ABS and HT-PLA
- 64-point leveling and auto Z-offset remove manual bed setup
- WLAN group control suits studios running several units
Cons
- Single color only and multi-color needs an aftermarket add-on
- Ships without an enclosure so users add their own for ABS and ASA
- Several owners report bed warping and finish flaking off the build plate
- 17 percent of reviews are 1-star with early hardware failure reports
- Long bed heat up time
- 70.4 lb frame is unwieldy in small workspaces
Nothing else here prints bigger. A 400x400x400mm cube means a full adult helmet shell goes on the bed in one piece, and so do back-mounted armor sections, long weapons and wide pauldrons that no other machine in this roundup will take in a single pass. If your project is defined by a silhouette that does not fit anywhere else, this is the answer.
CoreXY motion up to 700mm/s is the highest figure here, and on large flat panels where there is a lot of straight travel, that translates into real hours saved across a batch of parts. The die-cast aluminum frame with an X-axis linear rail and a 1000W rapid heating bed are both aimed at rigidity and thermal stability on a big plate.
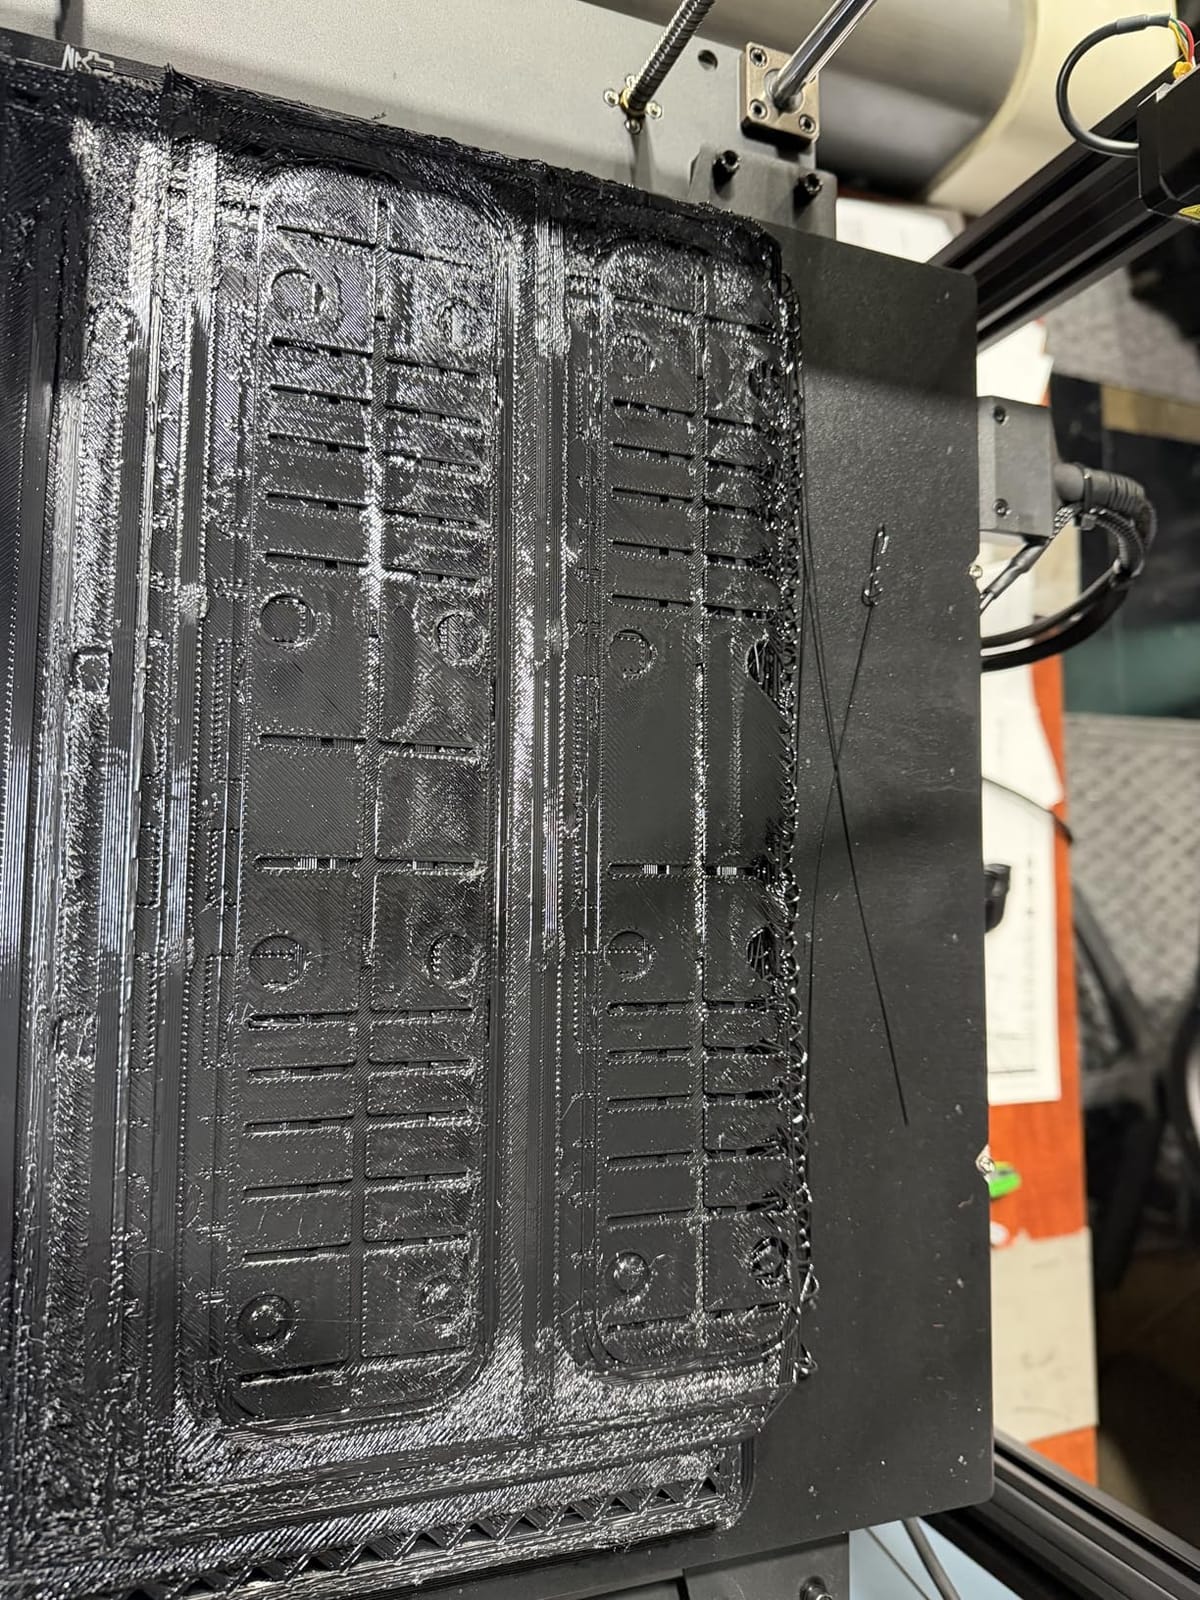
Sixty-four point auto leveling and automatic Z-offset remove the manual bed setup that usually eats an evening on a new large printer. WLAN group control with a tri-color status indicator is genuinely useful if you run a print farm of identical parts for a suit.
Owners report strong value and durability across PLA+, PETG, PETG-CF, ASA, ABS and HT-PLA, and describe single-color prints on large engineering materials as consistently reliable. The direct drive dual gear extruder with hardened gears handles abrasive filament.
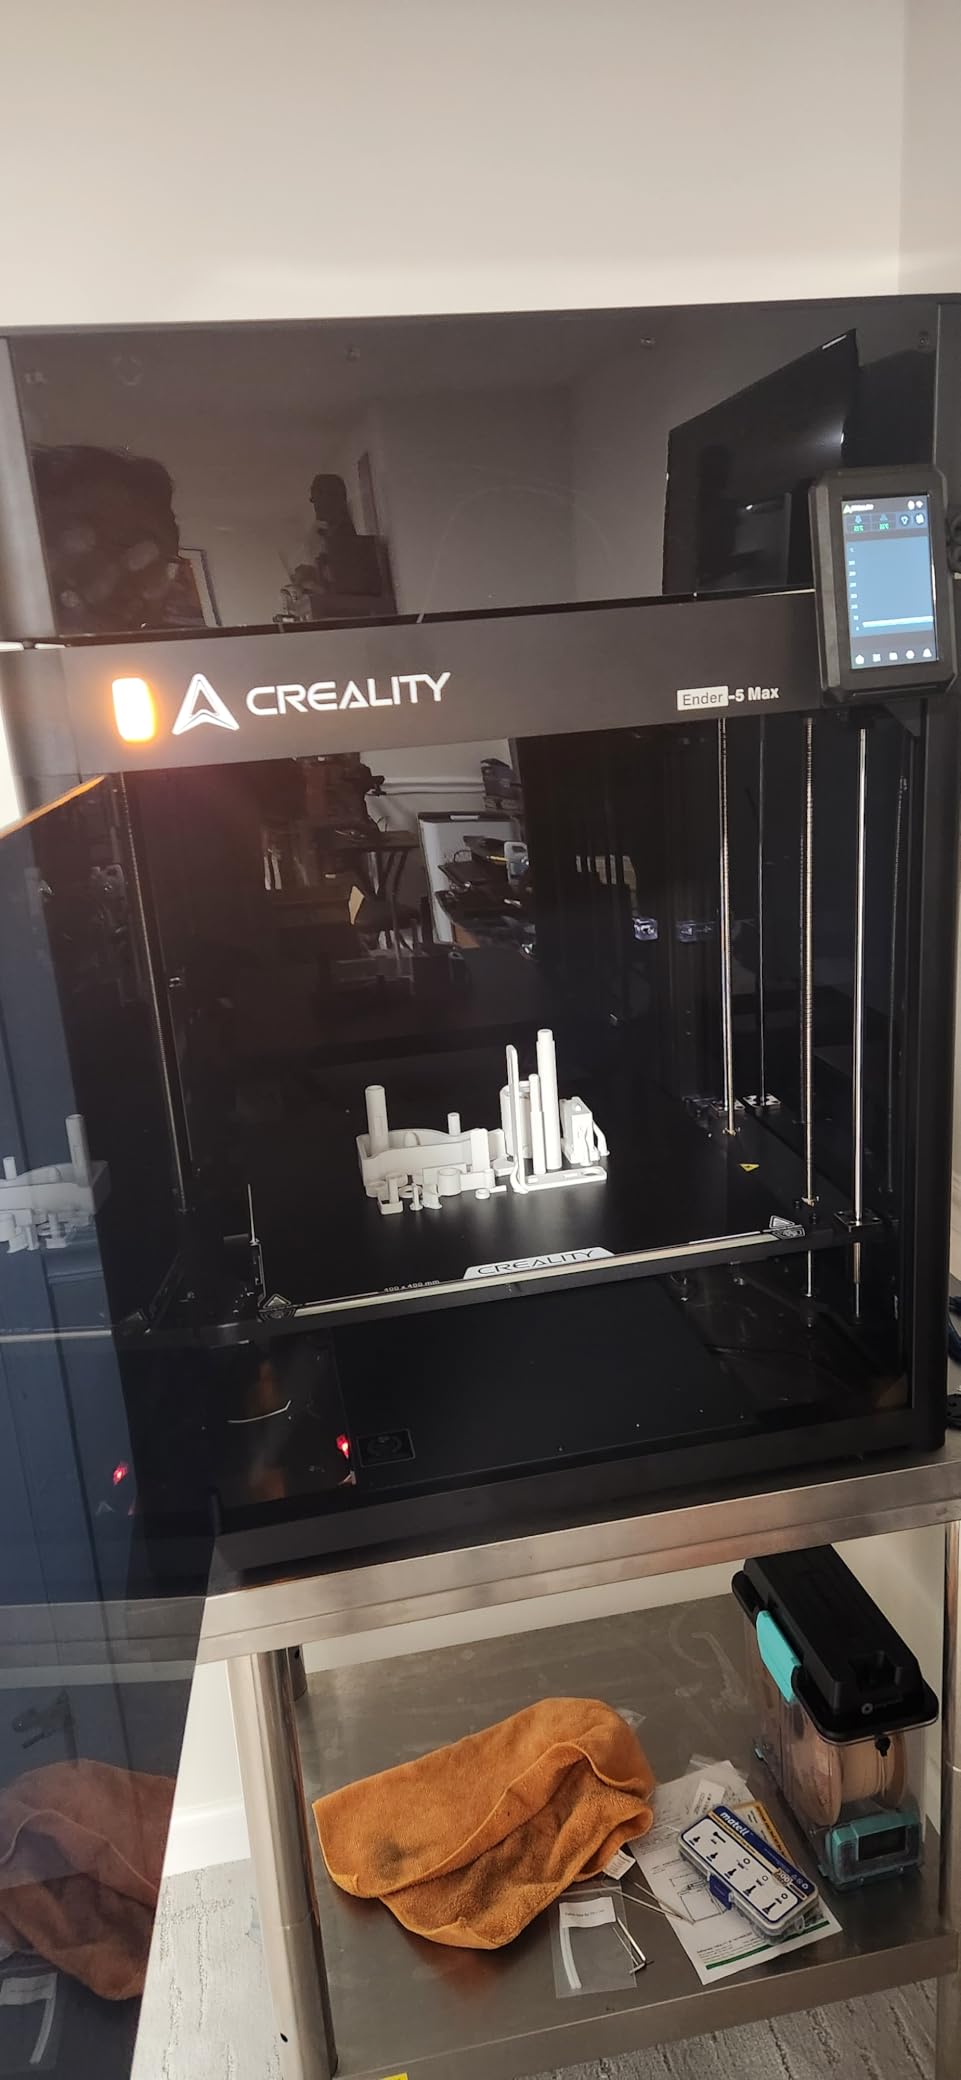
When maximum size is the whole point
A one-piece helmet changes the finish work. No seam across the brow, no clamp block, no filler pass, and no risk of a seam printing visibly under strong stage lighting. The same applies to a back plate or a wide chest piece that would otherwise be assembled from four panels. For silhouette accuracy at full scale, build volume is the only lever that matters and this has the most of it.
The CoreXY layout also means the gantry stays put while the bed moves, which is why a 400mm bed can still hit meaningful speeds without the wobble a bed-slinger shows at that size.
What to plan around
Bed warping and finish flaking off the plate are the most common complaints, along with 17 percent one-star reviews citing early hardware failures, and long bed heat-up time compared with enclosed machines. There is no enclosure, so ABS and ASA need an add-on. Multi-color needs a separate add-on too, and the 70.4 lb frame is unwieldy in a small workspace. Fix the adhesion with a brim and an adhesive sheet and the rest of the package is strong.
8. ELEGOO Saturn 4 Ultra 16K
ELEGOO Saturn 4 Ultra 16K Resin 3D Printer
16K mono LCD
Resin tank at 30 C
150mm/h tilt release
366 reviews
Pros
- 16K mono LCD resolves the fine surface detail cosplay sculpts need
- Resin tank heating to 30 C improves layer adhesion and reduces bubbles
- Tilt release up to 150mm/h roughly halves print times versus older models
- Automatic leveling and self diagnostics remove manual setup
- AI camera monitoring catches failed and warped prints remotely
Cons
- Resin workflow requires washing and curing before a prop is finished
- 13 percent of reviews are 1-star with build plate adhesion reports
- Larger unit at 35.5 lb with dedicated UV handling safety considerations
- Not suited to large scale prop fabrication
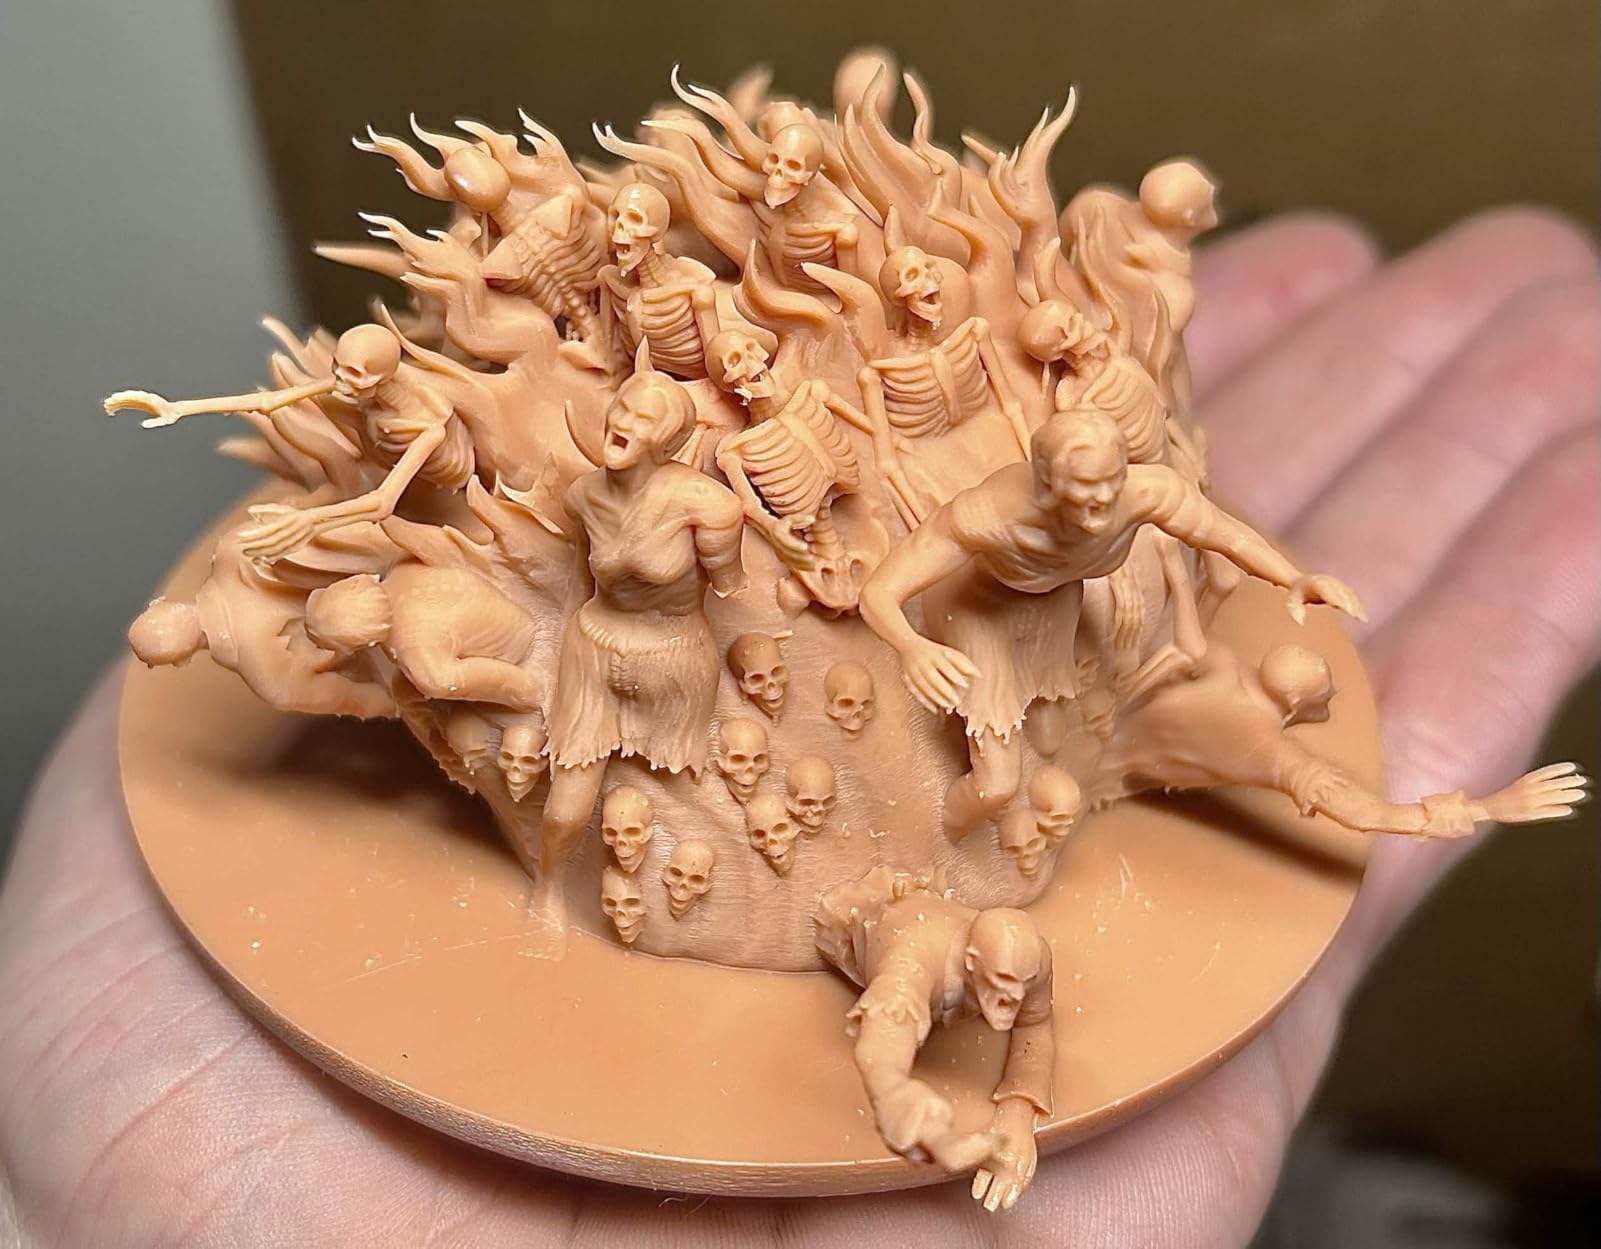
Resin is a different tool, not a competing one, and the right way to think about it is as a second machine. A 16K mono LCD resolves the surface detail that FDM physically cannot, and that is what makes it right for the small parts that a filament printer will always render a little soft. Visor lenses, mesh grille inserts, vents, medallions, droid internals and small display pieces are the jobs.
The smart tank holds resin at 30 C, which improves layer adhesion and reduces the bubbles that cause the pitted first-layer failures resin users complain about most. Tilt release at up to 150mm/h roughly halves print times against older Saturn models, so the slow-resin reputation is out of date.
Automatic leveling and self-diagnostics remove the most tedious part of resin work, and the AI camera with chamber light and time-lapse lets you check a print remotely. A mechanical residue sensor protects the LCD, and alarms cover resin shortage and leveling failure.
At 4.2 across 366 reviews, the consensus is 71 percent five-star, and reviewers concentrate on resolution and speed. The critical reviews cluster on first-layer adhesion and resin handling, which is exactly where resin machines are least forgiving in general.
When resin earns its bench space
Detail is the whole answer. An FDM print at a 0.12mm layer height still shows stepping on a curved surface under stage lighting, and a resin print at 18 micron class resolution does not. For a helmet lens, a chest reactor, a shoulder insignia or a weapon hilt, resin converts a good part into a convincing one. It is also the only way to get a clean translucent visor.
Used alongside a filament machine, the split is simple. Large PLA or ASA armor panels on the printer, small detail parts and lenses in resin.
What changes about your workflow
Washing and curing come before any finishing, and that is a real time cost per part. Uncured resin needs gloves and ventilation, and 13 percent of reviews are one-star with reports of build plate adhesion failures. At 35.5 lb it needs a sturdy shelf with UV handling in mind. It prints detailed components only, not large-scale prop fabrication.
9. ELEGOO Mars 5 Ultra
ELEGOO Mars 5 Ultra Resin 3D Printer
9K mono LCD
18 micron XY
150mm/h tilt release
384 reviews
Pros
- 9K mono LCD at 18 micron XY resolution captures crisp fine detail at a budget price point
- Tilt release roughly halves print time for detailed parts
- Self-leveling build plate removes the most tedious resin setup step
- Wi-Fi cluster printing supports small batch prop detailing
- Chitubox Pro subscription with auto-orient and magic support tools
Cons
- Resin prints still require washing and curing
- 9 percent of reviews are 1-star with build plate adhesion reports
- Lid has no hinges so it must be fully removed
- Rounded resin spout makes pouring messy
- Small build plate relative to helmet scale sections
- Camera can be blocked by tall prints
If resin is only for small details, this is the version to buy. A 9K mono LCD at 18 micron XY resolution is most of the visual difference between resin and FDM on a small part, and the 384 reviews at a 4.3 average with 76 percent five-star make it the most proven detail machine in this roundup.
It weighs 19.36 pounds, which matters, because a resin machine you can move to a ventilated corner and back is far more practical than one that lives under a bench. Tilt release up to 150mm/h and a self-leveling build plate handle the two tasks resin users dread most: speed and leveling.
The AI camera with real-time error detection and a mechanical residue sensor are useful, though as owners note the camera can be blocked by tall prints and the low screen resolution limits how much you can actually see. Wi-Fi cluster printing lets you run several units for a batch of identical detail parts, and the included three-month Chitubox Pro subscription covers auto-orientation and support generation.
For detailing work this is the cheapest path to a resolution FDM cannot reach, and 19.36 pounds means it can live somewhere with ventilation.
Which detail parts to put on it
Small, high-contrast, roughly flat parts. Medallions, badges, vent grilles, lens elements, small greebles, weapon hilt details and mask vents. Anything you will paint dark and photograph close up, and anything translucent. The build plate is small relative to helmet-scale sections, so think in parts under a few hundred millimeters.
Auto-orientation in the slicer matters here, because deciding which way a small part should sit on the plate is the fiddly part of resin work and the software handles it.
What to know first
Washing and curing are still required before finishing. Nine percent of reviews are one-star, mostly build plate adhesion. The lid has no hinges so it comes off entirely for access, the rounded resin spout makes pouring messy, and the build plate is small for helmet-scale work. Ergonomic annoyances rather than quality problems, but they add up in a long session.
10. Longer LK5 Pro
Longer LK5 Pro 3D Printer with Dual Z-Axis Upgrade, 4.3″ Color Touch Screen, Silent Motherboard, Large Print Size 11.8″x11.8″x15.7″, Fully Open Source, Filament Run-Out Detection
300x300x400mm
180mm/s
dual Z-axis
open source
Pros
- Tall 400mm Z height suits helmets and tall armor pieces at the lowest cost here
- Dual Z-axis upgrade reduces bed flex and leveling effort for tall prints
- Fully open source firmware and hardware appeals to builders who want to modify the machine
- Silent TMC2209 drivers keep it quiet for home use
- 90 percent pre-assembled so beginners can start printing quickly
Cons
- Open frame with no enclosure means ABS and ASA will warp without an add-on
- 180mm/s is slow next to the 500 to 700mm/s machines here
- Single extruder and single color so every part is a separate print
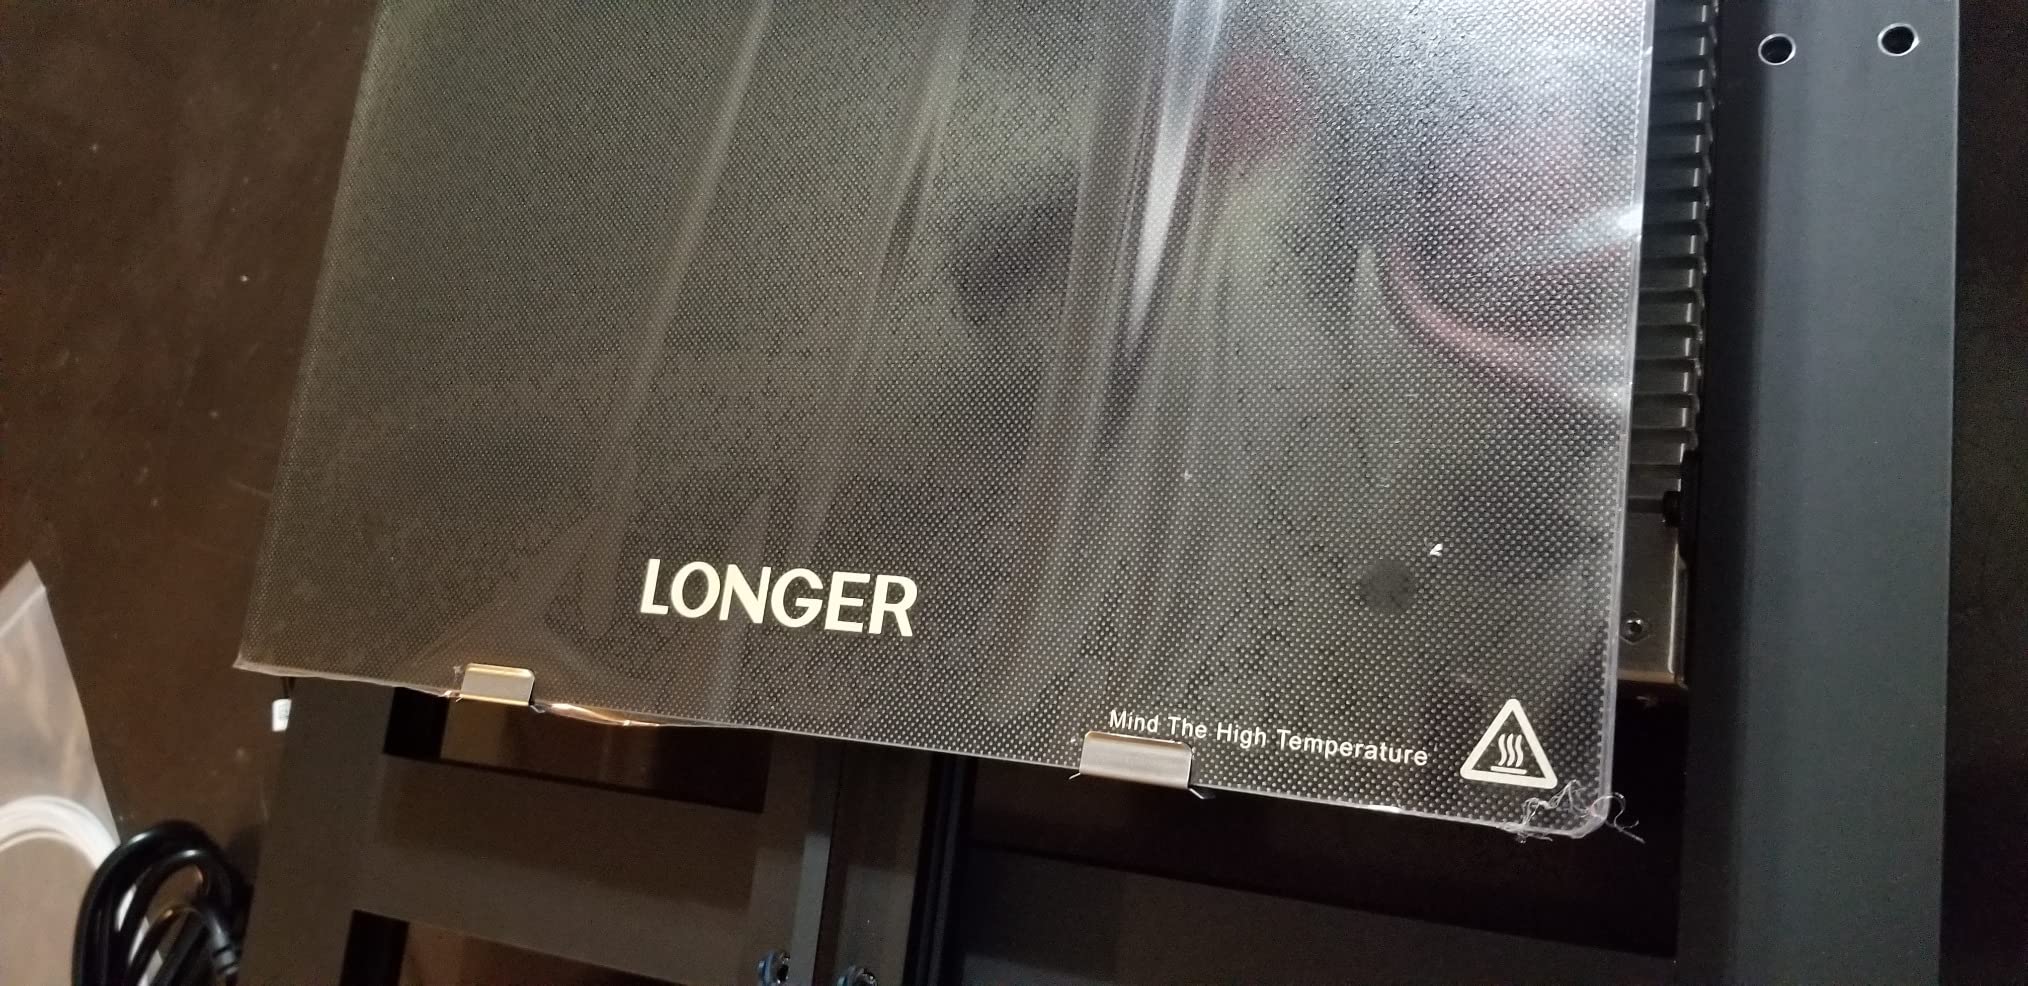
- Lattice glass bed can be fragile under repeated heavy use
- Older platform design dated before the multi-toolhead generation
This is the budget entry, and the reason it is on the list is the 300x300x400mm volume. A 400mm Z height is taller than most machines at this tier, and height is what decides whether a helmet shell prints standing up or lying on its side. Tilt it wrong and the support fails, so the tall format genuinely earns its place for cosplay work.
The dual Z-axis upgrade is the quiet hero. It cuts bed flex, which is the number one cause of first-layer failures on tall prints, and it reduces the leveling effort on a large build plate. Silent TMC2209 drivers make it the most apartment-friendly machine in the roundup, and 26.4 pounds is light enough to move between a desk and a shelf.
At 664 reviews and a 4.2 average with 68 percent five-star, it also has the second-deepest review base here, which matters for a platform that launched back in 2020. Fully open source firmware and motherboard, a 4.3 inch color touchscreen, filament run-out detection and power failure resume, and 90 percent pre-assembly.
That last combination, open hardware and a decade of parts, is the appeal. r/CosplayHelp owners running this platform report high print quality for the money and plenty of tuning options and mods, which is the exact profile a cosplayer building a custom helmet fit needs.
When a slower machine is the right call
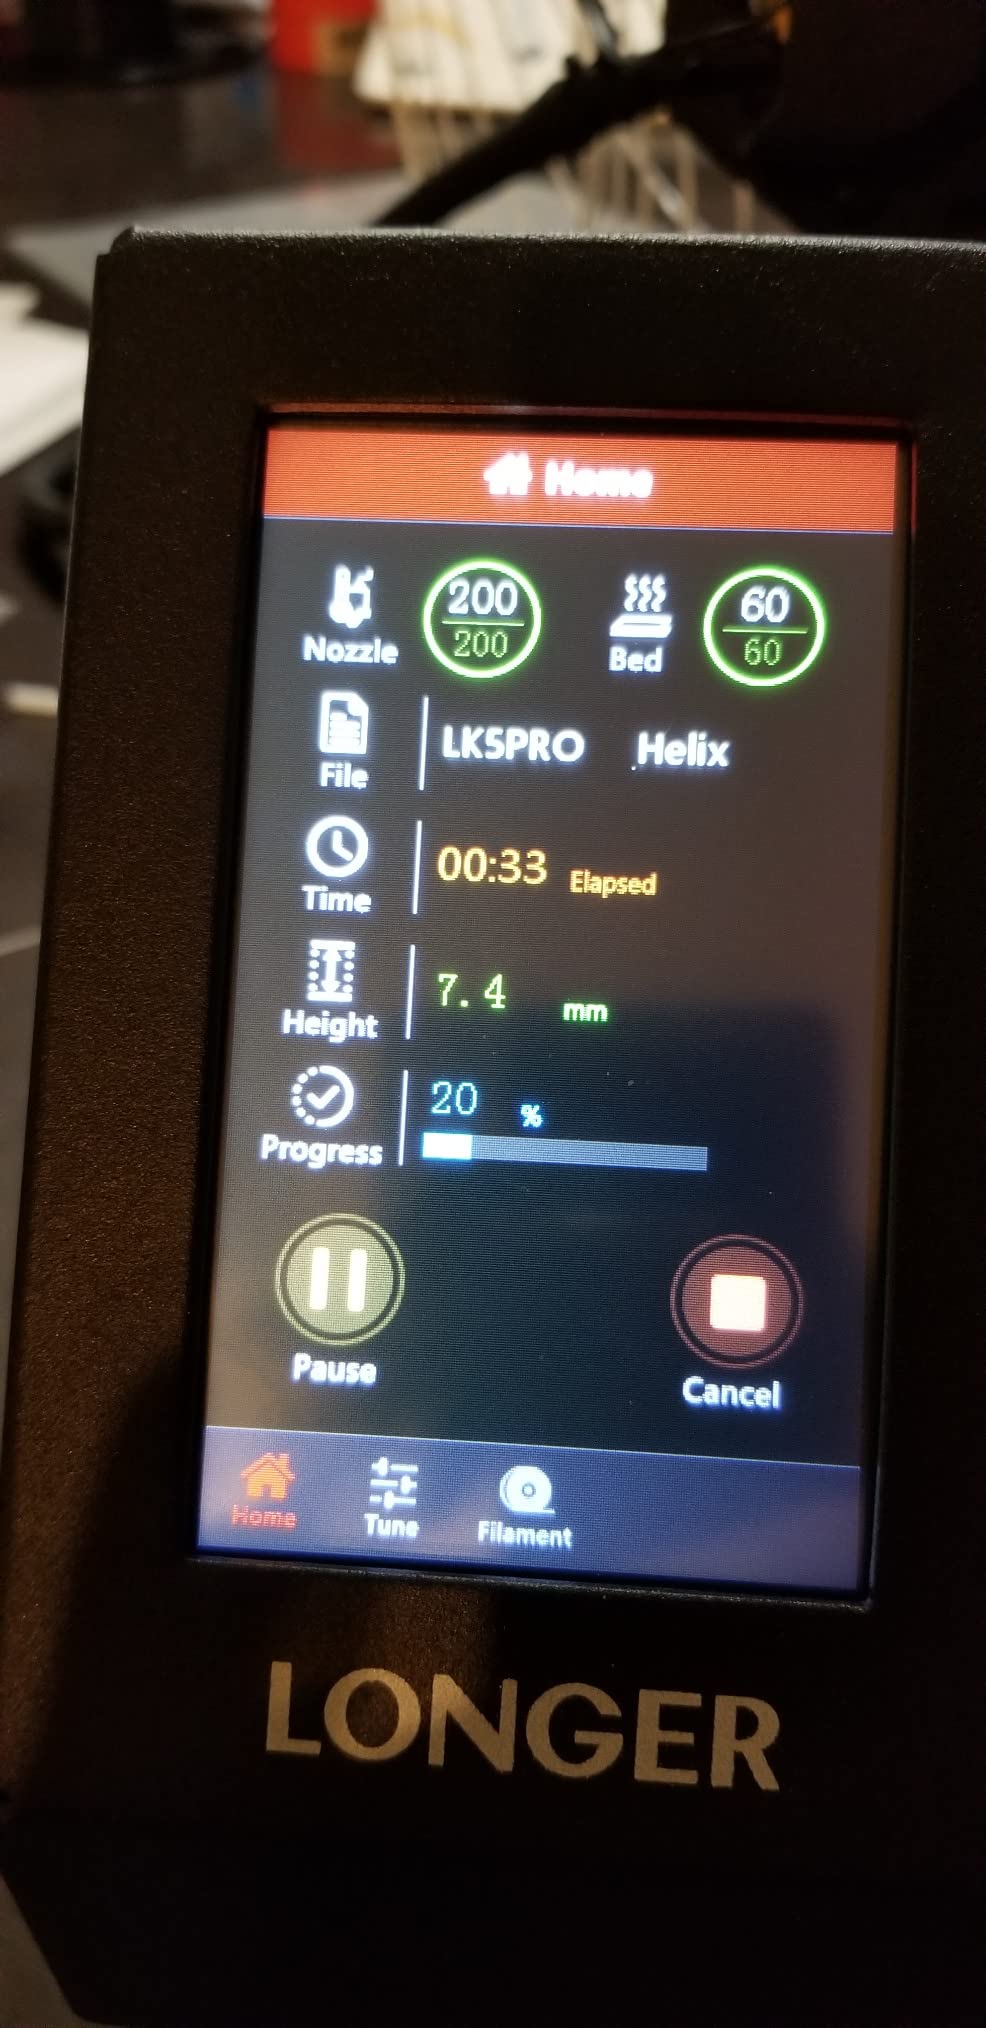
Speed is only a multiplier. If your prints are short prop parts, brackets, buckles and helmet segments, the 180mm/s ceiling barely registers and the low cost goes into filament and finishing materials instead. For a builder on a budget who plans to print many separate pieces rather than one huge shell, the math works in this machine favor.
Print speed matters most on long prints, and the tall Z format plus open source hardware is what makes this build worth customizing over time.
What you trade away
There is no enclosure, so ABS and ASA will warp without an add-on, which means PLA and PETG only out of the box. Single extruder and single color means every part is a separate print, and there is no multi-color path. The lattice glass bed can be fragile under repeated heavy use, and the platform design predates the current multi-toolhead generation. 180mm/s is slow next to machines here running 500 to 700mm/s.
Frequently Asked Questions
How big of a 3D printer do I need for cosplay?
Measure the widest, tallest and deepest point of your prop and add 10mm for clearance. Under 200mm covers buckles, trim and bracers. A 200-250mm cube handles forearm armor and visors. A 250-300mm cube fits most adult chest panels and mask shells. For a full-size helmet printed in one piece you need 300mm and up, and for the largest back-mounted armor sections, 400mm. If you are printing mostly segmented parts, 250mm is genuinely enough.
Should I use PLA or PETG for cosplay?
PLA is the right default for most props. It sands cleanly, takes sharp paint and filler primer, and needs no enclosure. Choose PLA+ for gauntlets, bracers and anything that gets bumped, and PETG when you need real toughness and heat resistance, such as an outer shell worn against the body. PETG sands poorly, so budget extra finishing time. For a piece exposed to sun or a hot car, use ASA in an enclosed heated chamber instead.
What are the best 3D printers for printing anime figures?
Anime figures are small and detail-bound, so resolution matters more than build volume. Resin printers win: the ELEGOO Saturn 4 Ultra 16K and the ELEGOO Mars 5 Ultra resolve fine surface detail far beyond FDM, and both auto-level and use tilt release for speed. For larger anime props such as oversized mecha parts, use a filament machine with a 250mm cube or larger and 0.12mm layer height.
Is there anything illegal to 3D print?
Printing for personal use is generally fine, and props you design yourself carry no restriction. The line you do not cross is producing and selling copies of commercially protected designs, and some venues restrict weapon-like props regardless of how they were made. Check your convention rules on replica props, and never print functional firearms or anything intended to be used as one.
Do I need an enclosed printer for ABS cosplay armor?
Yes, if you plan to print ABS, ASA or PC. Those materials shrink as they cool, and on an open frame the layer cools too fast, so corners lift and the bottom edge separates from the bed. An enclosure with active heat keeps the air around the part warm enough to relax. Among the enclosed machines here, the FLASHFORGE Creator 5 Pro has the highest chamber at 65 C and dual HEPA and carbon filtration, which is also the better choice for an indoor workspace.
Can I print a full helmet in one piece?
Only if the model fits your build volume, and most life-scale adult helmets need 300mm in every dimension. The Creality K2 Plus Combo at 350mm and the Creality Ender 5 Max at 400mm can take a full shell in one print, and going one piece removes the seam across the face as well as the support overhang that a segmented print needs. Below 300mm, plan to segment, then join with CA glue and filler along a natural line like the brow ridge.
The Verdict: Which Cosplay Printer Should You Buy
If you want one machine that covers oversized props and multi-color finishing, the Creality K2 Plus Combo is our pick. The 350mm cube prints a full helmet shell in one pass and the four CFS units handle 16 colors, which is the combination nothing else here matches. Accept the 70.4 pound footprint and the 17 percent one-star share before you commit.
For durable ASA and ABS in a home or apartment, the FLASHFORGE Creator 5 Pro wins on a 65 C chamber plus real HEPA and carbon filtration. For multi-color and true multi-material with the least purge waste, the Snapmaker U1 swaps four toolheads in about 5 seconds, and the FLASHFORGE Creator 5 adds multi-color TPU for flexible trim. For the easiest first build, the Bambu Lab P2S Combo is printing in 15 minutes and drying filament properly. For the biggest prints of all, the Creality Ender 5 Max at 400mm takes anything, once you add an enclosure. The Longer LK5 Pro covers tall prints cheaply if you stay in PLA and PETG. For small detail parts, add resin rather than replacing filament, and the ELEGOO Mars 5 Ultra is the cheaper way in.
Whichever you choose, measure your prop before you buy, print a scaled test section first, and leave a reprint in the plan. That is the whole difference between a finished costume and a weekend lost. This roundup was last updated in October 2026.