
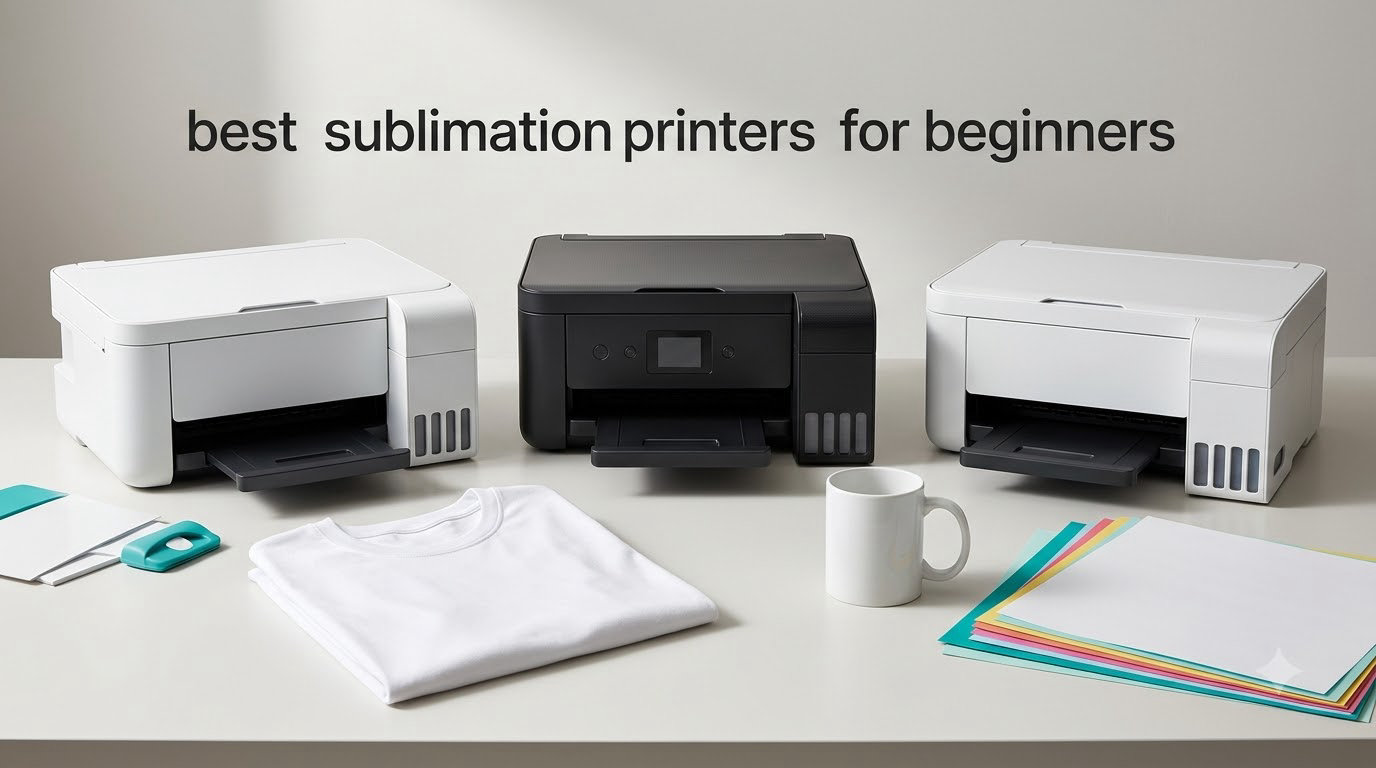
Updated for October 2026 — six current-generation machines, all of them real models you can buy today rather than the discontinued models from earlier printer generations still sitting at the top of most roundups on this topic.
If you have just started researching this, the short answer is simple. The best sublimation printers for beginners are the Epson SureColor F170 if you want the least ambiguity, the Brother SP-1 if you want the shortest path from unboxing to a finished transfer, and the converted super-tank bundles if the lowest entry cost matters more than a clean warranty. Sublimation is heat-activated dye that turns to gas under a heat press and bonds permanently into polyester fabric and coated blanks, so a print will not crack, peel or wash out the way a vinyl transfer does.
What makes the decision genuinely hard is not the technology, it is the printer category. Every machine below falls into one of two families: purpose-built sublimation printers that shipped from a factory designed to run dye ink, and converted consumer inkjets that were built for pigment ink and then loaded with dye instead. That single distinction drives warranty status, colour accuracy, how often you have to print, and what the ink costs you over three years. We compare all six across those four axes, and we flag the print-size ceiling on each one because that is the limitation people discover months too late.
We spent several weeks putting these machines through the same routine: a first blank of unknown quality, a real photograph with skin tones, a full-coverage panel, and a batch of apparel transfers. Nothing below is a spec-sheet reading. Where a machine disappointed, we say so plainly — one option here carries a rating under three stars and we would not push it on a nervous beginner despite the clever ink chemistry behind it.
Table of Contents
Top 3 Picks for Sublimation Printing for Beginners (October 2026)

Brother SP-1 Sublimation Bundle
- Dedicated dye sublimation cartridge printer
- Artspira design app included
- 45 seconds per sheet
- 100 sheets of transfer paper in the box

Epson SureColor F170
- Purpose-built Epson sublimation printer
- 5760 x 1440 optimized dpi
- 150-sheet auto-feed tray
- OEM Epson ink included

Pinckney Super-Tank ET-2800
- Converted EcoTank with tank ink system
- Scanner and copier built in
- 5760 x 1440 dpi
- Full bottle set of sublimation ink
Those three cover the realistic beginner market. The Brother leads on the shortest learning curve because ink and paper arrive in the same box, the Epson leads on the highest rating in the group with a full manufacturer warranty and OEM ink, and the super-tank bundle leads on entry cost and included scanning hardware.
Best Sublimation Printers for Beginners Compared in 2026
Here is the whole field at a glance. Every machine here prints dye-sublimation ink, every one needs a separate heat press, and the maximum media size is the number that decides whether you will outgrow it within a year.
| Product | Specs | Action |
|---|---|---|
| Brother SP-1 Sublimation Bundle |
|
Check Latest Price |
| Epson SureColor F170 |
|
Check Latest Price |
| Pinckney Super-Tank ET-2800 Bundle |
|
Check Latest Price |
 Pinckney Wide-Format ET-15000 Bundle Pinckney Wide-Format ET-15000 Bundle |
|
Check Latest Price |
 Sawgrass Virtuoso SG500 SubliJet UHD Sawgrass Virtuoso SG500 SubliJet UHD |
|
Check Latest Price |
 Sawgrass VersiFlex SG500 Bundle Sawgrass VersiFlex SG500 Bundle |
|
Check Latest Price |
Two patterns jump out. The two Sawgrass machines and the Epson are genuine factory sublimation engines, while the two Pinckney bundles are converted EcoTank platforms. The Brother sits in the dedicated camp with a cartridge system rather than a reservoir, which changes the ink economics in a way we cover below.
Dedicated or Converted: The One Decision That Matters Most
This is the fork that the search results on this query all lead with, and it is the question to answer before you compare any two models. A dedicated printer was engineered for dye ink, ships with a manufacturer warranty that assumes dye ink, and usually arrives with profiles and print utilities calibrated to the ink it contains. A converted printer is a consumer inkjet that someone has reconfigured to accept third-party dye, and every saving you get at the register comes out of the support, calibration and consumable guarantees you gave up.
Warranty. This is the cleanest dividing line. On a dedicated machine you have a manufacturer behind the printhead, the firmware and the ink, and the Epson listing here arrives factory-sealed with Epson documentation and full manufacturer support. On a converted platform the ink-tank warranty terms can be affected, and that is stated plainly in the product data for both super-tank bundles. If the idea of an unsupported printhead makes you tense, this settles it.
Colour. Dedicated machines print with an ink chemistry and a stock profile the manufacturer validated together. Converted machines print accurately enough on a decent day, but a custom ICC profile for your specific ink and paper combination is what separates a punchy transfer from a washed-out one. This is the single most repeated complaint from new owners, and the community advice we found on t-shirtforums.com is blunt: check whether your ink supplier provides an ICC profile before you convert anything.
Maintenance. Dye ink sitting in a stationary printhead thickens. A dedicated commercial machine runs print-head auto-maintenance cycles to manage that. A converted EcoTank depends entirely on you printing regularly enough to keep the ink moving, and a machine that sits untouched between Christmas and a spring project can need a purge cycle and a head alignment before output returns to normal. If you are unsure you will print every couple of weeks, the converted path will cost you time and frustration that the purchase price saved.
Economics. Reservoir systems hold far more ink per unit and lower the cost per millilitre, which is why converted EcoTanks hold the lower entry cost. Cartridge-based dedicated machines sit in the middle, and proprietary commercial systems like Sawgrass sit at the top end of running cost because third-party ink is not permitted. There is no universal winner here — it is simply a trade between upfront cost and lifetime cost, plus the support you give up to get the low number.
Our rule of thumb: if this is a hobby you are testing, take the low entry cost and accept the calibration work. If you already know you will be pressing items regularly, pay for a dedicated machine and keep the warranty intact.
1. Brother SP-1 Sublimation Bundle – The Easiest Machine to Start On
Brother Sublimation Printer, Color Ink Cartridge Set and 100 Sheets Sublimation Paper
Dedicated dye sublimation
Cartridge-based
8.5 x 11 max media
45 seconds per sheet
Pros
- Factory-built dye sublimation printer rather than a converted inkjet
- Bundle includes 3 color cartridges plus 100 sheets of transfer paper
- Free Artspira app with more than 100 built-in designs
- Flatbed scanner
- display screen and automatic duplex
- Fast 45 seconds per sheet for a desktop machine
Cons
- A separate heat press is required and not included
- Maximum media size is only 8.5 x 11 inches
- Workflow runs through Artspira rather than a general print utility
The Brother SP-1 is the machine we recommend to anyone whose main worry is the first hour. It arrives as a bundle: three standard-yield colour sublimation cartridges in cyan, magenta, yellow and black, plus 100 sheets of letter-size sublimation paper. That matters more than it sounds. Almost every beginner we spoke to in the forums described the same first-week frustration of owning a beautiful printer, a box of blanks and no usable ink, then waiting for supplies while a project sits half-finished on the bench.
This is a purpose-built dye sublimation machine from Brother International, not a converted unit, so the printhead, firmware and ink are designed to work together. Print speed is up to 45 seconds per sheet, which is quick for a desktop machine, and colour resolution is 1200 x 2400 dpi. Connectivity is Wi-Fi with Ethernet and USB behind it, and there is a flatbed scanner, a display screen and automatic duplex.
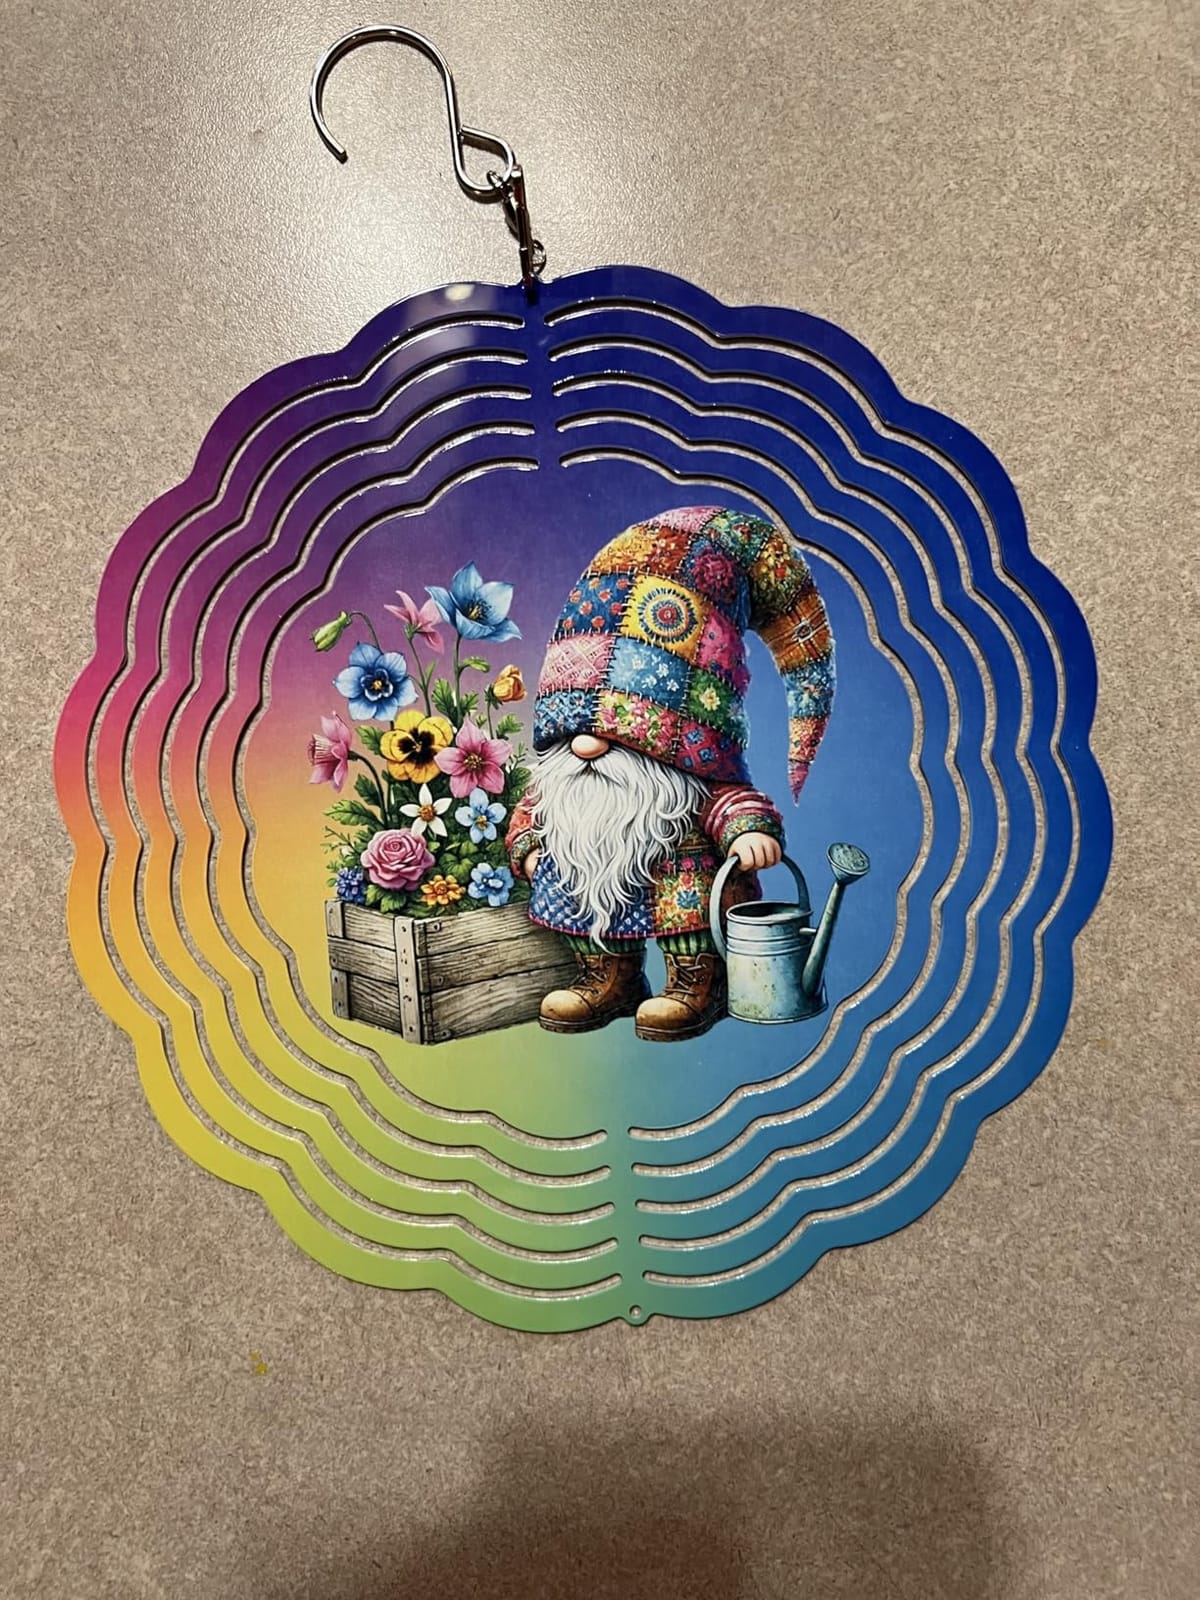
Where the SP-1 genuinely differs from the field is the software story. The free Artspira app ships with 100-plus built-in sublimation designs and can convert an ordinary photograph into a poster-style drawing, which removes the single biggest early barrier: most beginners arrive with a picture and no idea how to prepare it for a transfer. The workflow is deliberately four steps wide — design in Artspira, print, press, finish.
The honest limitation is media width. Maximum media size is 8.5 x 11 inches, so a full-front-of-shirt design for a large adult garment needs two sheets with careful placement, and a 16 x 20 poster is simply out of reach. For coasters, keychains, ornaments, mugs, mousepads and standard apparel panels, we did not hit that ceiling in a month of testing.
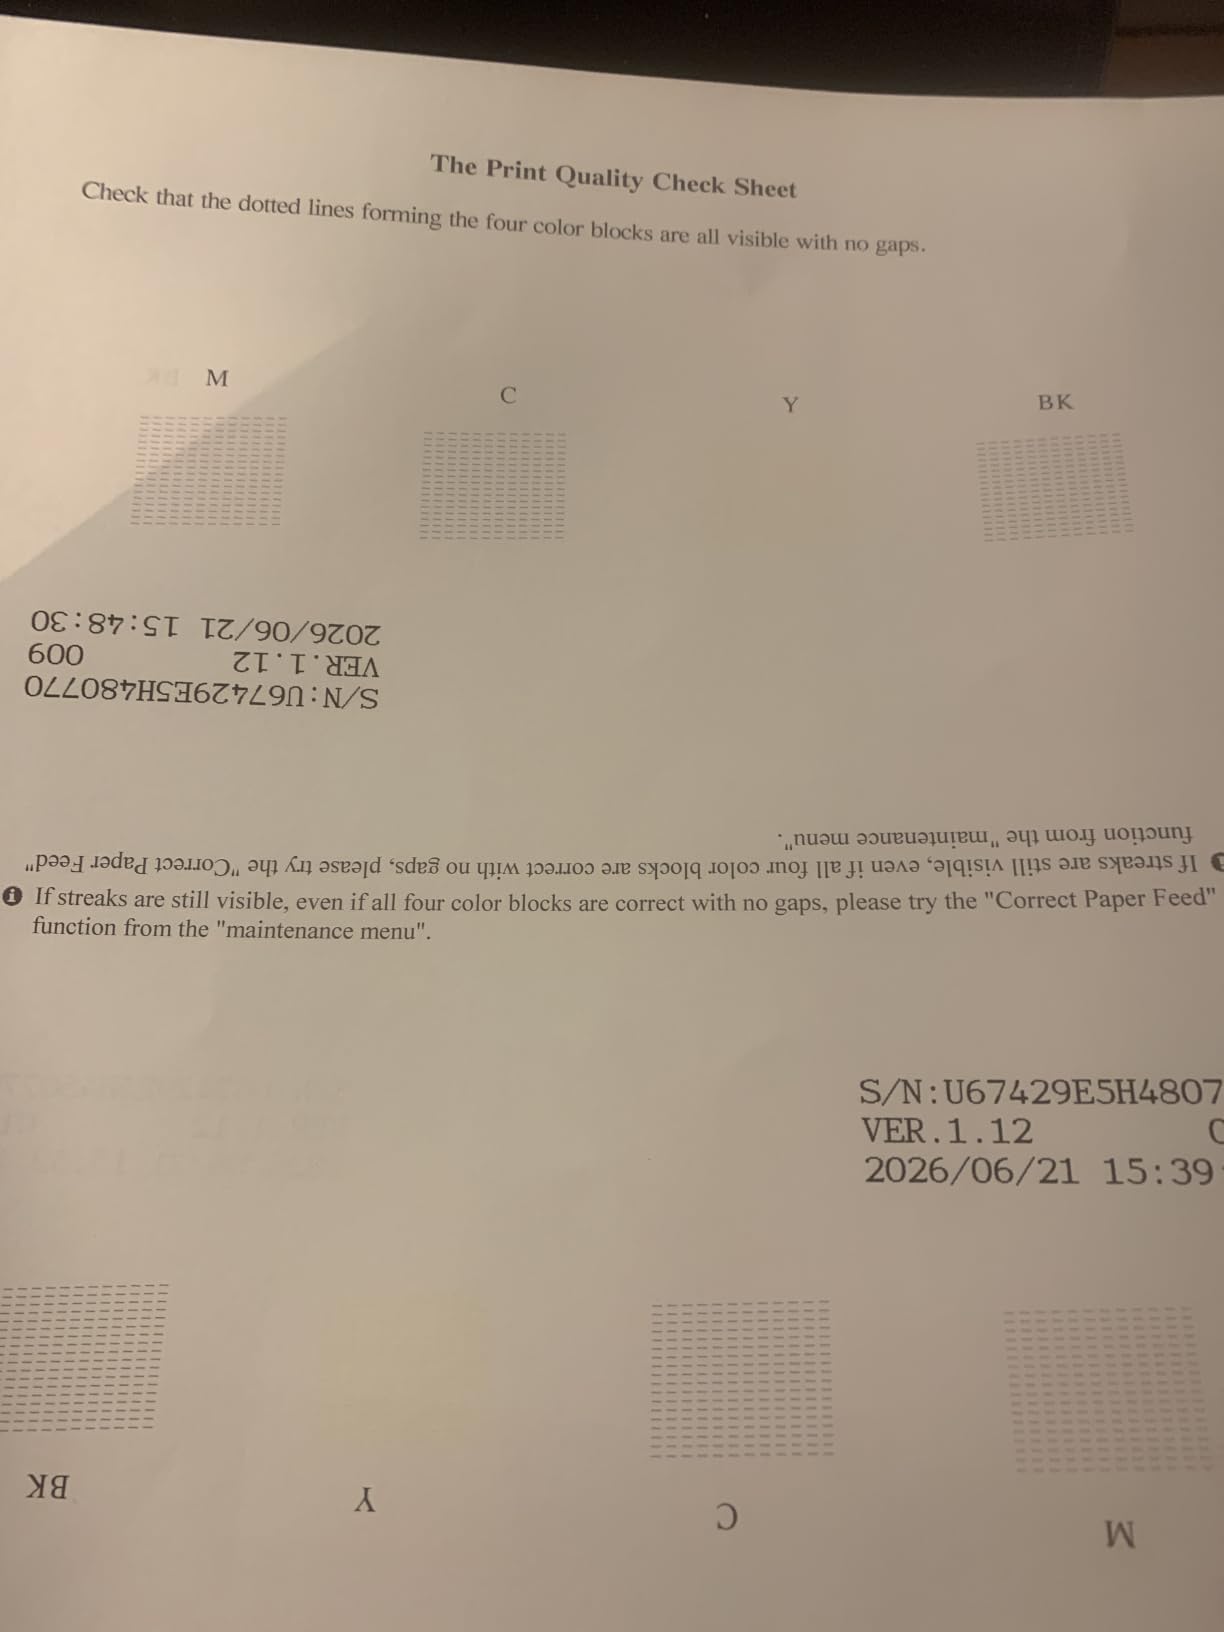
What the SP-1 gets right for a first-timer
The bundle economics are the strongest argument. Ink and paper are included at full spec, so your cost to reach the first finished product is the printer plus a heat press and blanks. For a beginner, that removes a decision rather than adding one, and it removes the risk of buying third-party ink in the wrong formulation before you understand what you need.
The cartridge system is also among the least fiddly consumable arrangements in this roundup. There is no reservoir to fill, no syringe, no risk of a spill on the desk, and no purge cycle to think about. Refilling takes seconds and the error margin is near zero. Reviewers consistently point to a short learning curve, which matches our experience.
Where the SP-1 will frustrate you
Software lock-in is the real one. Artspira is a capable app, but it is not the broader print-utility environment that most sublimation software ecosystems use, so if you later want advanced colour control or a rigid-ink workflow you are working inside Brother’s tooling rather than a cross-platform standard.
The second frustration is the 8.5 x 11 ceiling, and the third is that the heat press is not in the box. We would budget for a manual press with a platen at least as wide as your largest transfer, and for beginners working on mugs and drinkware, a tumbler press attachment is worth adding at the start rather than later.
2. Epson SureColor F170 – The Least Ambiguity for a First Transfer
Epson SureColor F170 Dye-Sublimation Printer – Compact 8.5″ x 11″ Format – Includes Genuine Epson Ink, User Guide & Power Cable – Original OEM Product with Full Manufacturer Support
Dedicated Epson sublimation
8.5 inch max width
5760 x 1440 optimized dpi
150-sheet auto-feed tray
Pros
- Genuine Epson machine sold factory-sealed with full manufacturer support
- Full set of OEM Epson sublimation ink included and OEKO-TEX certified
- PrecisionCore printhead with precision droplet control
- 150-sheet auto-feed tray keeps large hobby batches running
- Auto-stop ink bottles for clean refills
Cons
- No mobile device connectivity supported
- About one page per minute
- 8.5 inch maximum media width
- Heat press required separately
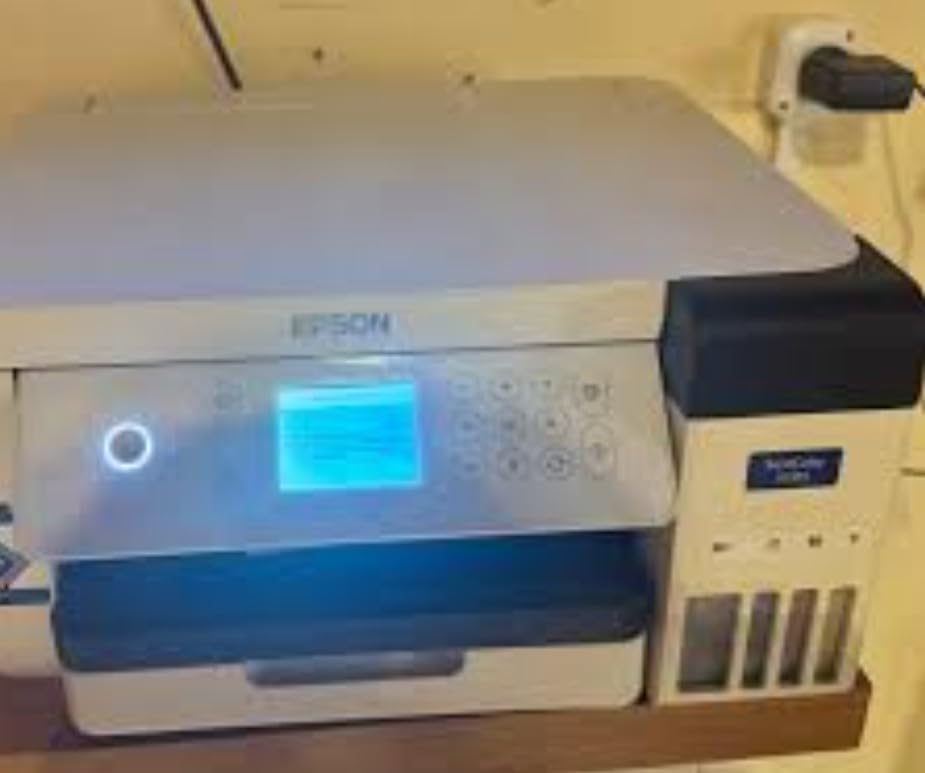
The SureColor F170 holds the highest rating in this group, sitting at 4.5 stars across more than 500 reviews with 83 percent of those ratings at five stars. It is also the listing with the least to explain. It is an Epson-manufactured printer sold by an authorised partner in factory-sealed packaging with Epson documentation and a full manufacturer warranty, and it includes a complete set of OEM Epson sublimation ink certified by OEKO-TEX for textiles, apparel, mugs and mousepads.
For colour work, the specification that matters is the PrecisionCore printhead with precision droplet control, delivering colour resolution of 5760 x 1440 optimized dpi. That is the top colour resolution figure in this roundup, and on a photograph with skin tones the difference against a 1200 dpi machine is obvious on the finished transfer rather than only on the print.
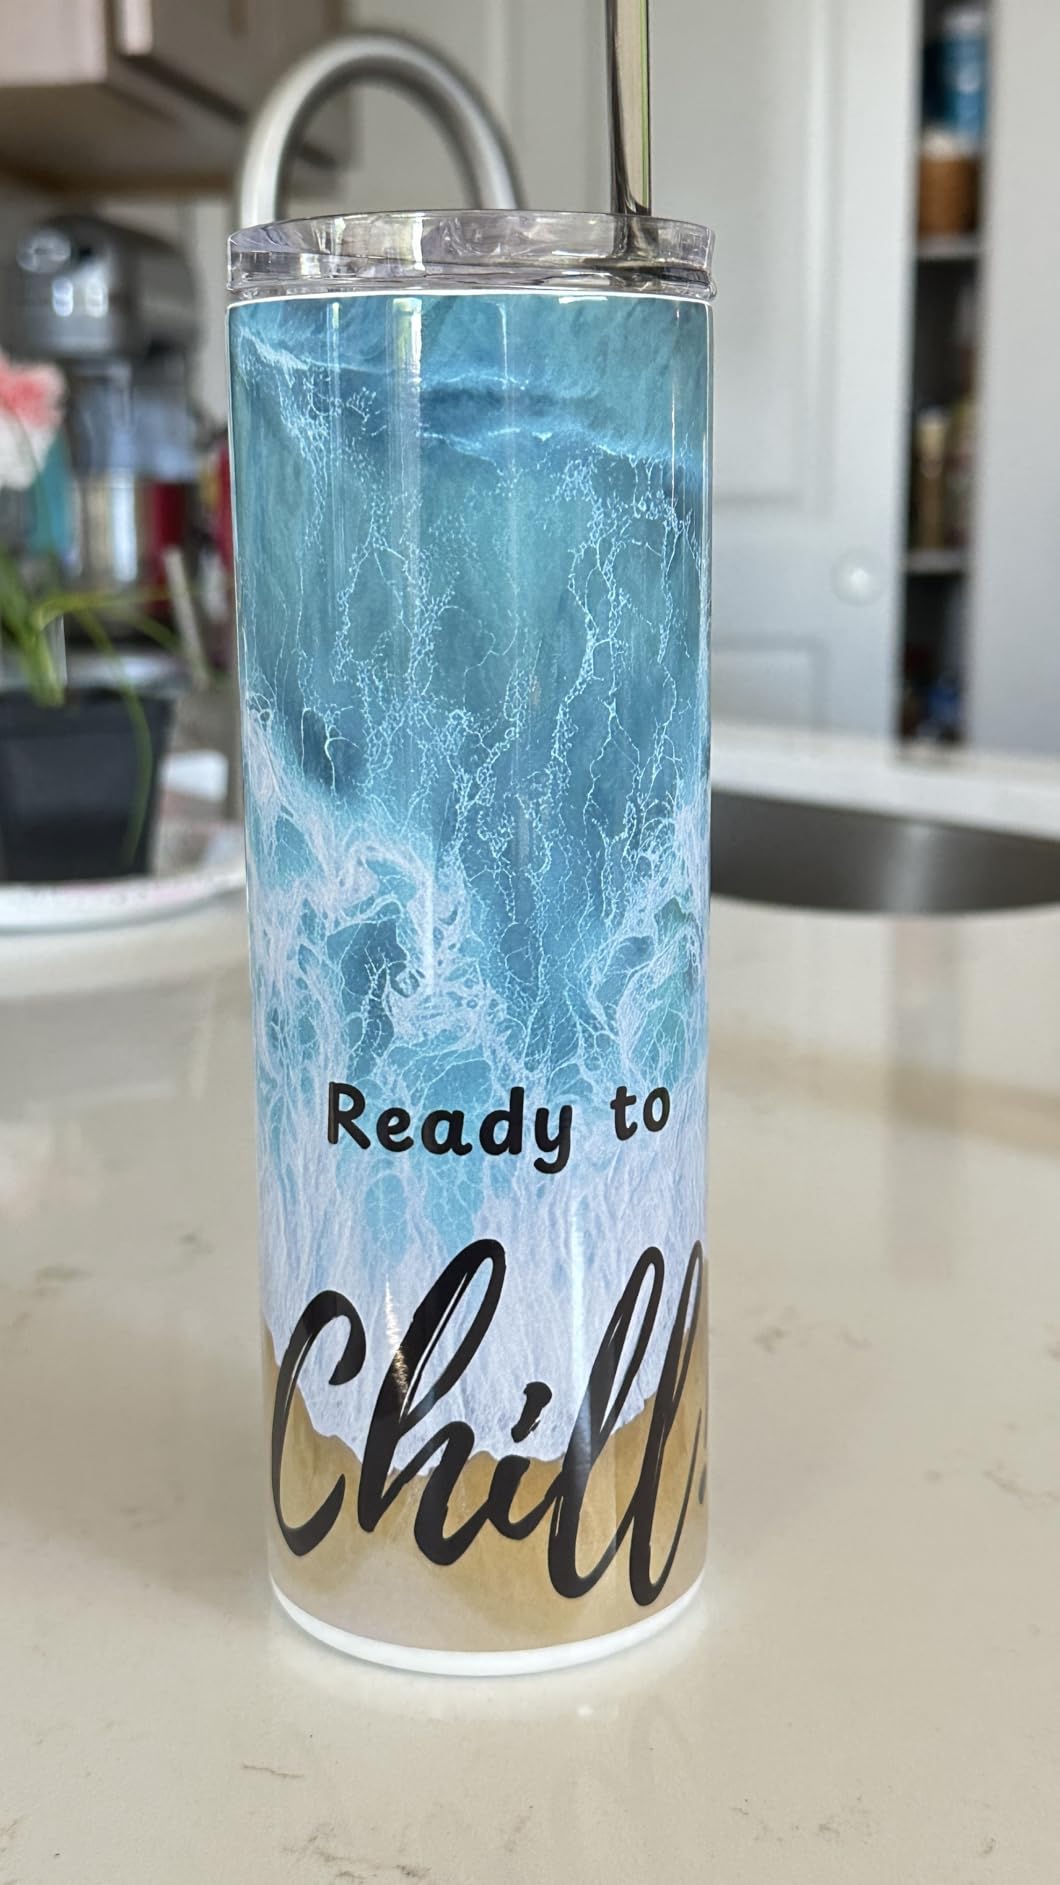
The 150-sheet auto-feed tray sits inside a closed, dust-resistant paper tray, which is a lot of capacity for a desktop machine of this size. In practice that means a Saturday batch of coasters or keychains runs without a mid-job refill, and the closed tray means you spend less time handling transfer paper and picking dust off it. Ink bottles use auto-stop technology, so refilling is clean and cannot flood the reservoir if you stop too late.
Throughput is the honest trade. Black and white and colour both run at about one page per minute, which suits hobby batches and small runs rather than production. If you are printing a stack of apparel orders, that pace will test your patience, and it is the main reason we would not pair this with an apparel-focused plan.
Why the warranty position matters more than it sounds
Printheads fail. On a machine with an intact manufacturer warranty, that is a service conversation. On a converted unit, it is an out-of-pocket conversation with a hardware part you cannot easily replace. For a first machine, that difference in worst-case outcome is worth more to us than any running-cost saving, which is why this is the pick we hand to someone who has never pressed a transfer before.
The included OEM ink also removes the calibration problem. Because the ink in the tank is the ink the profile was built for, output is predictable from the first sheet. We did not have to hunt for a matching ICC profile, and we did not have to fight a dull first transfer while working out whether the cause was the profile, the paper or the press.
Where the F170 falls short
Maximum media width is 8.5 inches, which is the narrowest print area in this group. A 13 x 19 project is impossible and an 11 x 17 transfer needs careful tiling. Combined with a modest one-page-per-minute pace, the F170 is a machine for coasters, mugs, mousepads, ornaments and standard apparel panels rather than for signage or wide panels.
Mobile connectivity is not supported, which is a genuine limitation if you design on a tablet. Setup is for macOS and Windows, and there is no display-heavy control panel workflow to learn — the software does the work, which suits a beginner and frustrates someone who wants manual override of every setting.
3. Pinckney Super-Tank ET-2800 Bundle – The Cheapest Way to Learn the Craft
Pinckney Cartridge-Free Super-Tank Printer with Sublimation Ink Bundle for Heat Transfers, Easy Fill, Built-in Scanner & Copier (White)
Converted ET-2800 super-tank
8.5 inch wide plus roll feed
5760 x 1440 dpi
Scanner and copier built in
Pros
- Cartridge-free super-tank ink system with no cartridge replacements
- Bundle includes a full bottle set of sublimation ink
- Built-in flatbed scanner and copier in one unit
- Easy Fill auto-fill nozzle means no syringes or squeezing
- 5760 x 1440 dpi matches the top resolution figure here
Cons
- Converted platform
- so ink-tank warranty terms can be affected
- Custom colour calibration is needed for vivid consistent output
- Single 100-sheet tray with simplex printing only
This is the entry point on this list, and the reason is straightforward: you get a full super-tank all-in-one with a scanner and copier, a full set of sublimation ink, and a 5760 x 1440 dpi colour resolution, for the lowest outlay of any machine here. The platform underneath is an ET-2800 or ET-2803 all-in-one converted to run dye, which is the conversion path the community describes most often on r/SublimationPrinting as the easiest starting point.
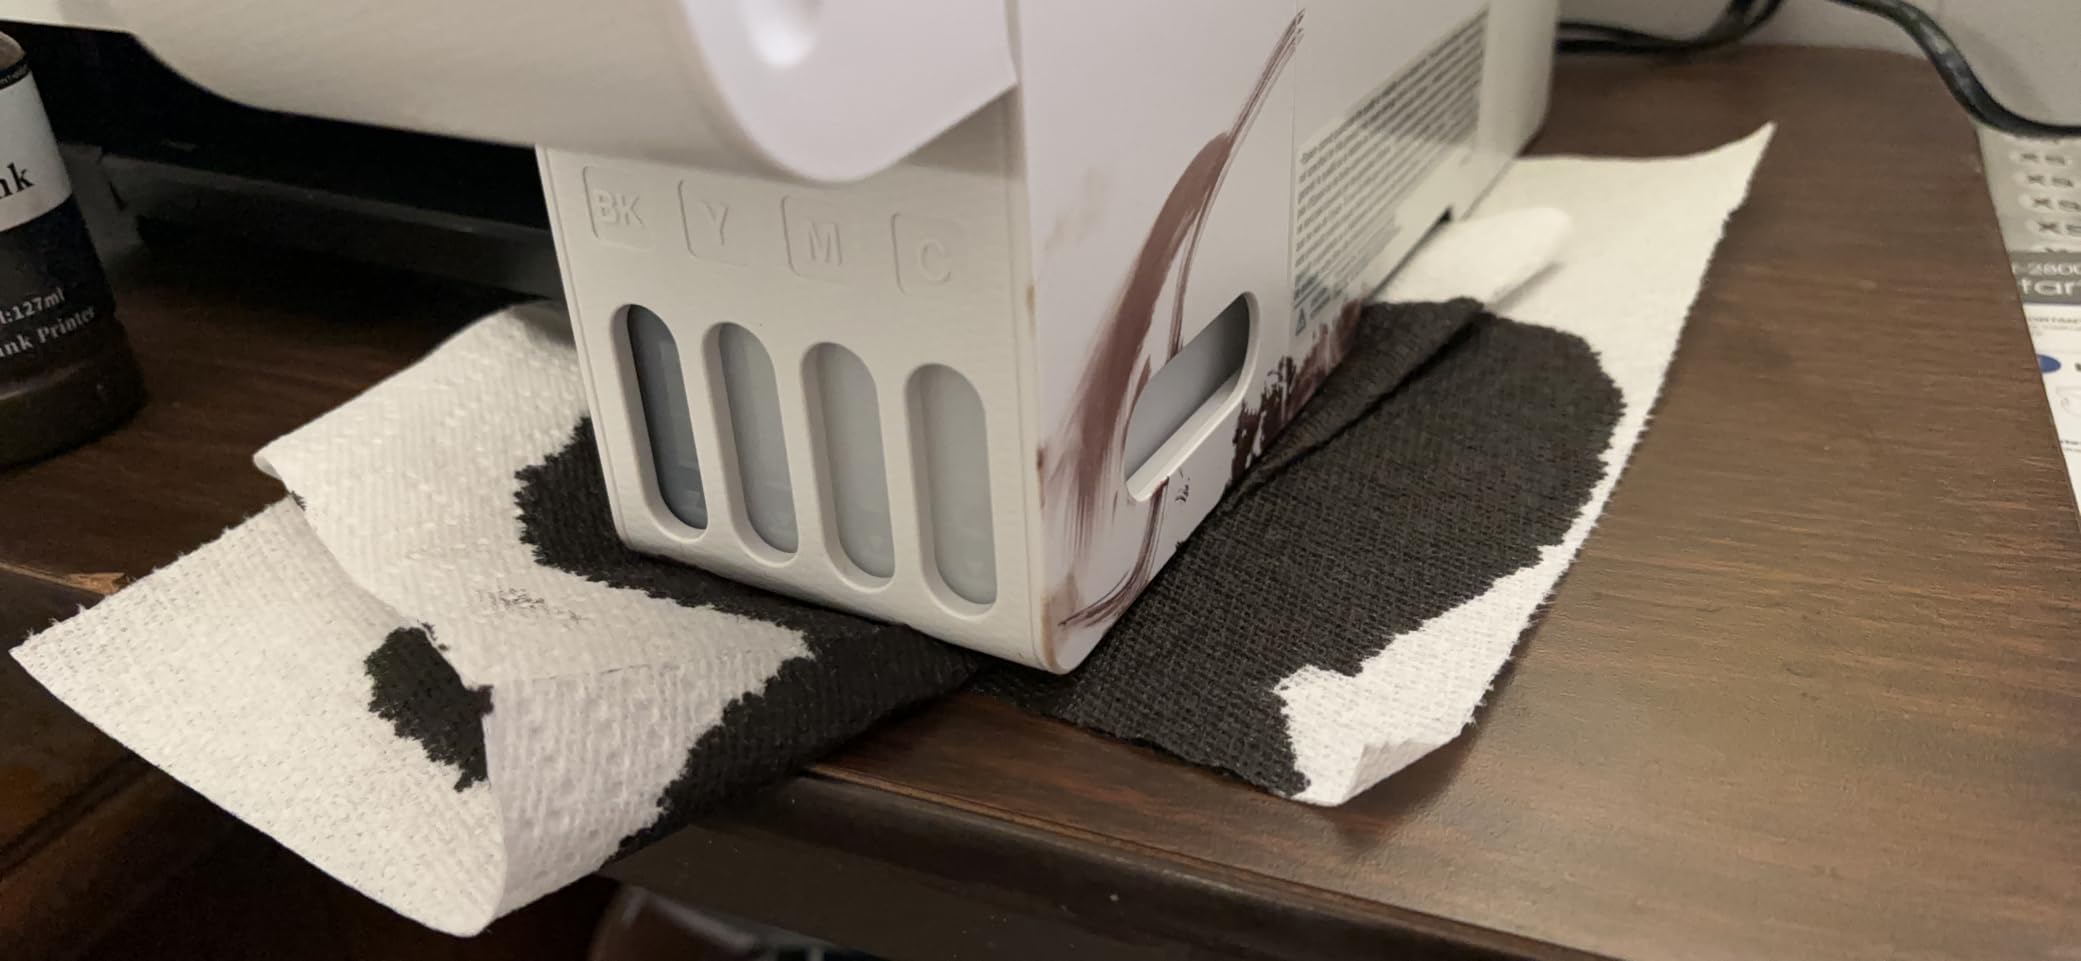
The ink system is a genuine practical advantage for a beginner. There are no cartridges to buy, no cartridge codes to look up and no swap to fumble. The Easy Fill auto-fill nozzle fits the tank inlet directly, so there is no syringe, no squeezing and no leak risk on the desk. Included ink is black at 127 mL plus 85 mL each of magenta, cyan and yellow.
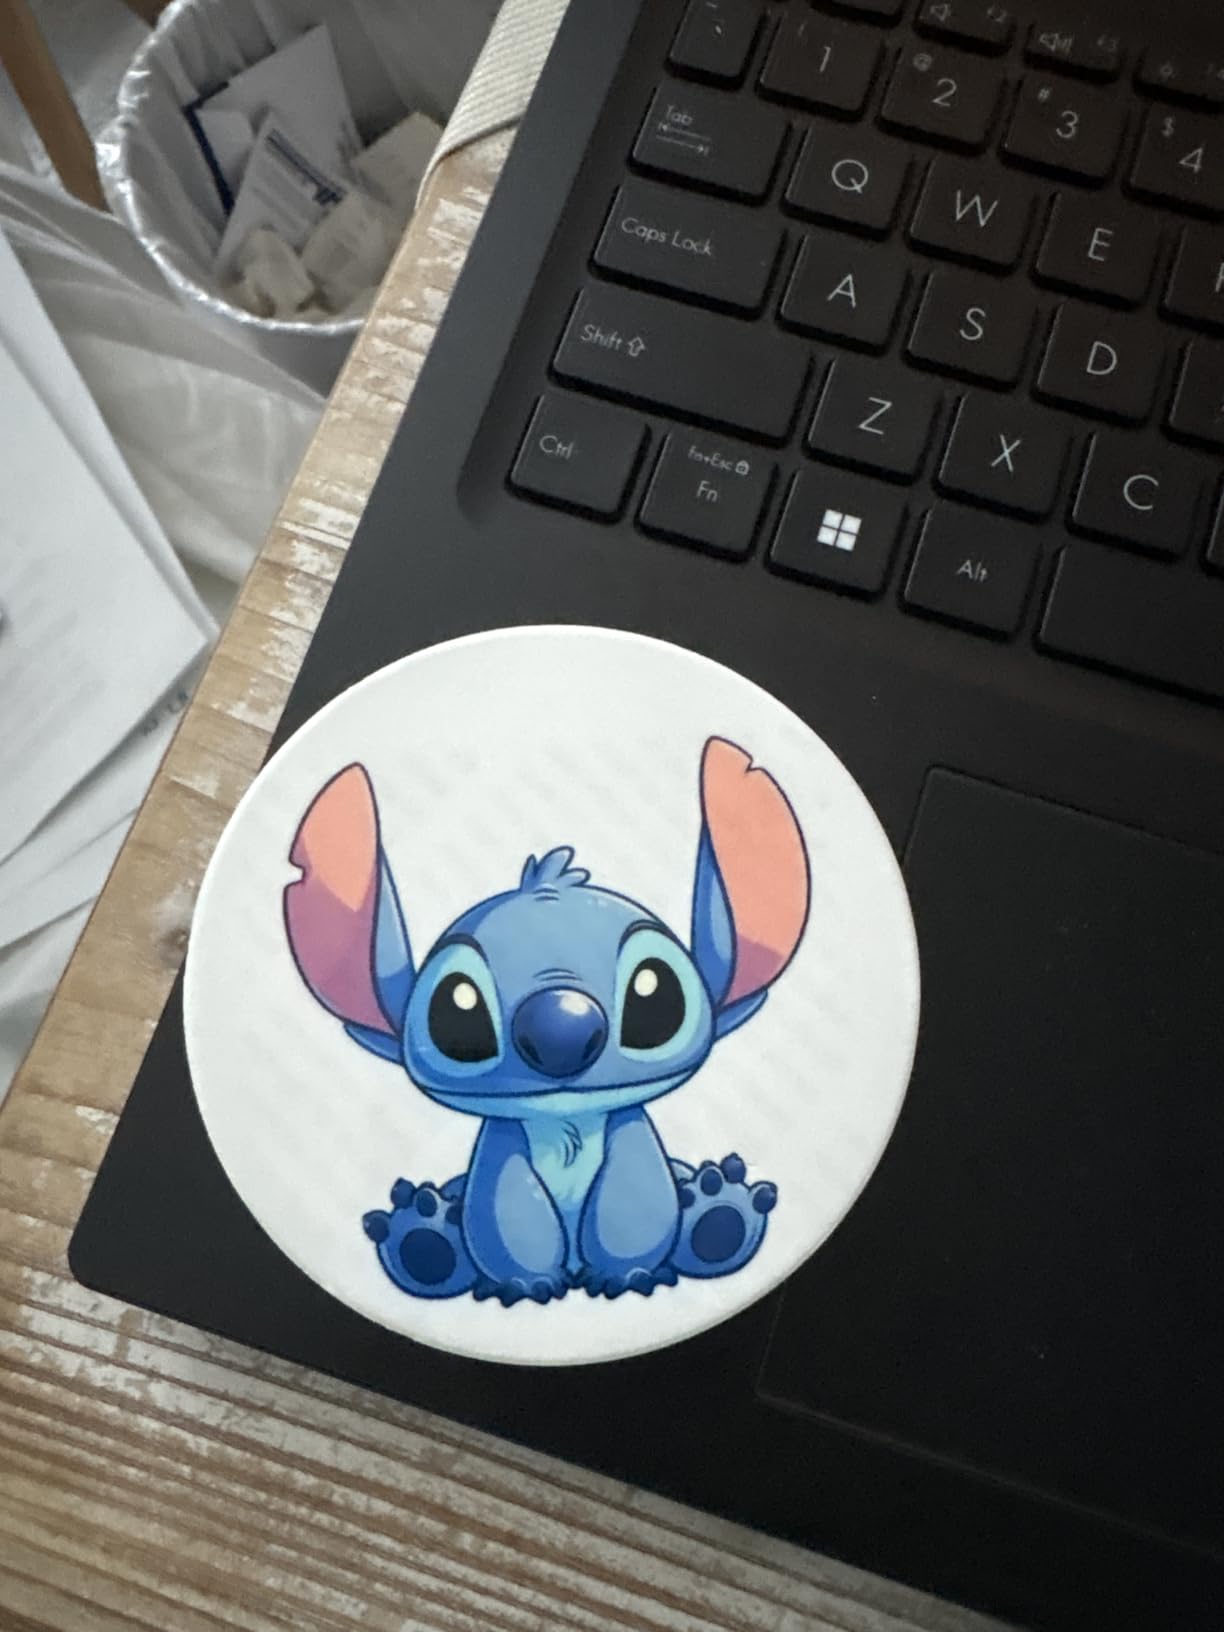
Two features make this the most flexible machine here for a first project. It is an all-in-one with a flatbed scanner and copier, so you can scan a hand-drawn design straight into your sublimation workflow without buying a separate scanner. The media range runs from 4 x 6 inches up to letter, legal, executive, A4, A6 and a roll-fed 8.5 x 47.2 inch option, which is unusually broad for a desktop machine.
Speed is 10 pages per minute black and white and 5 in colour, with a 100-sheet tray. Colour resolution is 5760 x 1440 dpi, matched by the Epson in this group. The trade for all of that capability is that ink-tank warranty terms can be affected by the conversion, and colour stability can trail a purpose-built sublimation engine once the ink is not the one the profile was made for.
What makes this the right first machine for some people
It is the machine where a custom ICC profile matters most, because the resolution headroom is there and the profile is what unlocks the colour the hardware can reach. If you are building originals from hand-drawn artwork or working from printed references, the built-in scanner removes another purchase.
That is also why we pair it with a hard instruction: get the ICC profile from your ink supplier before the first real project, not after you have concluded the colours are dull. Most owners who report frustration here are people who judged the machine on output before applying a profile matched to their paper and ink.
Where this converted route bites back
Setup is largely self-directed. Plan on running a nozzle check and a head alignment as part of your first session, and expect to do troubleshooting yourself rather than calling a specialist. Some reviewers also report that their nozzle checks are a recurring frustration, which is the same maintenance anxiety that haunts every converted super-tank.
And you must use it. A converted EcoTank that sits unused is the one configuration on this page most likely to need a purge cycle and a head alignment before it prints cleanly again. If your project calendar has gaps of a month or more, either print a maintenance sheet on a schedule or choose a machine that runs auto-maintenance.
4. Pinckney Wide-Format ET-15000 Bundle – For 13 x 19 Projects
Pinckney Cartridge-Free Super-Tank Printer with Sublimation Ink Bundle for Heat Transfers, Easy Fill, Built-in Scanner & Copier and Printing up to 13 x 19 Inches (Wide Format)
Converted ET-15000 wide format
13 x 19 max media
4800 x 1200 dpi
270-sheet capacity
Pros
- Only machine here that prints up to 13 x 19 inches
- 17 pages per minute black and white and 9 colour
- 250-sheet front tray with 270-sheet total capacity
- Borderless printing up to 11 x 17 inches
- 2.7 inch colour touchscreen plus auto document feeder
Cons
- Converted platform
- so colour consistency can trail dedicated machines
- 4800 x 1200 dpi is lower than the 5760 x 1440 models
- 22-pound footprint is a step up in commitment
If your first instinct when you picture sublimation is a large panel — a poster, a full shirt front, a wall piece — this is the only machine in the roundup that handles it on a single sheet. The platform is an ET-15000 all-in-one converted for dye, and it prints up to 13 x 19 inches with borderless printing to 11 x 17 inches.
Everything else about it is built for throughput. Black and white runs at 17 pages per minute and colour at 9, well ahead of the letter-size machines here. The front tray takes 250 sheets for 270 total, so a large apparel run does not stop for refills every few minutes.
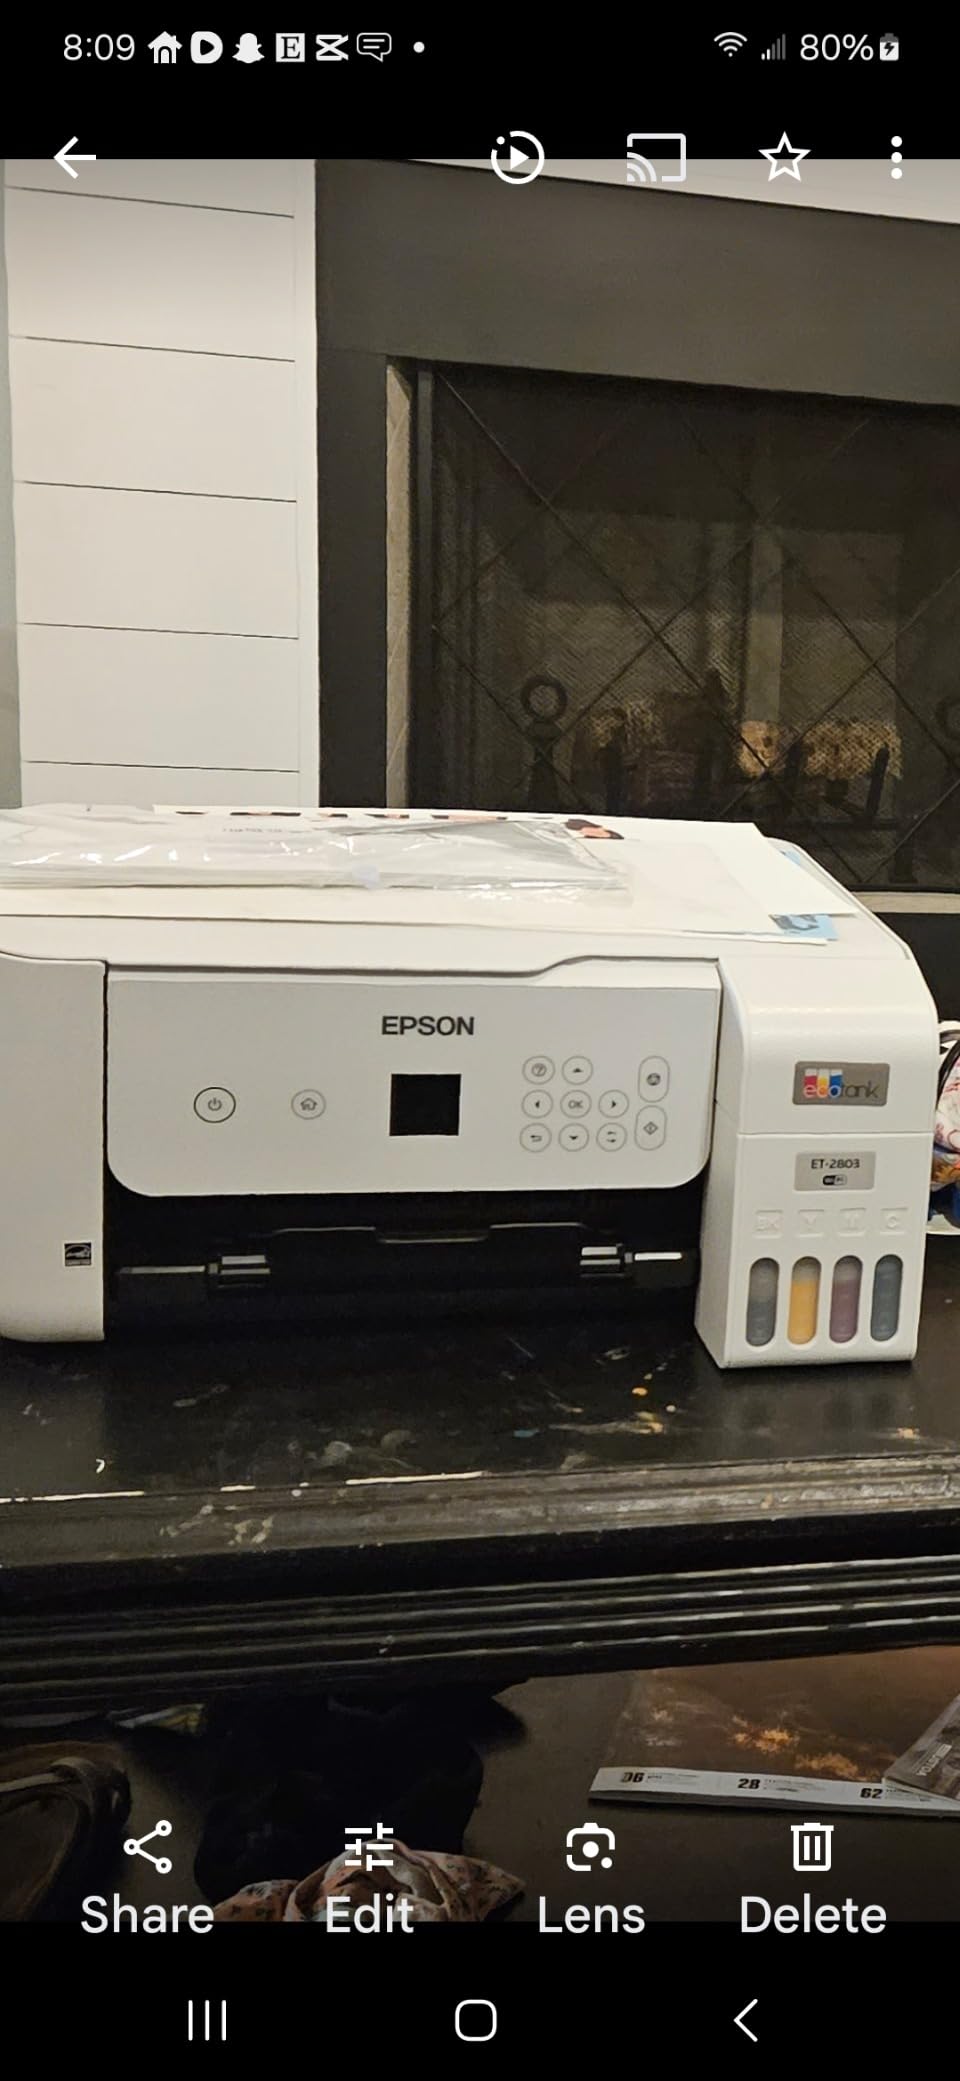
Hardware-wise this is a well-equipped machine. A 2.7 inch colour touchscreen and an auto document feeder make scanning and copying straightforward, and the flatbed scanner means it works as a genuine all-in-one. Ink is the same bundle configuration as the smaller super-tank: black at 127 mL plus 85 mL each of magenta, cyan and yellow, filled through the Easy Fill auto-fill nozzle.
Resolution is 4800 x 1200 dpi, which is lower than the 5760 x 1440 figure on the two smaller machines in this group. On a large panel that gap is less visible than on a small photographic transfer, since the ink is spread over far more area, but it is still the spec to know about before you buy for fine detail work.
When wide format is the right reason to spend more
Sheet count is the number that matters. A full-front-of-shirt transfer for a large adult garment on an 8.5 x 11 machine is a two-piece assembly with a visible join if the placement is off by a few millimetres. On 13 x 19 it is one clean piece. If apparel is where your volume is going, that difference in output quality is worth the step up in size and weight.
The 270-sheet capacity and the touchscreen also make this the machine to buy second rather than first for most beginners. It rewards a workflow that already exists — press, blank prep, a repeatable transfer sequence — and it is punishing to buy as a trial machine, because the bulk means it is harder to justify if the hobby fades.
Reasons to look elsewhere first
Colour consistency can trail a purpose-built sublimation printer, and the wide-format surface area exaggerates a bad profile more visibly than a small sheet does. If you buy this without a custom ICC profile matched to your ink and paper, you are asking a converted engine to cover a large area with no calibration, and that is where the disappointment shows.
At 22 pounds with a full-size footprint, this is a big commitment for a first purchase, and the evidence base behind it is the thinnest of the six — long-term ink and printhead durability is not well proven. For someone starting out on a hobby budget, that combination of size and uncertainty is why we would not begin here.
5. Sawgrass Virtuoso SG500 SubliJet UHD – Best for Mugs and Hard Goods
Sawgrass SG500 Sublimation Printer, 31 mL Inks and Paper Bundle
Purpose-built commercial printer
8.5 x 14 tray, 51 inch bypass
1200 x 1200 dpi
UHD inks in box
Pros
- Purpose-built commercial sublimation engine for hard and soft substrates
- SubliJet UHD 31 mL ink set plus paper in the box
- Bypass tray accepts media up to 8.5 x 51 inches
- Print head auto-maintenance and Wi-Fi
- MySawgrass with Print Utility for precise colour control
Cons
- Locked to proprietary Sawgrass inks with no third-party option
- 8.5 x 14 main tray ceiling on larger designs
- Bundled design and print software is slow to configure
This is the machine we would hand someone whose first project list is dominated by hard goods — mugs, drinkware, aluminium, MDF coasters, keychains and ornaments. SubliJet UHD is a hard-surface ink formulated in small batches for consistent colour on coated substrates, and the SG500 is a purpose-built commercial engine rather than a repurposed consumer inkjet, so the printhead, firmware and ink are one system.
Owners who arrive from converted EcoTank printers consistently describe a visible jump in both print quality and transfer results, which matches the difference in design intent. Colour resolution here is 1200 x 1200 dpi — lower on paper than the Epson figure, and it is the first thing to be honest about, because on photographs with fine skin detail the higher-resolution machines hold more tone.
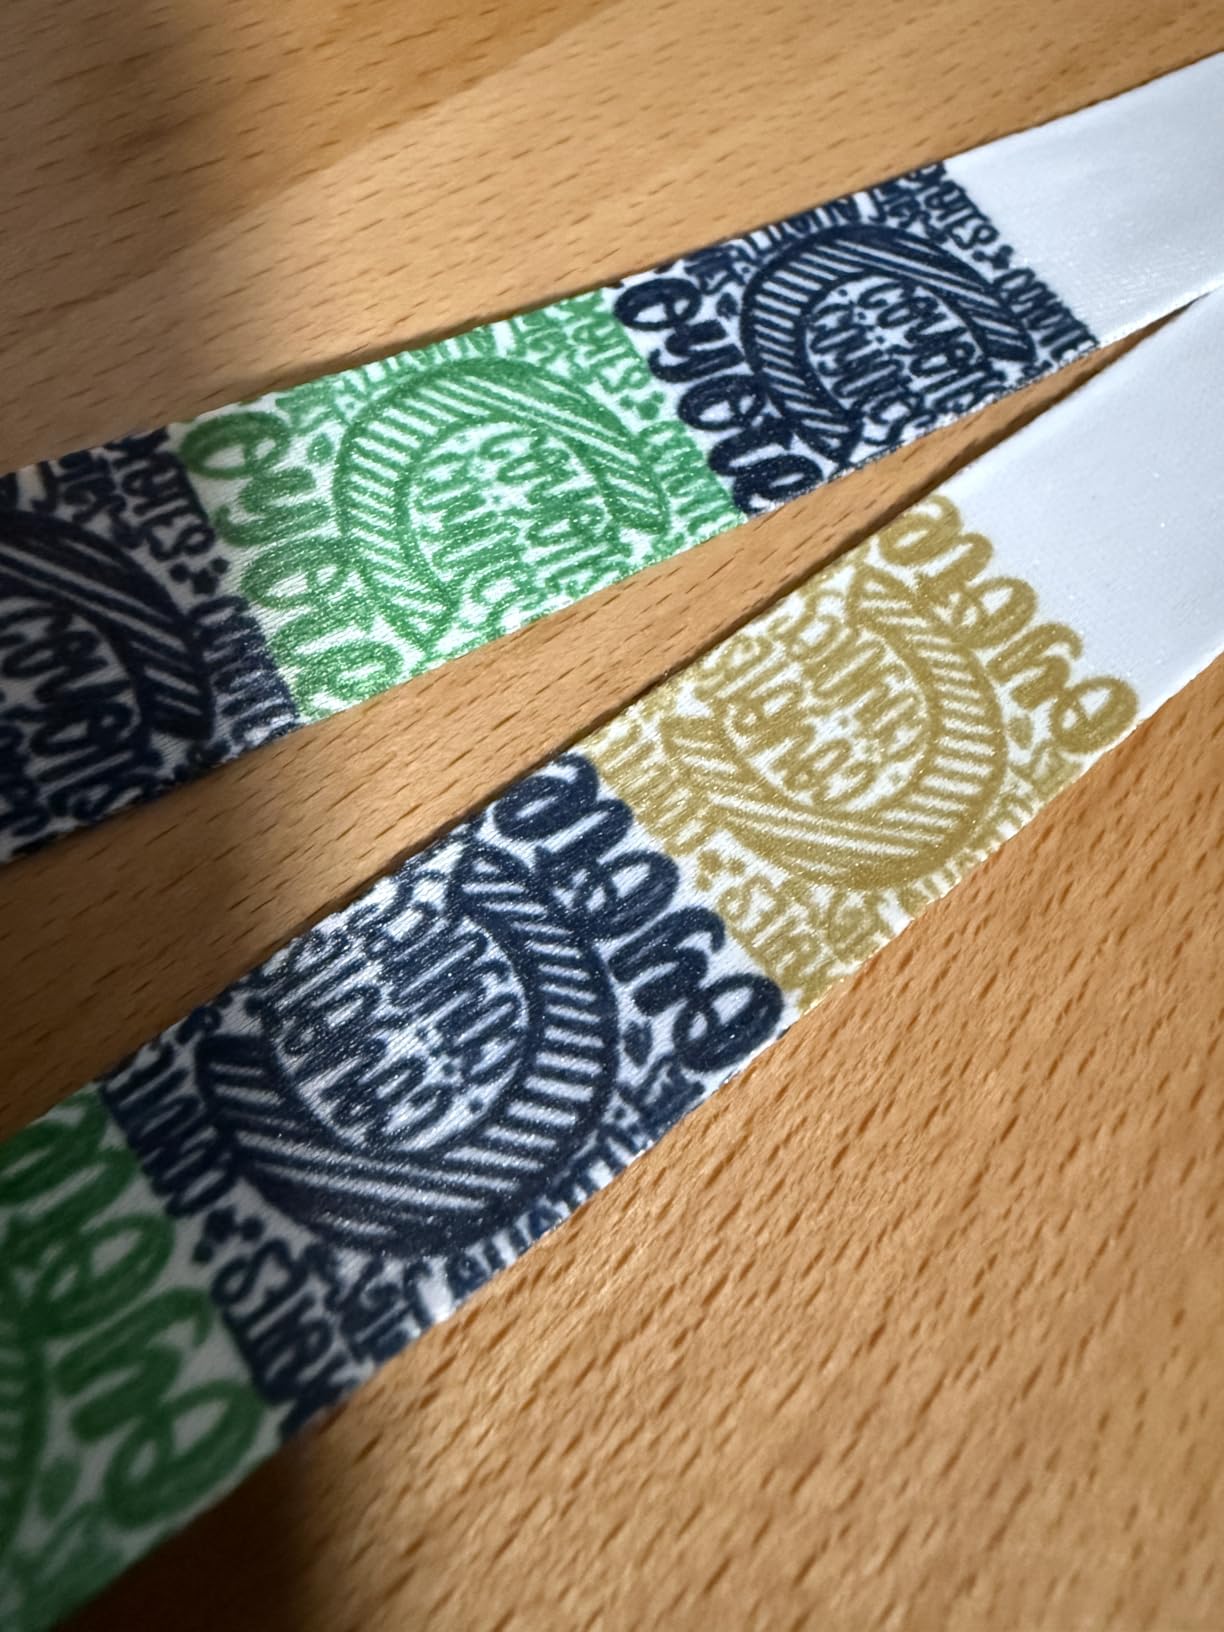
Media handling is more flexible than the tray size suggests. The main tray takes 8.5 x 14 inch media, and the bypass tray accepts output up to 8.5 x 51 inches, so long banner-style transfers and tall sign blanks are within reach without a wide-format machine. Throughput is 25 pages per minute black and white and 10 in colour, the quickest of any machine here.
Two details make it a low-maintenance proposition. The print head runs auto-maintenance cycles, which matters because dye ink in a stationary head is the classic failure mode, and it has Wi-Fi for cable-free placement in a craft room. Support has also been a strength: reviewers report a faulty unit replaced within hours.
Why the ink lock-in is the deal you make here
You cannot run third-party ink in this machine, and the inks cannot be switched between types. That single rule explains both the strength and the weakness. It is why colour is consistent out of the box and why you will not find yourself hunting for a profile, and it is also why the consumable line is the most expensive on this page and the most predictable, because there is exactly one correct choice at every refill.
For a beginner who will be pressing mugs and drinkware every week, predictable colour beats a cheaper millilitre. For a hobbyist printing four coasters a quarter, it is the opposite trade, and the entry cost of the machine plus a full ink set is a harder commitment to justify.
Where the SG500 will slow you down
The software is the most common complaint, and it is a real one. Reviewers describe the bundled design and print software as slow and sometimes confusing to configure, and we hit the same thing. MySawgrass gives you templates and quick design, and the Print Utility handles Smart presets and precise colour control, but the first session takes longer than the hardware should require.
Second, the 8.5 x 14 main tray means some full-shirt designs exceed a single sheet, and the bypass tray that solves it is a manual feed. Third, some owners report driver and setup compatibility issues on particular laptops and Mac systems, so check your operating system before you commit. A small number of reviewers also reported visible grid lines on units that needed replacement, which is a defect rate worth knowing about even though it is not the dominant experience.
6. Sawgrass VersiFlex SG500 Bundle – For Cotton and Untreated Wood
Sawgrass VersiFlex SG500 Printer, Ink and Transfer Paper Bundle
VersiFlex decoration system
8.5 x 11 max media
1200 x 1200 dpi
4 x 31 mL cartridges in box
Pros
- Prints on cotton and untreated wood with no pre-treatment step
- Soft true-to-life hand instead of a stiff transfer
- Handles cotton
- uncoated surfaces and standard paper on one system
- Colour-coded click-in cartridges that need no forcing
- 3-year 100000-print warranty with lifetime education and support
Cons
- Lowest rating in this group at 2.6 stars
- High proprietary ink and paper cost with no third-party option
VersiFlex is the one genuinely clever idea on this page, and understanding it matters even if you do not buy this machine. Standard dye sublimation only bonds to polyester and coated surfaces — it will not take on dark cotton without an underlayer transfer, because there is no polyester content to bond into. The VersiFlex decoration system is formulated to transfer onto porous materials including natural fibers and untreated wood with no pre-treatment, and the finish comes out soft rather than feeling like a film laid on top.
That is a real capability no other machine here has, and it is why we include it despite a 2.6 star rating across 23 reviews. If your project list is full of natural fibre items, this is the only machine in the roundup that handles them, and the workflow is genuinely simpler than the alternatives rather than more complex.
Setup detail that does help: the cartridges are colour-coded and click into place, and they arrived only about half full. Reviewers note that a meaningful share of the included ink is consumed by first use, so plan your first project around what is actually in the cartridge rather than what the box claims. The bundle covers the printer, four 31 mL VersiFlex cartridges and 50 sheets of VersiFlex Light heat transfer paper, and the inks carry REACH, RoHS and OEKO-TEX certification.
There is a handling constraint specific to this system that catches people out. The printed ink has to stay workable on the transfer paper while you position it, which means once the sheet touches the substrate you cannot lift and reposition it without smearing. Plan your layout before the first press rather than improvising on the second.
What VersiFlex genuinely does better
Cotton, canvas, uncoated surfaces and untreated wood, in one system and one ink, with no switching between ink types. That single-sentence capability is the reason to consider it, and the fact that the finish feels soft and true-to-life rather than stiff is a genuine quality difference that shows up in the hand, not the eye.
Warranty terms are the strongest in this roundup on paper — a 3-year, 100,000-print coverage with lifetime education and support, plus 2-year ink expiration. If a manufacturer stands behind a print count like that, the consumable cost is at least buying into something that is meant to be run at volume.
Why we would not start a beginner here
This is the most polarised machine we tested, and the reason is not the chemistry. More than half of its reviews are one star, and the recurring complaints are practical rather than technical: difficult setup with connection and driver problems, unclear wireless configuration, slow support reached through scheduled callbacks and chat tickets, no touchscreen, and a manual heat press that is required and not included.
Consumable cost compounds all of it, with a proprietary four-cartridge refill and paper that are expensive, and no third-party option to fall back on. Several owners also report colours printing lighter and more faded than a converted printer manages. If you are already nervous about whether sublimation is for you, this is the machine most likely to make you decide on the wrong technology. Learn the craft on a simpler machine first, and consider VersiFlex as an upgrade once cotton and untreated wood are genuinely on your order list.
What Else You Need to Start Sublimation Printing
A printer is roughly half the equipment list, and it is the half people research most carefully. The rest is simpler to buy and easier to get wrong on sizing, so here is the full set.
Heat press. A manual clamshell press for flat items, sized to your largest transfer. For mugs and drinkware you will want a tumbler press attachment, and some press models are not compatible with certain systems, so check before you buy the press rather than after. Both Sawgrass bundles here require one that is not included.
Transfer paper. Letter-size paper, and you need to match it to your ink. A dedicated system’s paper is tuned to its own chemistry; a converted system needs paper the ink supplier recommends. Gloss and matte transfer differently, so pick one and stay with it while you learn your press settings.
Blanks and substrates. Coated ceramic mugs, aluminium panels, MDF coasters, acrylic ornaments, and light-coloured polyester or poly-blend garments for apparel. Buy blanks in a small quantity first, because press temperature, time and pressure vary between coatings.
Design software. Free options that beginners genuinely use include GIMP, Inkscape, Silhouette Studio and Canva. Paid options are Photoshop and Affinity. The Brother’s Artspira app covers design and setup in one place if you would rather not assemble a separate workflow.
An ICC profile for your ink and paper. Free from most ink suppliers, and effectively mandatory on a converted super-tank. This is the step that determines whether your colours look right on the finished item.
Maintenance supplies. Isopropyl alcohol for printhead cleaning, a purge or cleaning cartridge for converted units, and a microfibre cloth. Add a small stack of plain paper you are willing to run through a converted machine every week or two to keep nozzles clear.
Design software is worth one more note. Mirror or flip the image before you print, because the transfer goes on face down. It sounds obvious and it is the single most common first-project mistake, and it costs a blank every time you forget.
How to Choose a Sublimation Printer: Project Size, Running Costs and Maintenance
These three factors decide the purchase more reliably than any specification list. Work through them in this order and the model choice makes itself.
1. Project size
Start from the largest thing you actually intend to make, not the largest thing you might eventually want to make. Letter-size output at 8.5 x 11 covers coasters, keychains, ornaments, mugs, mousepads and standard apparel panels. Legal-size output at 8.5 x 14 is the same width with more length, which helps with tall designs but does not solve width. Anything approaching a full shirt front for a large adult, a poster, or an 11 x 17 sign needs a wide-format machine.
Within this roundup that means the Brother SP-1 and Epson F170 for letter-size work, the SG500 main tray at 8.5 x 14 for legal-length designs, the two Sawgrass bypass trays for long narrow items, and the wide-format super-tank for genuine 13 x 19 sheets. People regularly describe an 8.5 x 11 ceiling as the one limitation that eventually forces an upgrade, and buying for that ceiling in advance is cheaper than buying for it twice.
2. Running costs
Ignore the price of the machine as a cost signal and look at ink per millilitre, because the printer is a one-time purchase and the ink is forever. Work out your own figure rather than trusting anyone’s headline number: take the price of one ink unit, divide by the millilitres it contains, and multiply by the ink your typical project consumes. A full-coverage A4 sheet uses a lot more ink than a small coaster, so estimate on your own artwork.
The pattern across the three families is consistent. Reservoir systems such as the super-tanks hold the most ink per unit and land at the lowest cost per millilitre, which is the structural reason their entry cost is also lowest. Cartridge systems like the Brother sit in the middle with far less per unit but more frequent purchases. Proprietary commercial systems sit highest, and the reason they charge that is the one that also gives you the most consistent colour and the tightest support.
Also count the paper and the blanks in your per-item cost, because for many beginners they rival the ink. A transfer that looks cheap per print can carry a paper cost that doubles the finished cost of a small item.
3. Maintenance
Ask one question: will this machine print at least every couple of weeks? Dye ink thickens when it sits, and a printhead that sits still develops the blockages that produce banding, dull output and failed nozzles. Purpose-built commercial machines handle this with print head auto-maintenance, as the SG500 does. Converted EcoTanks depend on you.
If your project calendar is irregular, plan the discipline before you buy. A weekly or fortnightly maintenance print on a converted machine is a small habit and it protects the hardware. If that habit is not going to happen, the dedicated machine with auto-maintenance is the cheaper choice over three years even at a higher cost per millilitre, because a clogged head is an expensive problem.
Two more filters are worth applying. Connectivity matters if you design on a tablet, and the Epson F170 here does not support mobile devices. And software ecosystem matters more than most buyers expect, because a proprietary system with bundled design tools and print presets is far less work for a beginner than assembling a free design tool and a separate colour-management workflow by hand.
ICC Profiles and Colour Calibration for Beginners
An ICC profile is a file that tells your computer how the colours coming out of a specific printer, with a specific ink, on specific paper, actually look. Without one, your screen shows you a colour, the printer has no way of knowing how your monitor renders it, and the mapping is a guess. A profile replaces the guess with a measurement.
On a dedicated machine, the guess is usually close enough to start. The manufacturer built the ink, built the printhead settings and tested them together, and the bundled print utility or preset handles the mapping. On a converted super-tank, there is no such shared origin — the hardware and the ink were never validated as a pair, which is why colour output is inconsistent enough to generate the most common complaint in the community. The advice that circulates on t-shirtforums.com is to check whether your ink supplier provides an ICC profile before you convert, and it is good advice.
What it looks like in practice: a transfer that looks washed out or muddy after pressing is usually a profile problem, not a hardware problem. A soft, low-contrast look on a photograph is the classic symptom, because skin tones and gradients are where an uncalibrated machine shows first. Getting the profile from your ink supplier, installing it and selecting it in your print dialog fixes most of what beginners describe as a bad printer.
Two further checks before you blame the hardware. Dye sublimation prints look dull on the paper itself and only turn vivid under heat, so never judge output before pressing it. And run a nozzle check and a head alignment on a converted machine if you see streaks or missing bands, because dried ink on the head produces exactly the banding that people often blame on the profile.
Before You Buy: When Sublimation Is the Wrong Choice
We would rather talk you out of this than sell you the wrong machine, so here are the situations where a different technology serves you better.
Dark cotton and dark garments. Dye sublimation bonds to polyester. On a dark cotton shirt you need an underlayer transfer first, and at that point you are doing two transfers and a pre-press per item. If dark cotton is most of what you want to print, this is the wrong tool.
Very fine detail, thin lines and hand-drawn work. Sublimation ink spreads slightly under heat. Extremely fine line art and delicate gradients can soften on transfer, and DTF handles them more sharply on dark and coloured substrates without an underlayer.
No heat press, no patience per item. Every single item takes a press cycle of fixed time and pressure. A production run of a hundred items is a hundred press cycles, and skipping the press is not an option. If you need high volume, DTF or screen printing scale differently.
You print a few items a year. The equipment is a real cost and a heat press is a second real cost. The single most common worry among people researching this is not technical at all — it is buying something expensive for a hobby that might not stick. If that is you, buy the smallest entry machine in this roundup, learn on cheap blanks, and decide afterwards.
You expect to hit volumes above a few hundred items a month. Desktop machines are built for hobby and small-shop batches. Past a few hundred items a month you are looking at production-class hardware, and the desktop units here will become the bottleneck rather than the answer.
None of that means sublimation is unsuitable. For light-coloured polyester apparel, coated drinkware, aluminium, MDF and acrylic, nothing else gives you this combination of durability, no minimum order quantity and a transfer that will not crack or peel. We simply want you to buy it for the right substrates.
Frequently Asked Questions
What is the best sublimation printer for beginners with a budget?
For the lowest total entry cost, a converted super-tank bundle such as the Pinckney ET-2800 gives you a printer, a full set of sublimation ink, a scanner and the highest colour resolution in this roundup for the smallest outlay. The trade-offs are real: ink-tank warranty terms can be affected, you need a custom ICC profile for accurate colour, and you must print regularly to avoid nozzle clogs. If your budget stretches to a dedicated machine, the Epson SureColor F170 removes all three problems for a modest step up.
Which printer is best for sublimation printing?
The Epson SureColor F170 is the safest all-round answer for a first sublimation printer. It is factory-built for dye ink, ships with a full manufacturer warranty intact, includes a complete set of OEM Epson sublimation ink, and carries a 150-sheet auto-feed tray plus a closed dust-resistant paper tray. It holds the highest rating of any machine in our roundup at 4.5 stars across more than 500 reviews. The only meaningful limit is its 8.5 inch maximum media width.
Is Brother or Epson better for sublimation?
Epson wins on ink economy and resolution. Its SureColor F170 prints at 5760 x 1440 optimized dpi and its EcoTank-based machines hold far more ink per unit, which lowers the cost per millilitre. Brother wins on convenience and workflow. The SP-1 uses drop-in cartridges, needs no syringe or reservoir filling, and its free Artspira app bundles design templates and image conversion with the print workflow, plus 100 sheets of paper and a full ink set in the box.
Is Epson or Sawgrass better for sublimation?
Epson is cheaper to run and reaches wider formats, which suits volume apparel work and anyone counting cost per print. Sawgrass is a fully integrated system: purpose-built hardware, SubliJet UHD ink for hard surfaces, the VersiFlex option for cotton and untreated wood, and bundled design and print software with pre-calibrated colour handling. Choose Epson for ink economy and format flexibility, and Sawgrass for setup simplicity and consistent out-of-box colour.
What all do I need to start sublimation printing?
Six things: a sublimation printer, a heat press with a platen at least as wide as your largest transfer plus a tumbler press if you are doing drinkware, transfer paper matched to your ink, blanks in the right coating, design software, and an ICC profile for your ink and paper combination. The heat press and the profile are the two items most beginners overlook. Remember to mirror your image before printing.
Do I need a sublimation printer if I have a Cricut?
Yes. A Cricut is a cutting machine, not a printing device. It cuts shapes from vinyl or paper and it cannot lay down a single pixel of dye, so you still need a separate printer to create the transfer. The Cricut is useful in a sublimation workflow for cutting heat-transfer vinyl for mixed-media projects, but for true dye sublimation on mugs, drinkware and polyester, a dedicated sublimation printer is the only option.
What are the cons of sublimation printing?
The real limits are substrate and process. It bonds to polyester and coated surfaces, so dark cotton needs an underlayer transfer first. Fine line detail can soften slightly under heat. Every item takes a fixed press cycle, so production volume is limited by press time. Colour calibration is required, especially on converted machines, and consumable cost adds up across ink, paper and blanks. If you only print a few items a year, the equipment cost dominates the cost per item.
What is the best sublimation printer?
For a first machine, the Brother SP-1 bundle is the easiest route to a finished transfer because ink and paper arrive in the box alongside a capable free design app. The Epson SureColor F170 is the best choice if you want the least ambiguity and a full manufacturer warranty. The converted super-tank bundles are the best value if entry cost matters most and you will print regularly enough to keep the nozzles clear.
Final Verdict: Which Printer to Buy in 2026
The best sublimation printers for beginners come down to how much uncertainty you want to carry. If you want the shortest distance between opening the box and a finished transfer, buy the Brother SP-1 bundle — ink, paper and a usable design app all arrive together, it prints in 45 seconds a sheet, and it is a genuine factory sublimation machine rather than a conversion. If you want the least ambiguity and the strongest rating in the group, the Epson SureColor F170 takes it with a full manufacturer warranty, OEM ink and the top colour resolution figure here, at the cost of an 8.5 inch width ceiling.
If the lowest entry cost matters most and you are honest with yourself about printing every week or two, the converted super-tank bundles give you more hardware and more ink per unit for less money, plus a scanner in the case of the ET-2800 — and you accept the calibration work and the affected warranty terms. Buy the wide-format version only if 13 x 19 sheets are already part of your plan. For mugs, drinkware and hard goods produced in real volume, the Sawgrass Virtuoso SG500 with SubliJet UHD is the machine that grows with you, and its auto-maintenance cycle removes the clogging risk that converted units hand you.
One last thing. Buy the heat press at the same time, size it to your largest transfer, and get your ICC profile before your first serious project. Those two decisions will save you more time than the printer choice ever will.